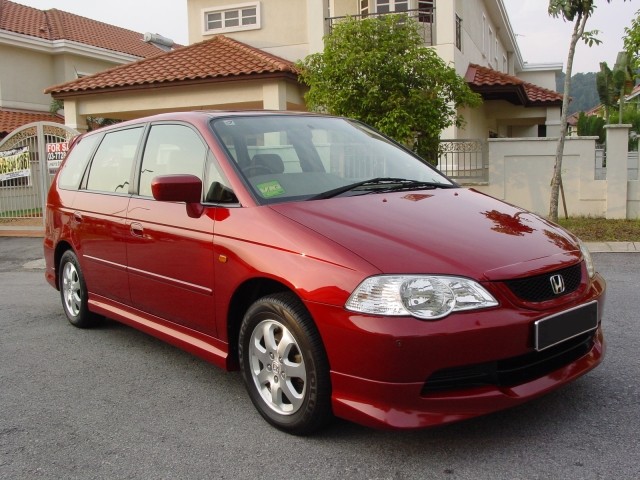
Honda Odyssey metallic red
This MPV belongs to my uncle and was polished with M80 via ROB about a year back, it was the first car that doesn’t belong to me that I ever detailed. I've learned abit more about detailing since then. So it’s back again for me to do a proper job on it. It is a daily driver so there are a few scuffs here and there.
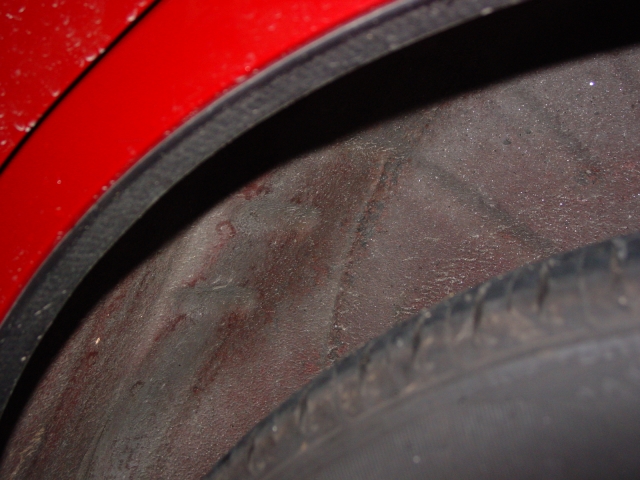
The car arrived looking dirty, the wheel wells were also dirty.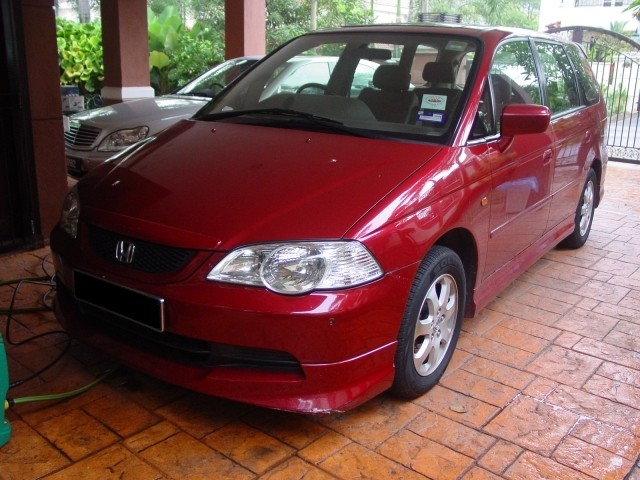
Firstly, the wheel wells, wheel and tire were washed. Meguiar’s Super Degreaser(4:1) is sprayed through a foaming sprayer head, agitated and then pressure washed. This was done a few times to properly get a decently clean wheel well. Tires received the same treatment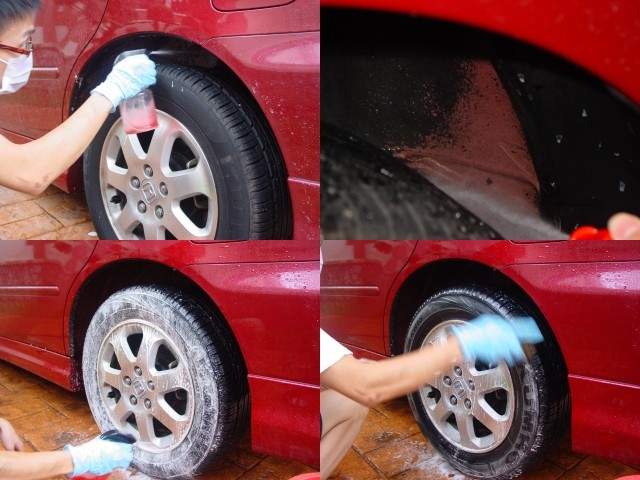
The face of the wheel is cleaned with Meguiar’s All Purpose Cleaner (4:1) agitated with a cut-off paint brush.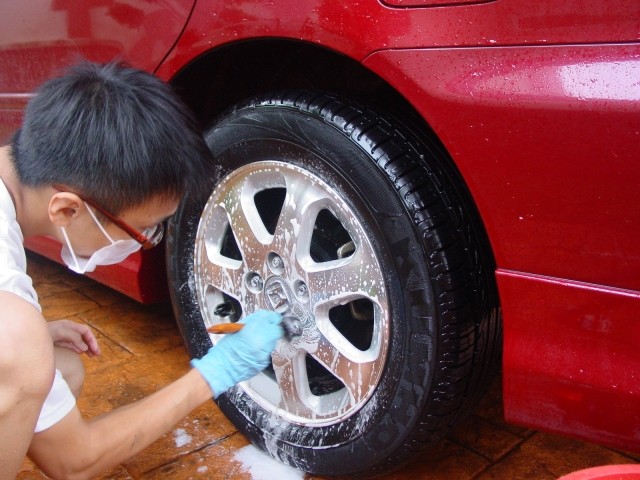
After the wheels were done, the car is pre-soaked with 2 ounces of Meguiar’s Hyper Wash mixed with water, left for a while and pressure washed off. In the process I accidentally placed my hand in front of the nozzle while it was on, resulting in a shallow cut on my index finger. You can see two straight lines in the bottom right picture.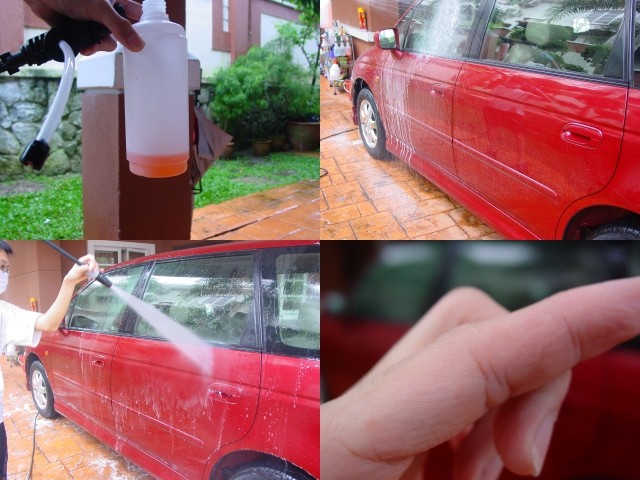
The car is then clayed with Perma Glass No.2 Clay using diluted Meguiar’s Shampoo Plus as lube.
The clay after half of the hood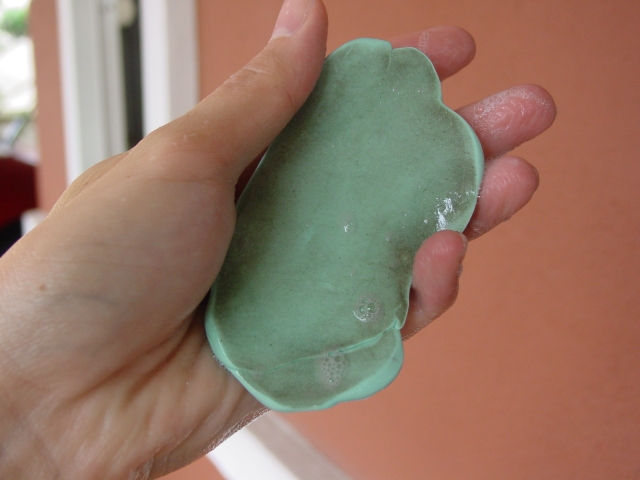
The clay after the lower panel of the door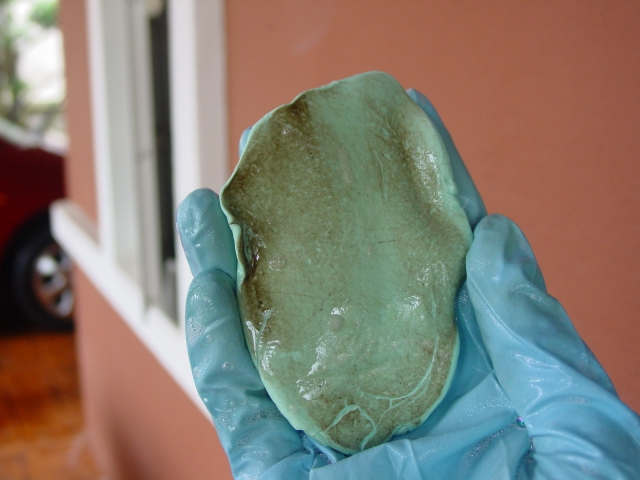
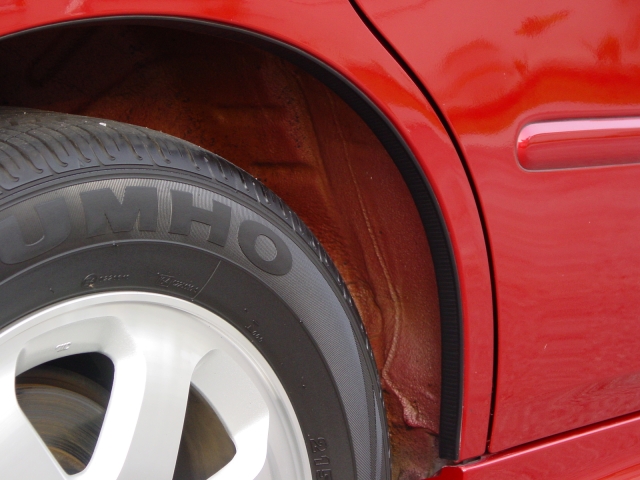
The lower panels of the car had a fair amount of tar and wasn’t completely removed by the clay. So the affected areas were sprayed with Ambersil’s Tar Spot Remover, left for a few minutes and wiped off with a dry cloth.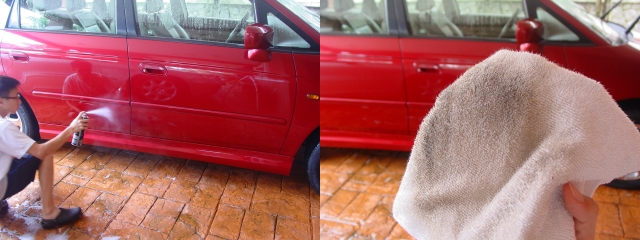
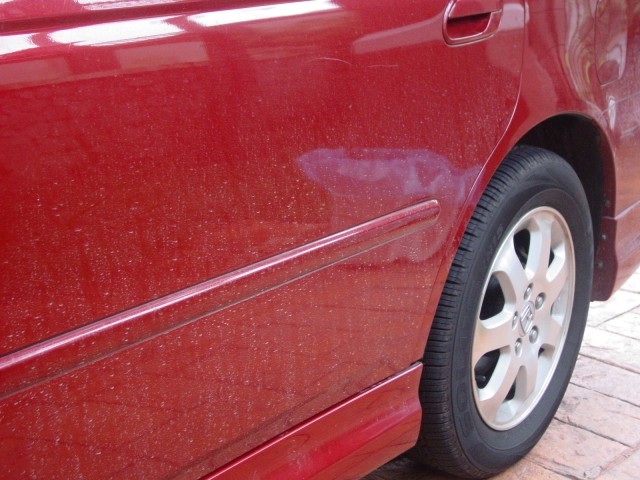
The whole car is re-washed and dryed with Meguiar’s Last Touch and Meguiar’s Water Magnet. A test spot was done on the driver’s side front door.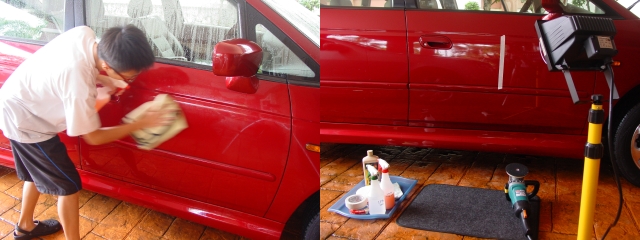
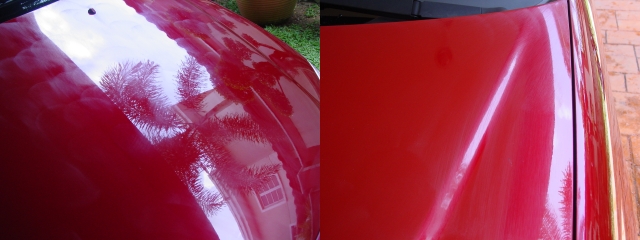
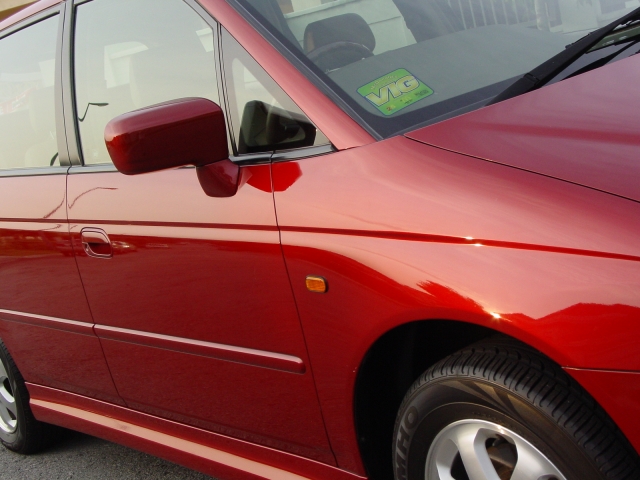
The first step used was Meguiar’s #82 Swirl Free Polish + W-8006 Polishing Pad at 600rpms. This was followed by M82/White Detailogy pad/ROB Speed 5 to remove any potential holograms or buffer marks. Left side is unpolished and right side is polished and then wiped down with Isopropyl Alcohol(1:1) to remove any oils/fillers.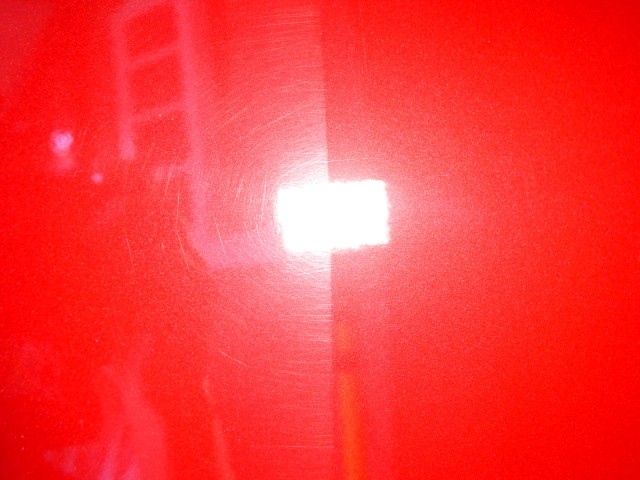
And the whole panel polished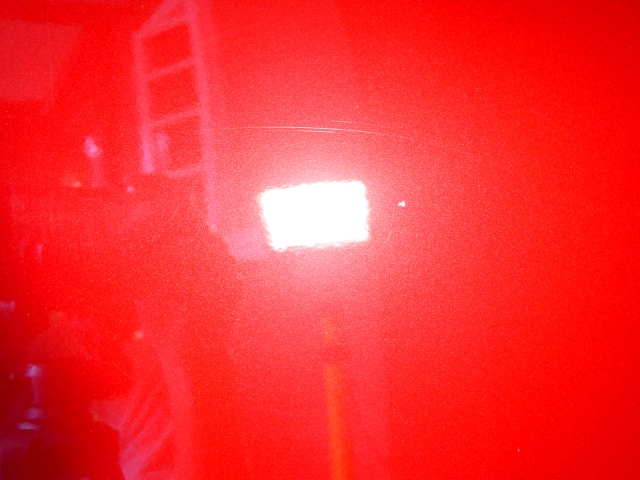
Before: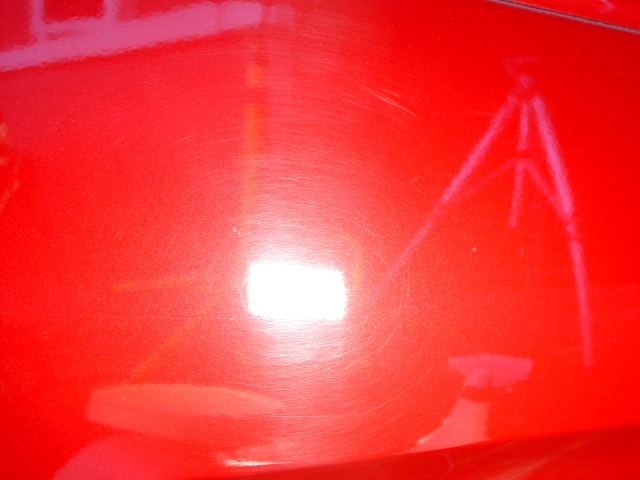
After :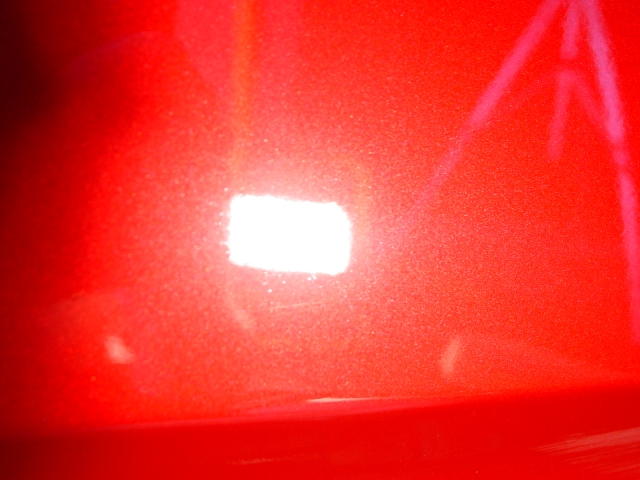
Before:
After :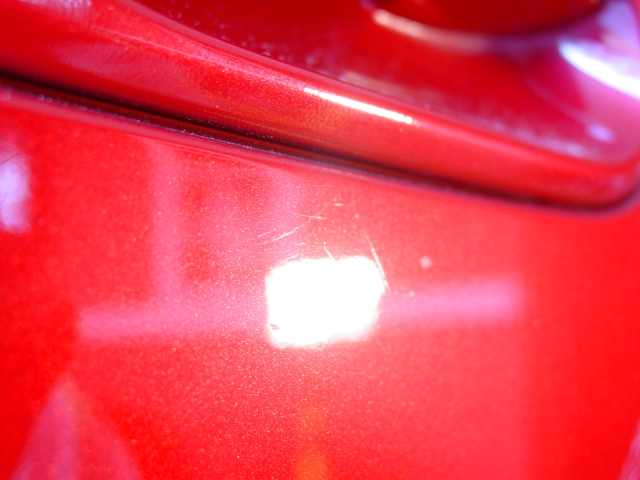
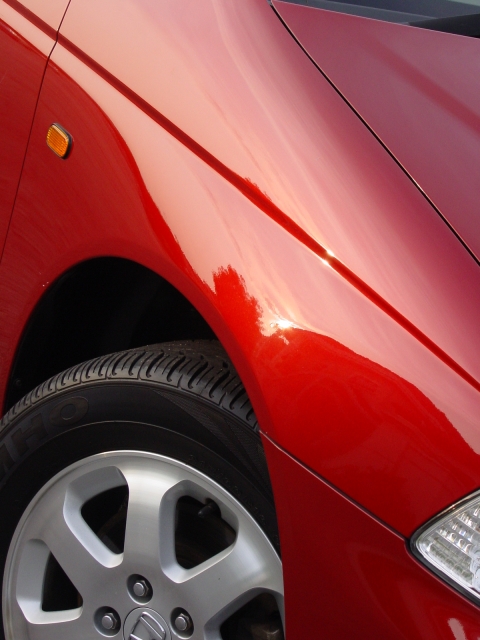
Fender before :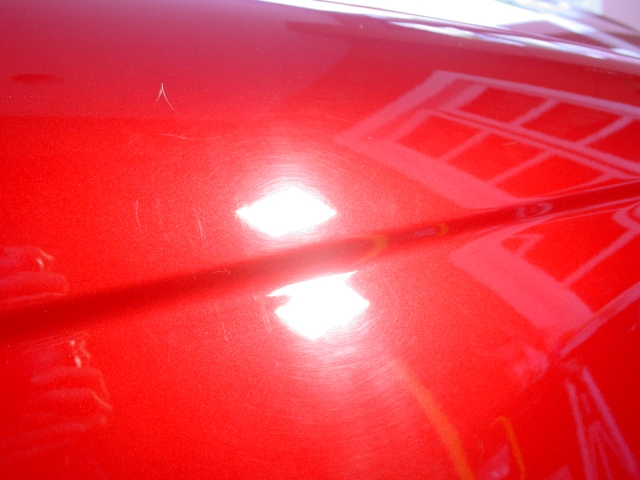
Fender after :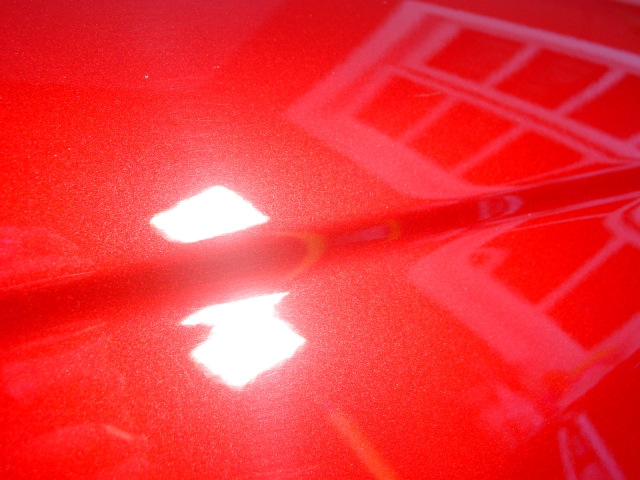
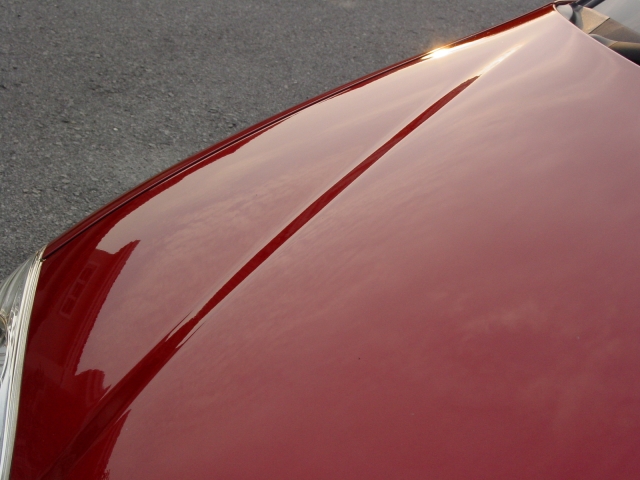
Hood before: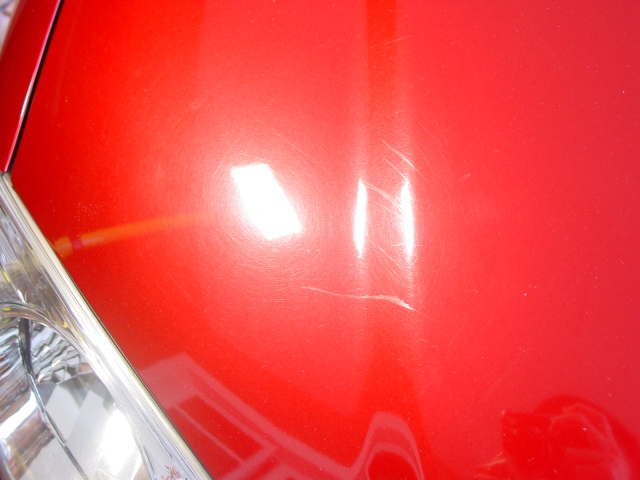
Hood after: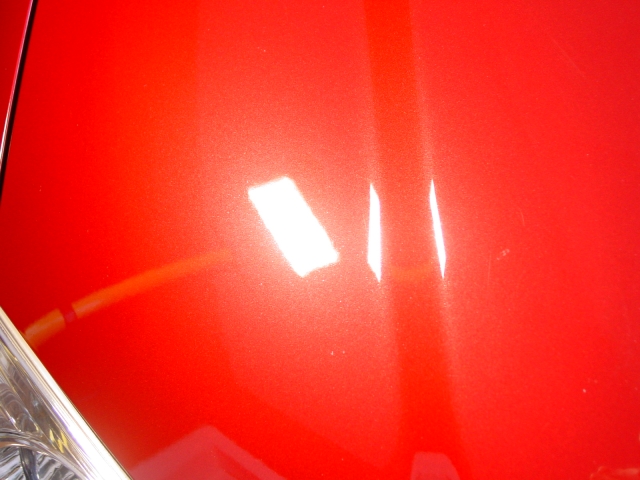
The hood also had an unknown substance bonded to it, it was whitish in colour and wasn’t removed with the tar remover, so that area was wet-sanded with 1500 grit paper.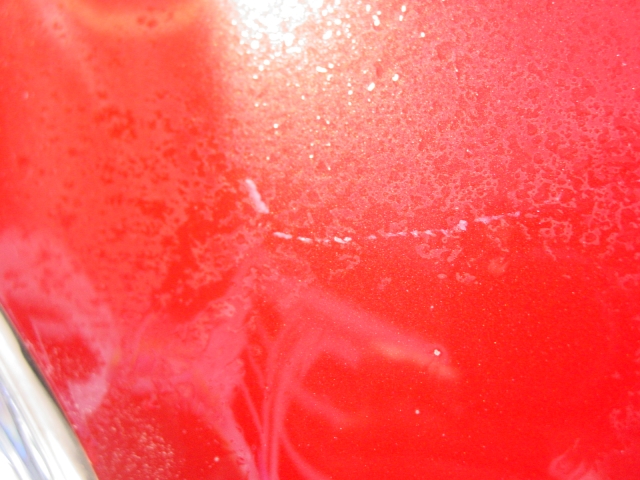
This is followed by two passes of Meguiar’s #83 Dual-Action Cleaner/Polish to remove the sanding marks and followed by M82 Swirl Free Polish.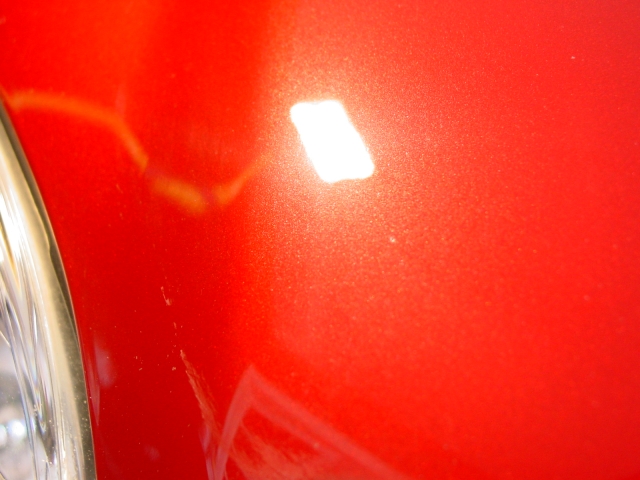
The front lip above the radiator grill had the same problem, same process was done.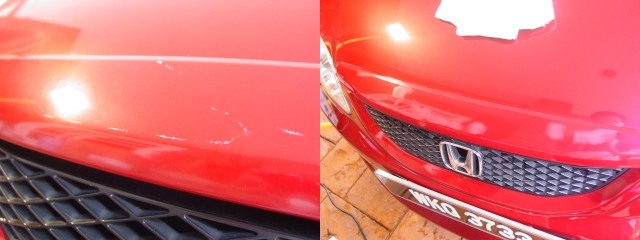
There was a spot with deep scratches on the hood, after the first pass of M83 DACP,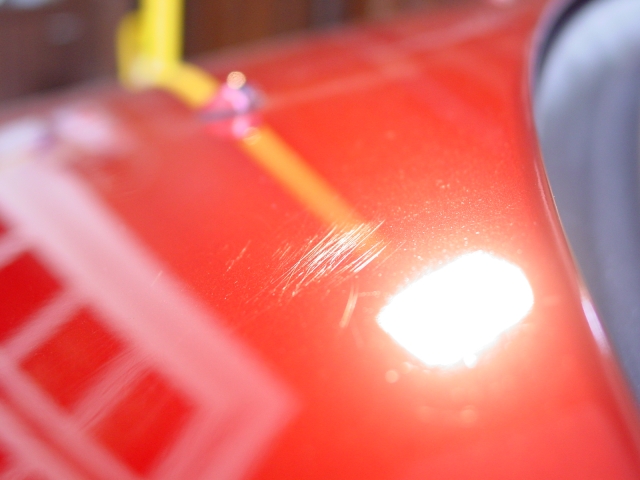
Second pass,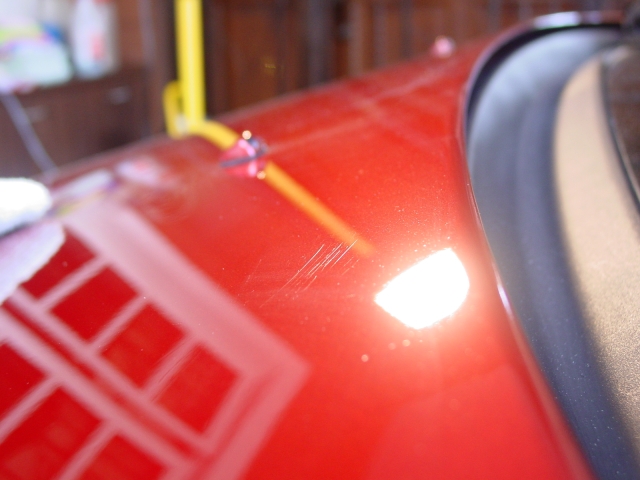
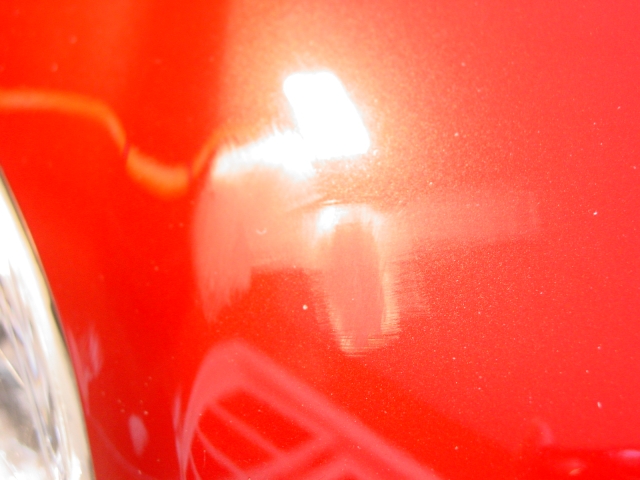
Third pass,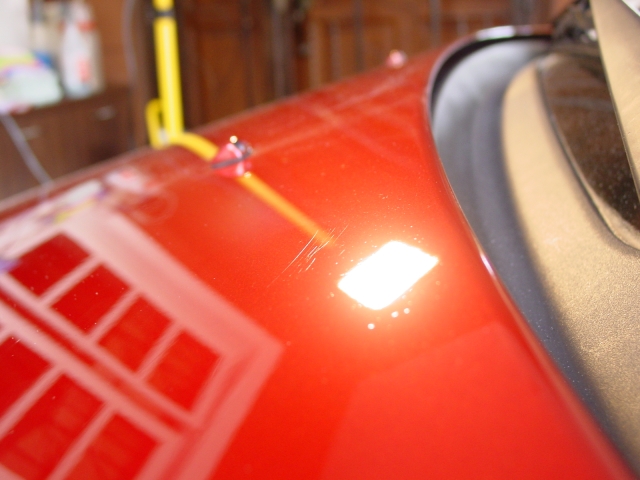
I stopped at this stage as I didn’t want to buff too much near the edge of the panel and left the defect as that.
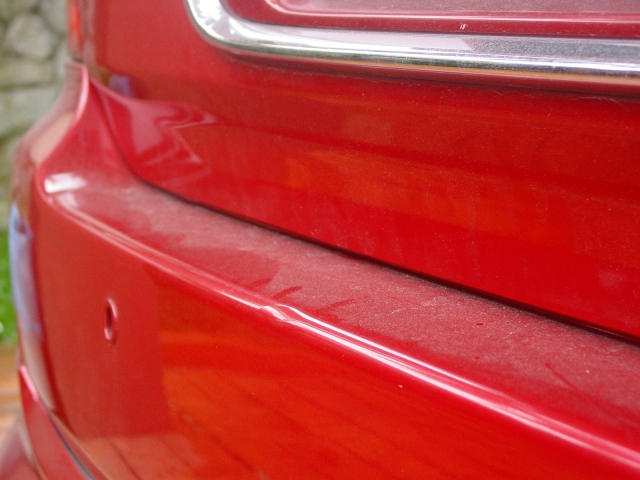
There was a spot on the rear bumper where it was scraped. The damaged couldn’t be repaired as it has scraped all the way through the plastic. Around the scrape however were some light scuff marks.
I taped up the scrape and polished around that area using M83 DACP/ Orange detailogy pad/ROB speed 5. Took about 4 passes to remove the scuffs.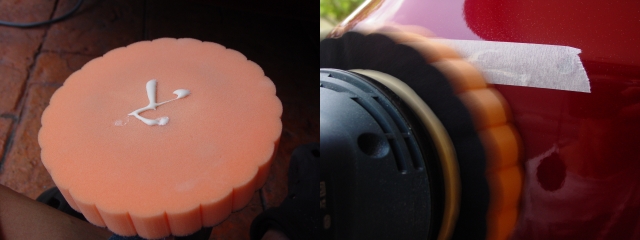
After :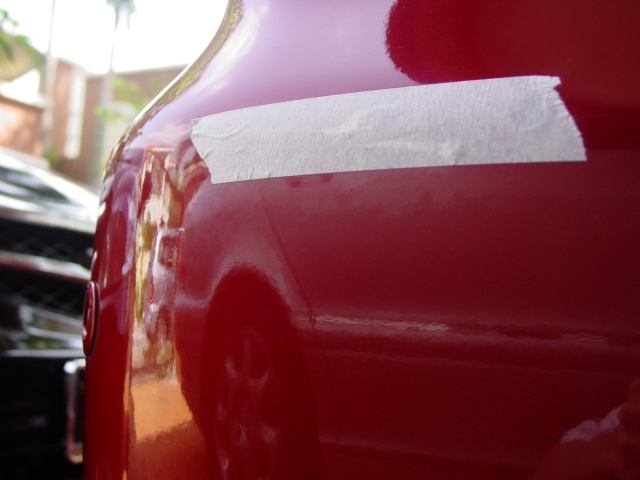
Intricate areas were polished using Optimum’s Poli-Seal by hand.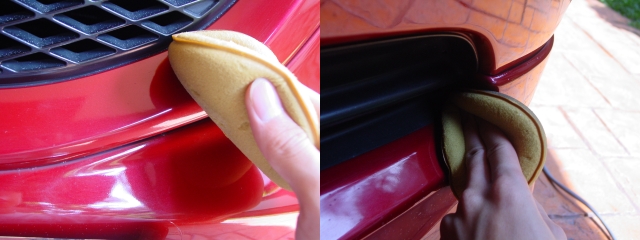
The car is then rinsed with the pressure washer to remove any polishing dust. Dried and applied FK1’s Pink Wax by hand.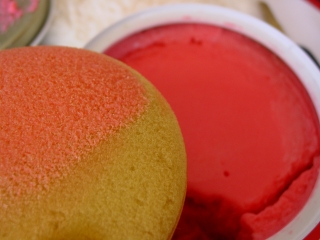
While the wax was left to dry, I cleaned the interior by shampooing the mats, and scrubbed all plastic, leather and vinyl with Meguiar’s All Purpose Cleaner(10:1) and a Meguiar’s Triple Duty Brush.
Leather seats were very dirty.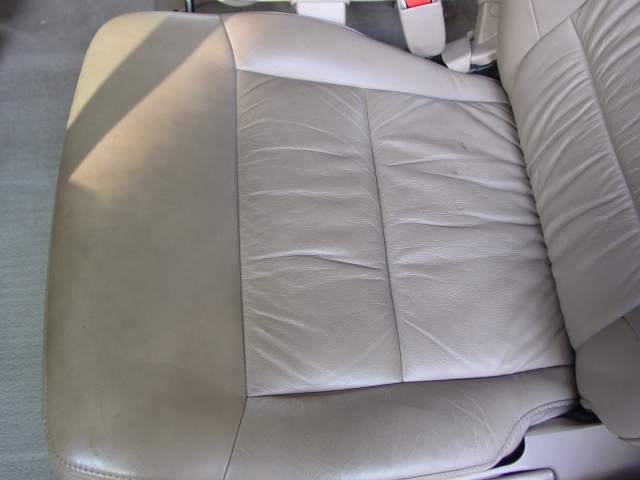
Scrubbing…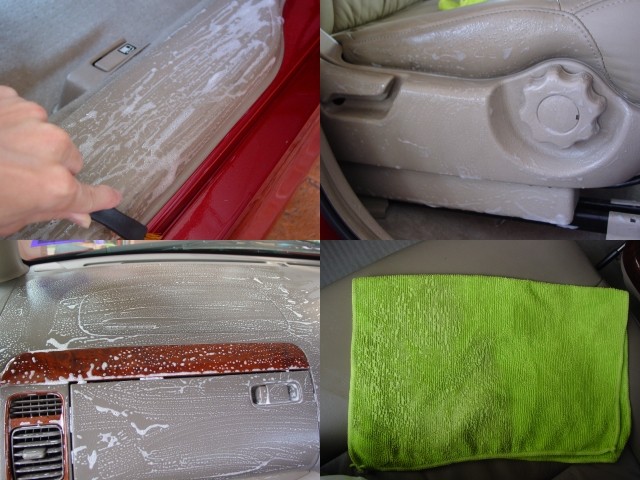
A dirty pail of water after cleaning the whole interior.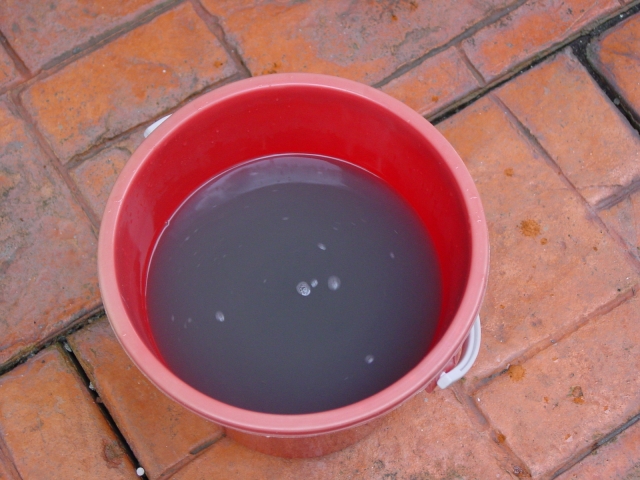
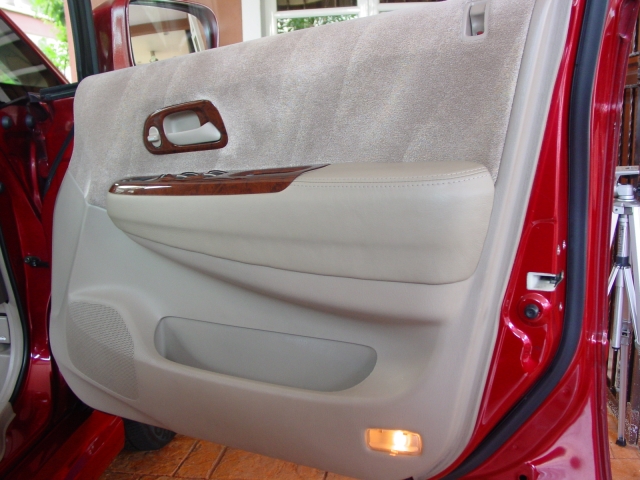
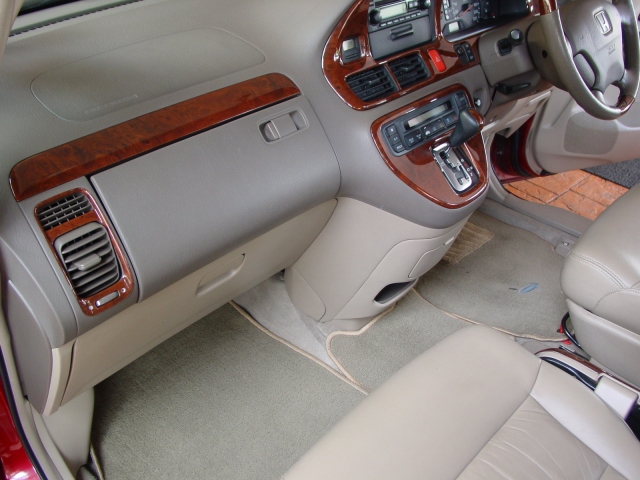
Interior afters: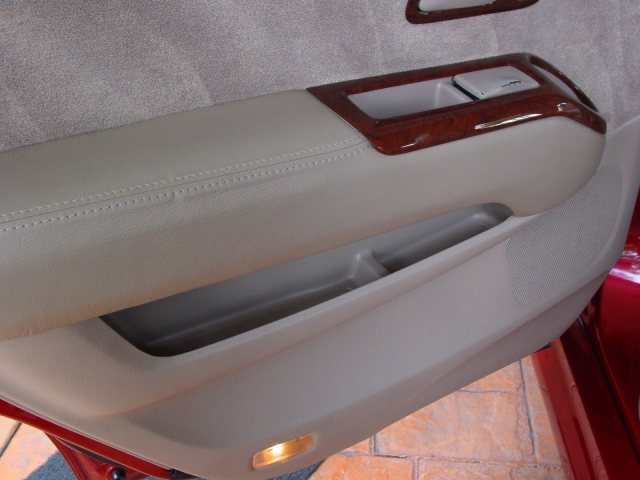
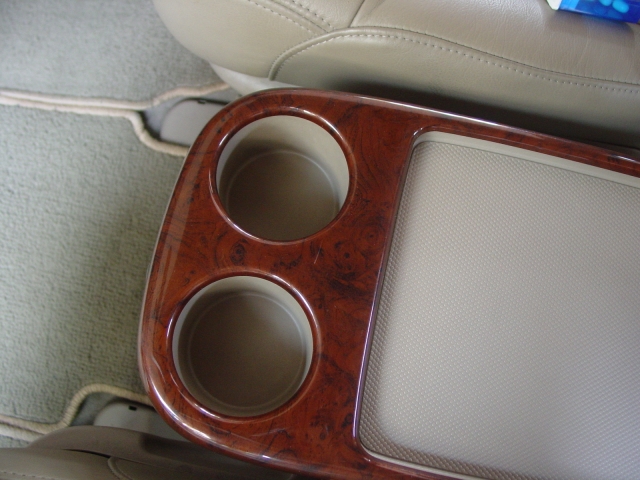
Seats were conditioned with Meguiar’s Leather Cleaner/Conditioner.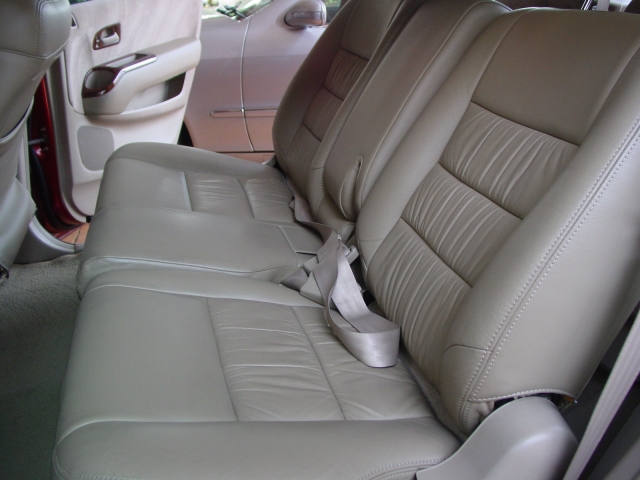
Glass cleaned with Meguiar’s Glass Cleaner Concentrate(10:1)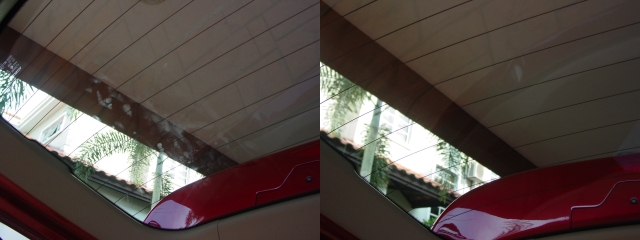
And finally tires dressed with Meguiar’s Hot Shine. Plastic and rubber dressed with Meguiar’s #40 Vinyl/Rubber Cleaner & Conditioner.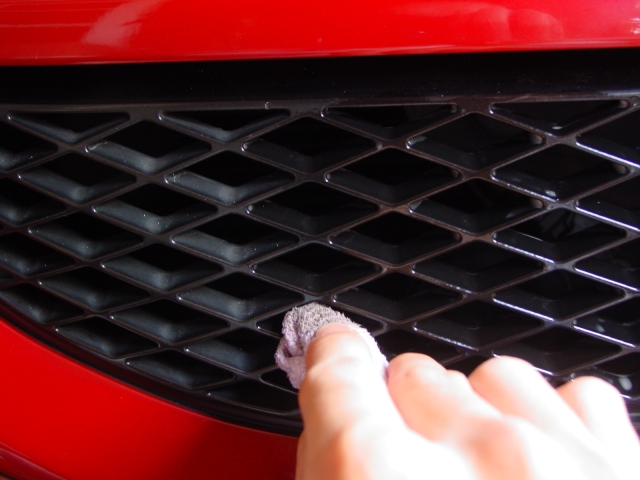
And out of the house to take some pictures! =D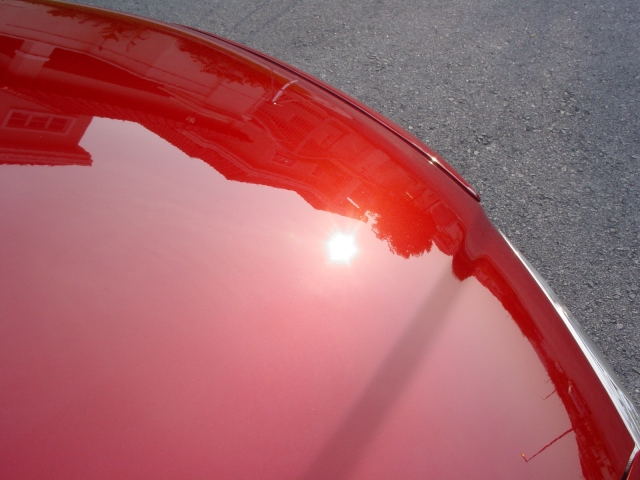
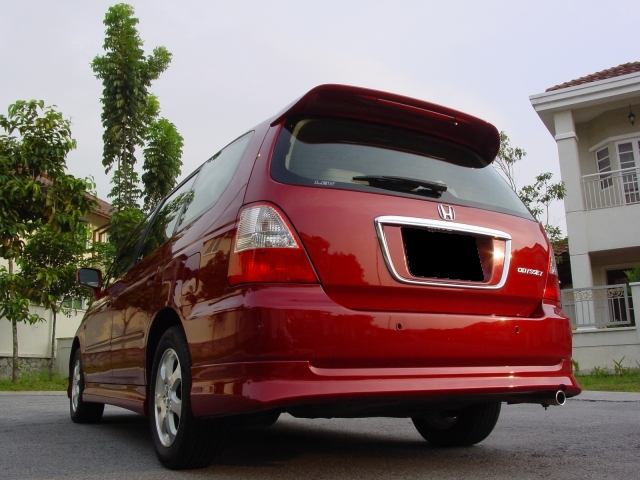
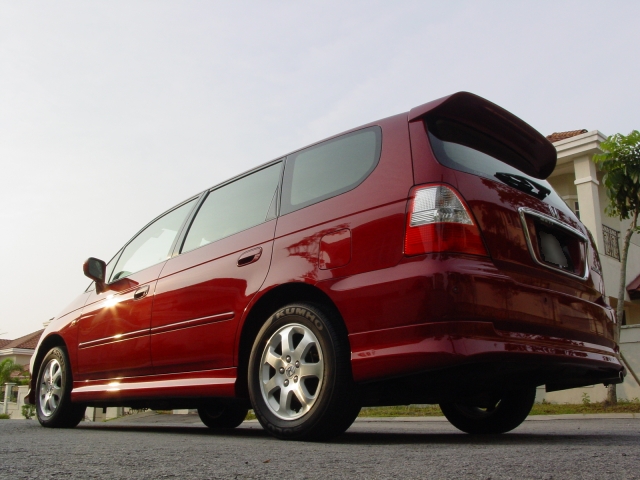
As always, many thanks for looking! Feel free to ask if there are any questions, or criticize if there are any doubts, most welcomed. Thank you =)
Read more!