My blog has moved!

Please visit
http://wetshine.net
for new content and update your bookmarks.

Welcome to Wet Shine Detailing!

To navigate this blog, you can use the Post Digger or Label Cloud located at the bottom of the page. Use Google Custom Search to search for a specific content such as 'Honda Civic' or 'Collinite 476s'.

Search This Blog

Sunday, July 20, 2008

Grit Guard Experiment

Aim: To test the effectiveness of Grit Guard.

Problem: How to reduce the chance of inflicting car wash marring.

Tools: Grit Guard, Buckets, Mothers Lambswool Wash Mitt.

Materials: Tap water, Meguiar's Shampoo Plus.

Hypothesis: The side washed with Grit Guard will retain more dirt and grit in the rinse bucket.

Variables:
(a) Manipulated: Grit Guard in bucket.
(b) Responding: Amount of Grit after washing.
(c) Fixed: Shampoo, tap water.

Procedure:

  1. The whole car is rinsed with normal hose pressure, taped in half.
  2. One half is washed with the two bucket method without using the Grit Guard.
  3. The other half is washed with the two bucket method with the Grit Guard.
  4. Rinse bucket is checked for amount of grit.
Photobucket

Photobucket


Photobucket

Photobucket

Photobucket

Photobucket

Photobucket

Photobucket

Photobucket

Photobucket

Photobucket

Photobucket

Photobucket

Photobucket

Photobucket

Photobucket

Photobucket

Photobucket

Photobucket


Photobucket

Photobucket


Observations:
Rinse bucket with Grit Guard has about 70%-100% more grit than rinse bucket without Grit Guard.
The rinse bucket with grit guard trapped lighter grit better than the rinse bucket without the Grit Guard

Inferences:
The vanes at the bottom of the grit guard prevent water from being swirled when agitating wash mitt in the rinse bucket. By keeping the water at the bottom of the bucket from swirling, grit has a lower chance to travel upwards to the wash mitt.

Conclusion:
The Grit Guard does work to help retain grit in the rinse bucket and may reduce the chance of inflicting car wash marring.

Thanks to Kok Yi for your help and input!

Read more!

Friday, July 18, 2008

Toyota Vios Coal Black

The car belongs to a forum member of Meguiars Malaysia forum, he washes and waxes it himself and is here to remove some light swirling.

He was very kind to wash and clayed it before hand, so when he came, we just rinsed it down and wipe dry.

So we started on the bonnet first, test using the least aggressive method, M82 Swirl Free Polish with a Lake Country black finishing pad via rotary. This removed about 50%-60% of the swirls and still left quite a lot of deeper ones.

We stepped up to the owner's own polish, 3M Perfect-it III Machine Glaze, according to product charts online, the abrasiveness level should be the same as M80 Speed Glaze.

The polish is used with a Meguiar’s W-8006 Polishing Pad via rotary. And success! Most of it were removed leaving the odd Random Deep Scratches(RDS). So I asked the owner if he was okay with it, or he wanted more cut, hehehe. He said it was sufficient and we just stuck with that combo.

This is followed by M82 Swirl Free Polish on a Meguiar’s W-9006 Finishing Pad via Random Orbital to remove the machine inflicted holograms during the polishing step.


Before:

Photobucket

After:


Photobucket

Before:

Photobucket

After:

Photobucket

We then wiped down the bonnet with M6000 Wax and Grease Remover to remove any polishing oils that may hide and inspected the surface under halogens, happy with the finish, we used the combo on the whole car.


Mid-way, the owner decided to debadge his boot to remove the ‘vios’ and ‘G’ badge.

Before:

Photobucket


During:

Photobucket

After:

Photobucket

So I worked my way around the car with the rotary,

Photobucket


This left some ugly holograms,


Photobucket

Photobucket

Photobucket


The owner then followed this with M82 Swirl Free Polish on a Meguiar’s W-9006 Finishing Pad via Random Orbital, and did a fantastic job removing them!


Photobucket


We finished quite late, and my camera ran out of battery at the end so only have two shots. These are after polishing, finishing and a pressure rinse to remove dust. No wax

Photobucket

Photobucket

Thanks to the owner! Had great fun and relieved when finally finished. Looking forward to your pics after you put on the M21 2.0 on her ;)


Thanks to others who came as well, your company is always enjoyed.

Notes:

The 3M polish in my opinion has a little more cut than M80 but lesser than M83. It is quite dry and may be grabby sometimes, dusts quite a lot but can be washed away and the residue is easily wiped away. It sure is nice to have around if something in between M80 and M83 is wanted but unfortunately it can’t be bought around here as it was only a sample…

Thanks for looking as always and feel free to comment or ask any questions.


Read more!

Saturday, July 12, 2008

Nissan Latio Metallic Black

This car is a year old but has low mileage (15,000 KM), so it was in a fairly new condition. I only had a day and a half to do this car but I wanted maximum paint correction, so I didn’t take much process pictures, sorry for the short write-up as was pressed for time.

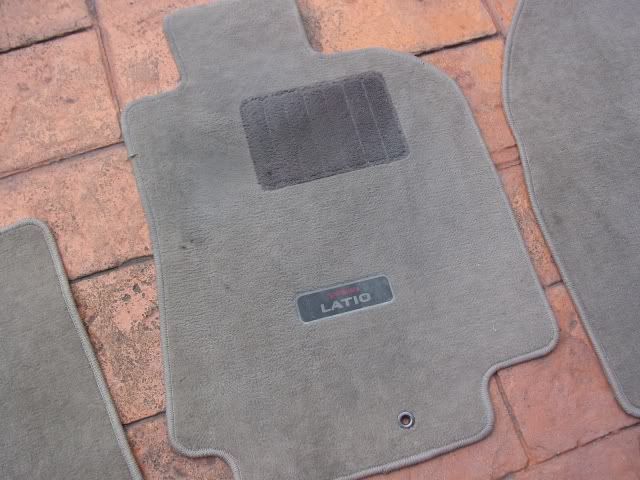
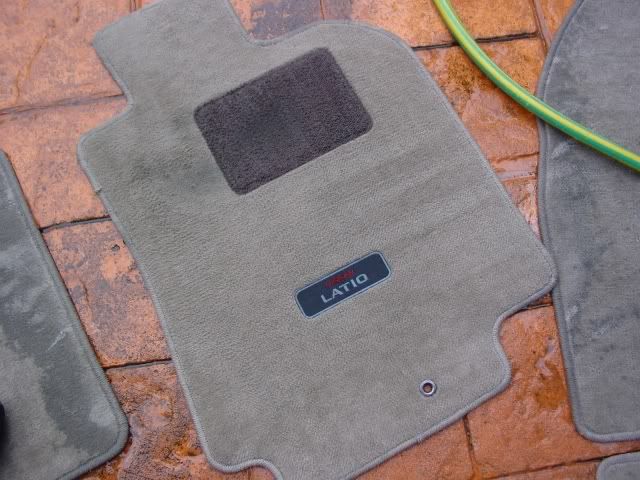
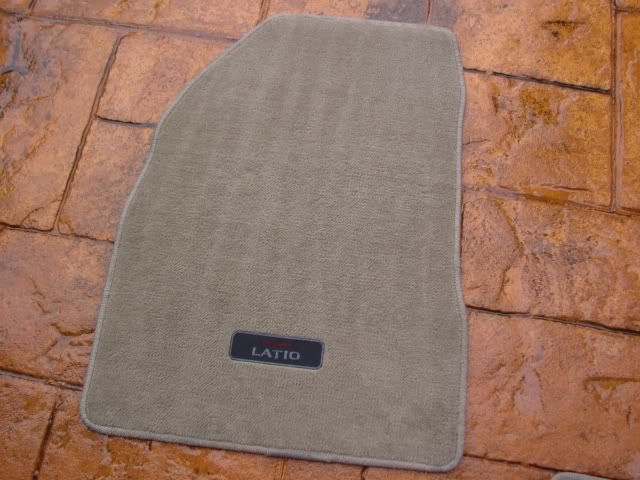
So the first half of the day started by cleaning the interior. First task was cleaning the carpets, what I used to do was to scrub with Meguiar’s All Purpose Cleaner, rinse off and hang dry. After reading and watching the pros using an extractor(and wondering why don’t they just scrub and rinse), I tried to replicate the process using my wet and dry vacuum.

Photobucket

Photobucket

Photobucket

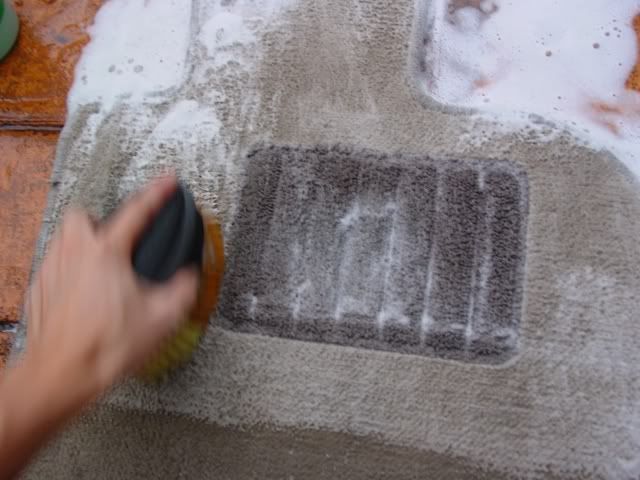
Scrubbed and wet vacced.

Photobucket

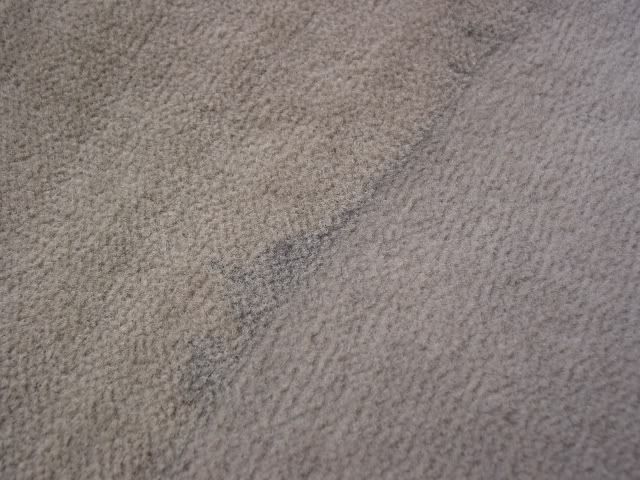
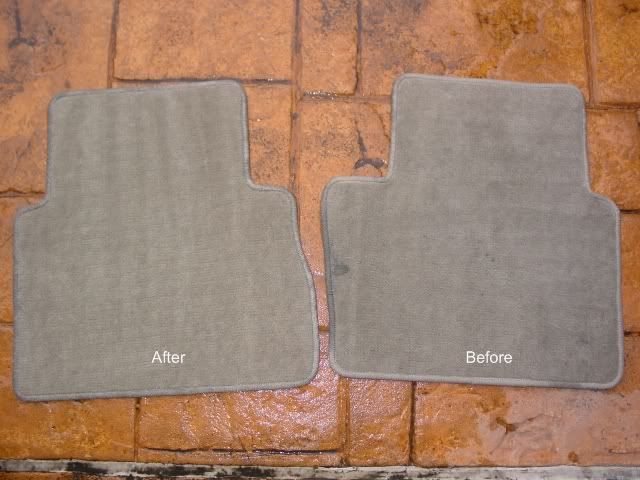
Here you can see the reason for extracting out the water. After scrubbing and rinsing, the water retains in the carpet, and this water is dirty, if left to dry, the dirty might still be in the carpets. Here you can see the dirty water, half of the carpet has been wet vacced and the other has just been scrubbed and rinsed.


Photobucket

Photobucket

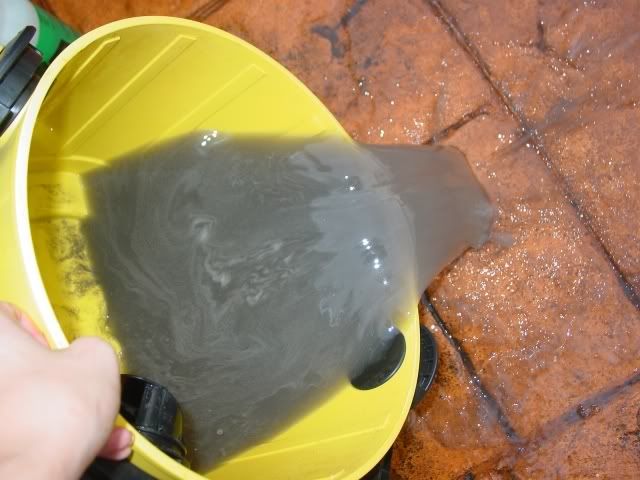
And the water after cleaning two mats.


Photobucket


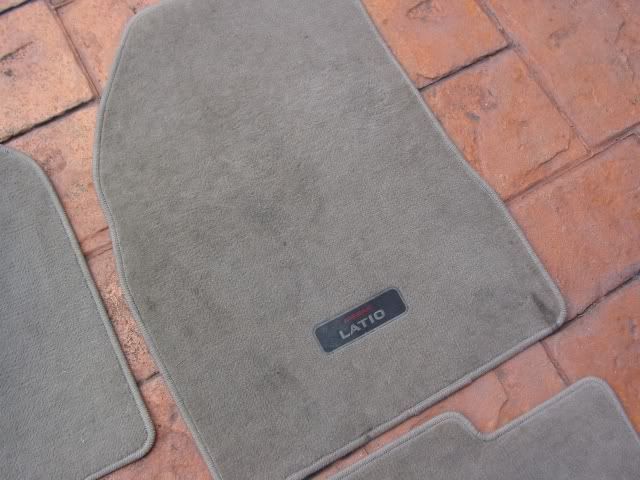
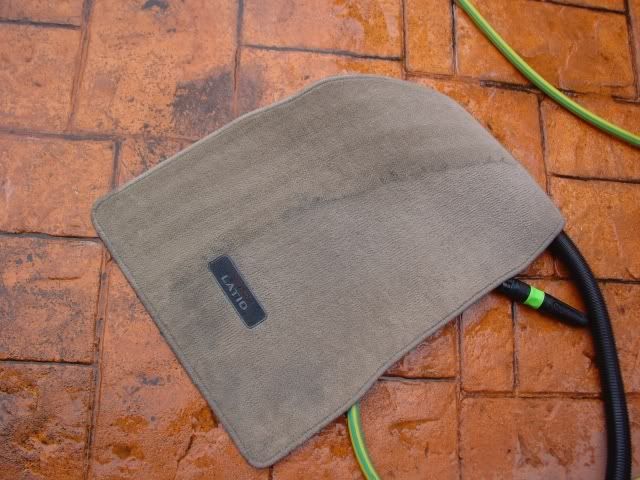
Clean, fresh and almost dry.


Photobucket

Photobucket

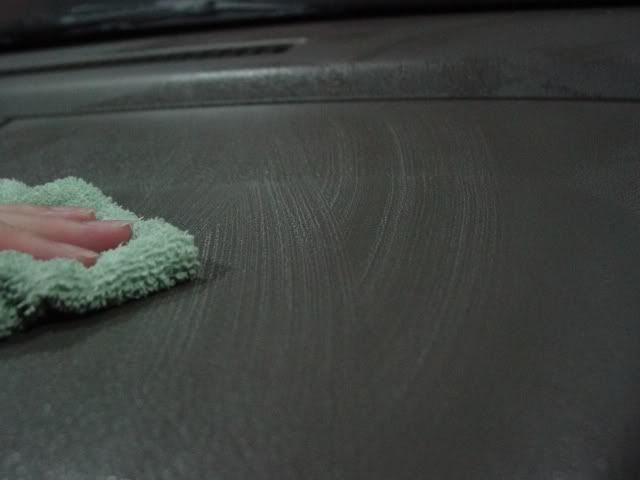
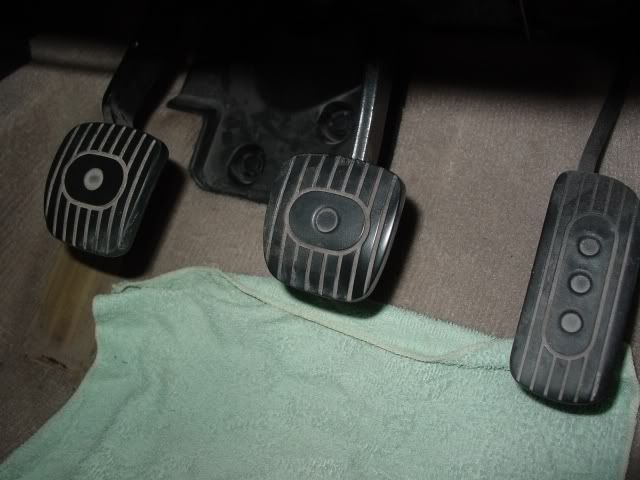
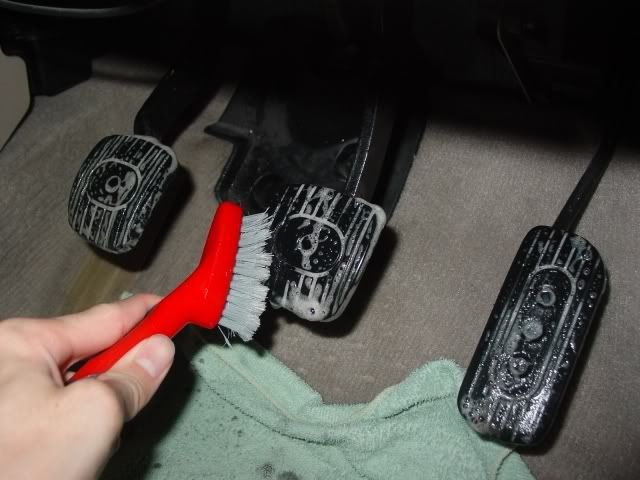
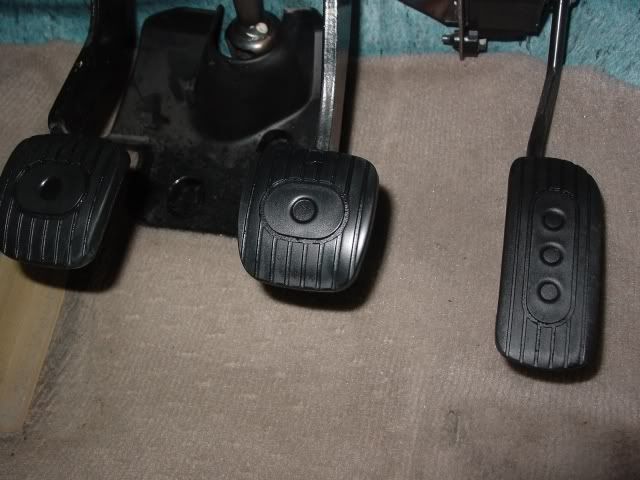
Then interior including the pedals is cleaned with Meguiar’s All Purpose Cleaner(10:1).

Photobucket

Photobucket

Photobucket

Photobucket


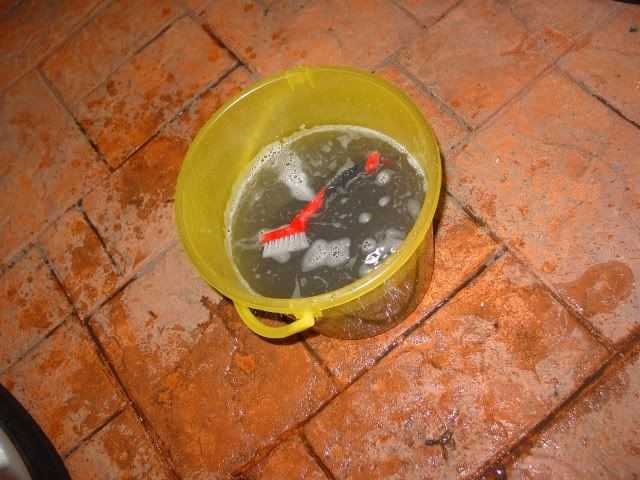
Bucket of rinse water after cleaning the interior and wiping down the door shuts.

Photobucket

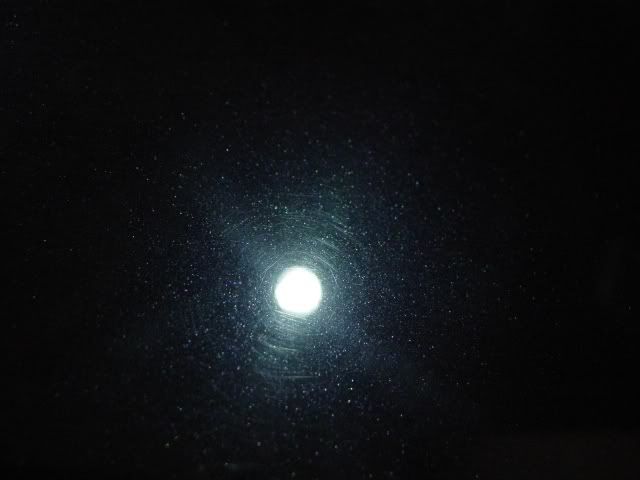
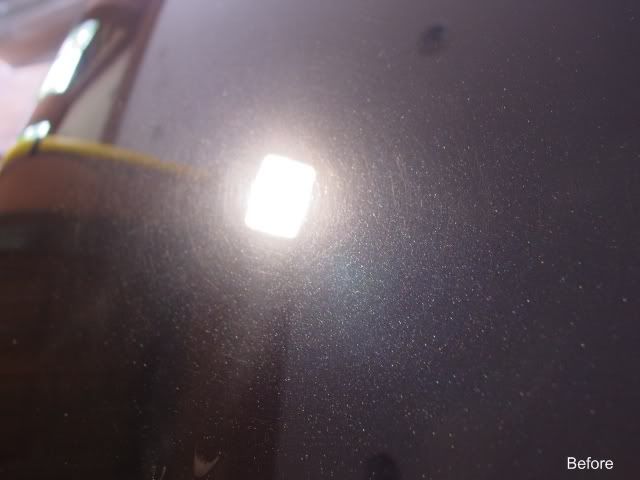
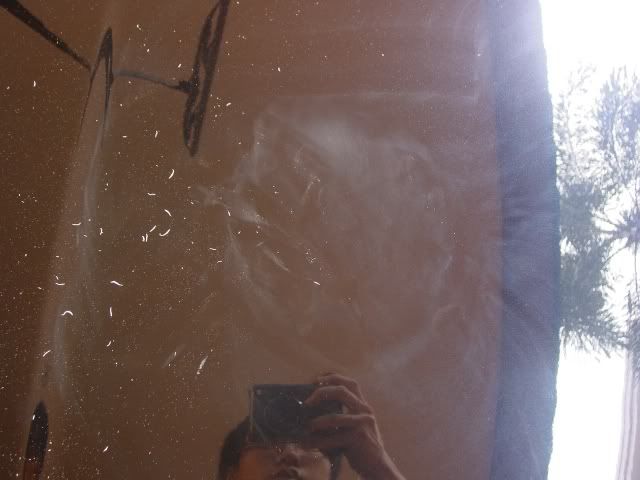
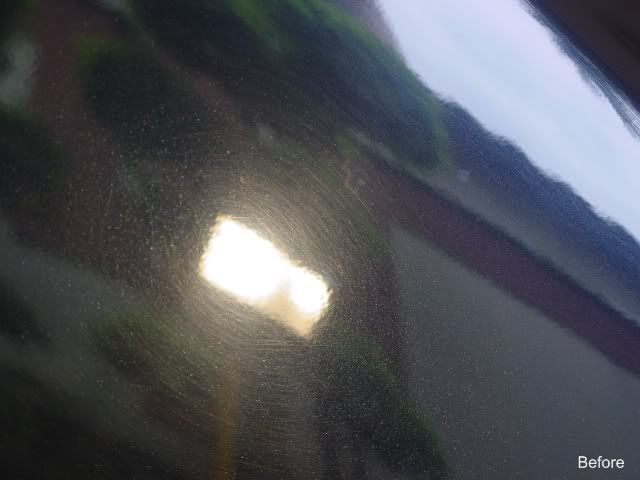
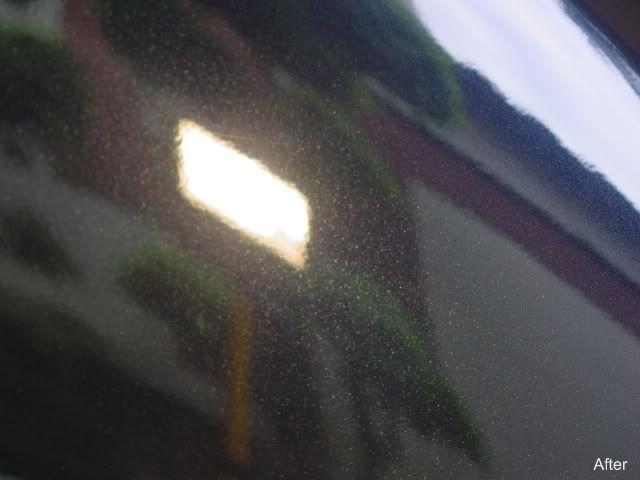
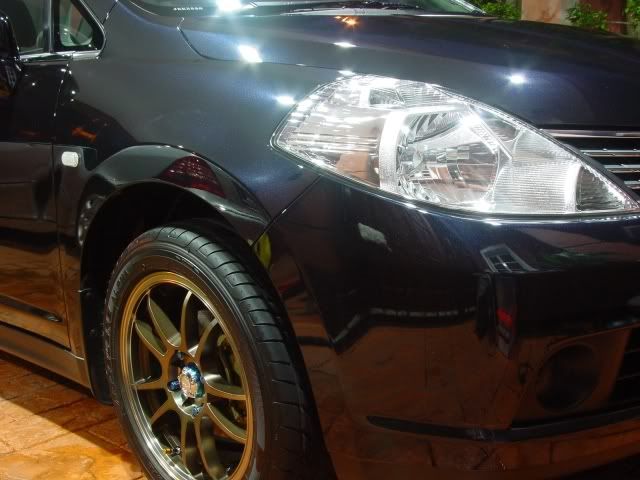
The paint is quite swirled but most of it doesn’t look very deep.

Photobucket

Photobucket

The next day, wheel wells, wheels and tires cleaned with Osren Multi Cleaner. Car body washed with Meguiar’s Hyper Wash and tar removed with Osren Tar Remover.

Photobucket


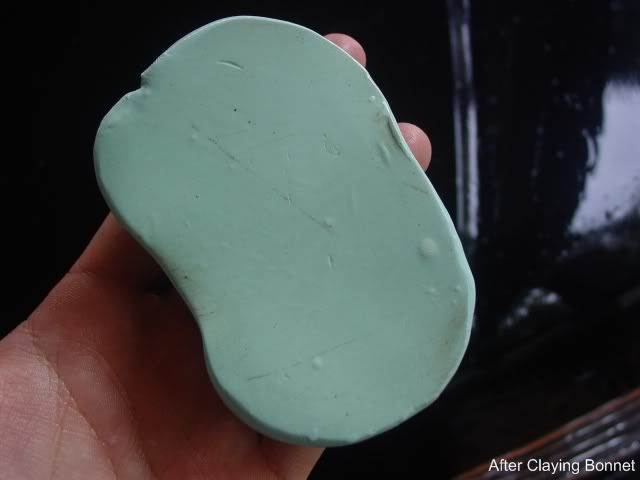
The paint didn’t feel too rough.

Photobucket


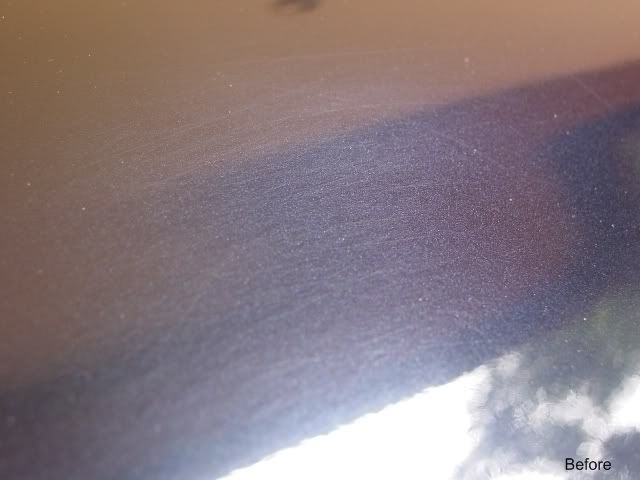
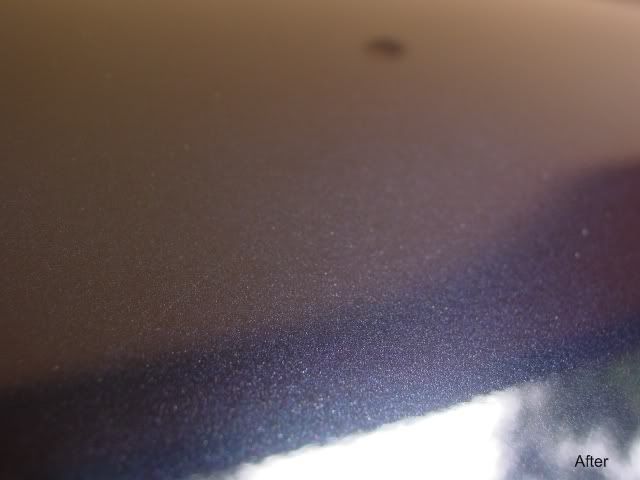
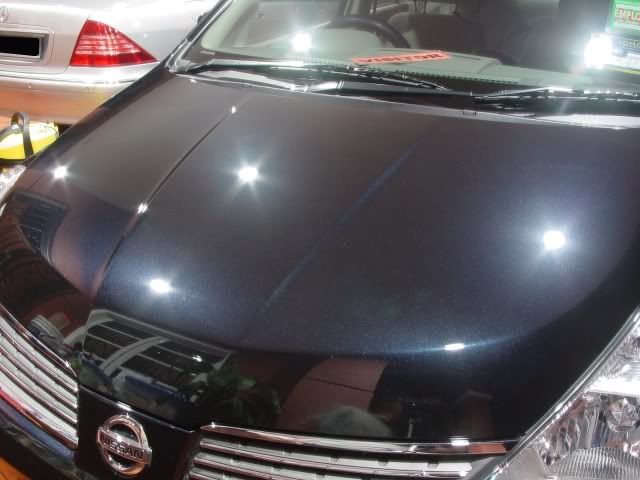
After cleaning the paint, a test spot was done on the bonnet. First combination tried was Meguiar’s #82 Swirl Free Polish on a Lake Country Black Finishing Pad via rotary.

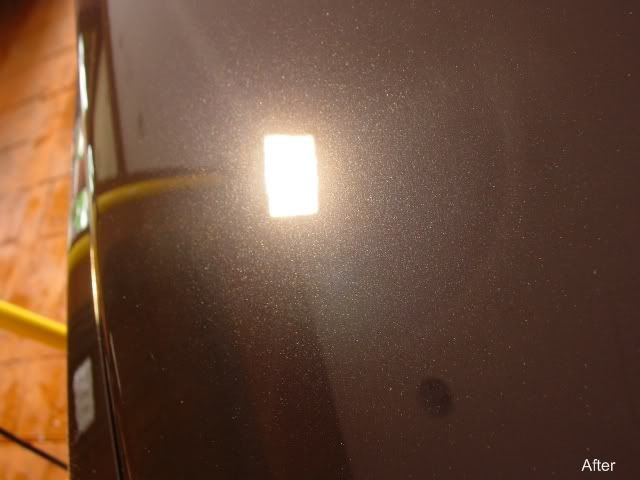
This removed about 60% of the scratches. I wanted maximum correction in the available time so I stepped up to Meguiar’s #83 Dual-Action Cleaner/Polish on a Meguiar’s W-8006 Polishing Pad via rotary and this removed about 80-90% of the scratches.

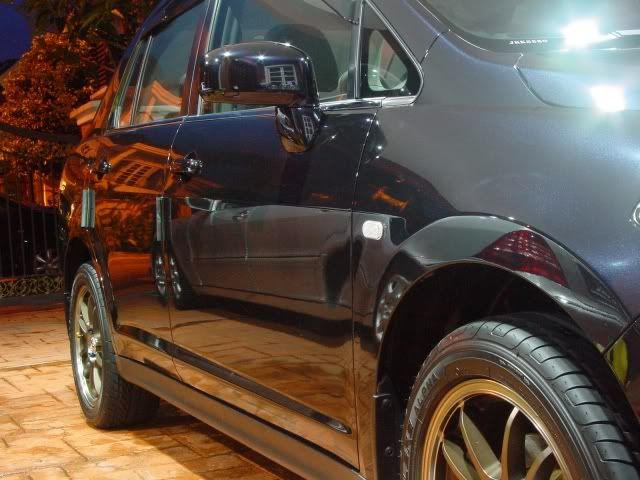
This combination was used on the whole car

Photobucket

Photobucket


I was facing ‘sticky paint’ issues, the polish was clumping up and the residue was very very difficult to remove, I had to wipe each panel with M6000 Wax and Grease Remover after polishing, despite that, the scratches were being polished out nicely. One thing to note was the panels that were sprayed with Osren Tar remover didn’t feel as ‘sticky’ and the polish worked a little bit better.


Photobucket

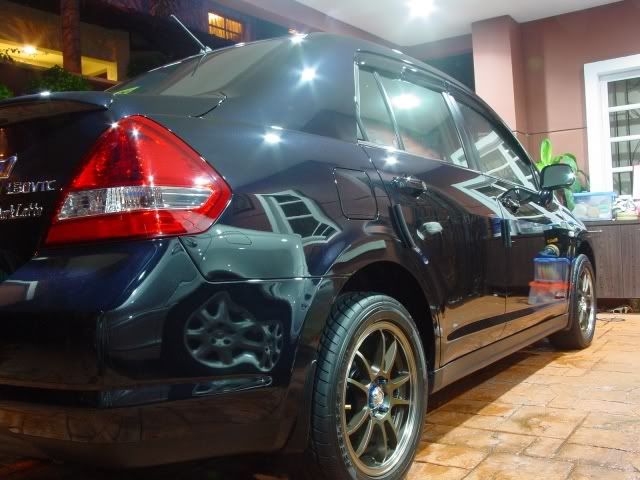
So I just battled it and buffed the whole car. After Meguiar’s #83 Dual-Action Cleaner/Polish, it is followed by Meguiar’s #82 Swirl-Free Polish on a Lake Country Black Finishing Pad via rotary and then again with Meguiar’s #82 Swirl-Free Polish on a Meguiar’s W-9006 Finshing Pad via random orbital.


Photobucket

Photobucket

Photobucket

Photobucket

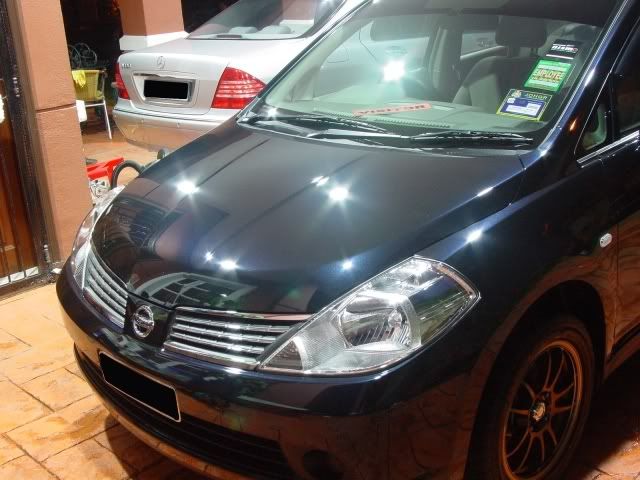
After this, the whole car is pressure rinsed to remove polishing dust (a lot of it), and polish residues is cleaned off from edges. Meguiar’s #21 Synthetic Sealant is applied.

While waiting for it to pass the swipe test, exterior trim dressed with Autoglym Bumper Care and tyres dressed with Meguiar’s Hyperdressing (1:1).

Photobucket

Photobucket

Photobucket

Photobucket

Photobucket

Photobucket


As always, thanks for looking, feel free to comment and ask any questions. Wished I had more time to do it in more detail.

Also many many thanks to the owner for having to travel long distances to my place for the detail! Very much appreciated =)


Read more!

Label Cloud

  © Free Blogger Templates 'Photoblog II' by Ourblogtemplates.com 2008

Back to TOP