
Rotary Buffing Write-Up
Hi there fellow visitors, many many many apologies for not updating this site for a long time as I am no longer on holiday and have resumed my studies, I do not have spare time to detail anymore cars. I might and will get back on it as soon as my holiday returns and meanwhile I've got a panel to practise my machine on. Hopefully, I will improve my skills in order to serve you better. Thank you.
Below is a write-up I posted on Meguiar's Online and Meguair's Online Malaysia
here is the link to the thread in Meguiar's Online(MOL):
http://www.meguiarsonline.com/forums/showthread.php?t=20602
and below is what has been typed, visit the thread on MOL for clearer pictures. Thank You
Hi all!
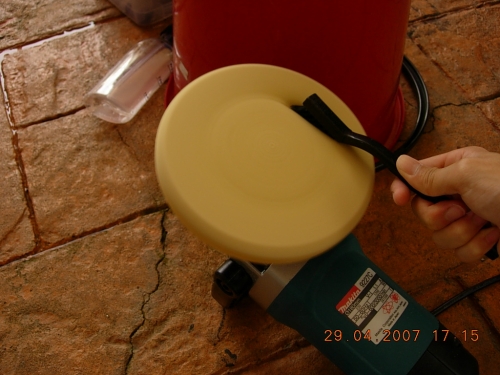
A few months after purchasing my Rotary Buffer (Makita 9227c), I haven't really had the chance to use it yet, I fear that I might cause buffer swirls, holograms or paint burns, I didn't dare to use it on a car.
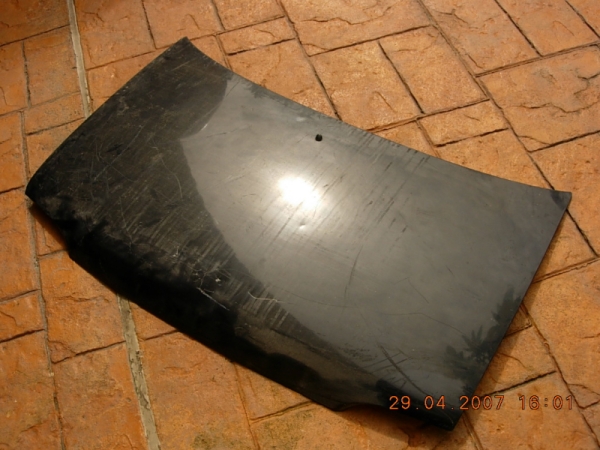
So I went and bought a scrap panel! It's from a Perodua Kancil...
Colour is Metallic Grey(or so I thought).
recently being inspired by the flawless finish produced by the guys at Hypercoat, I got fired up to try it out myself.
I mean, "How hard could it be???"
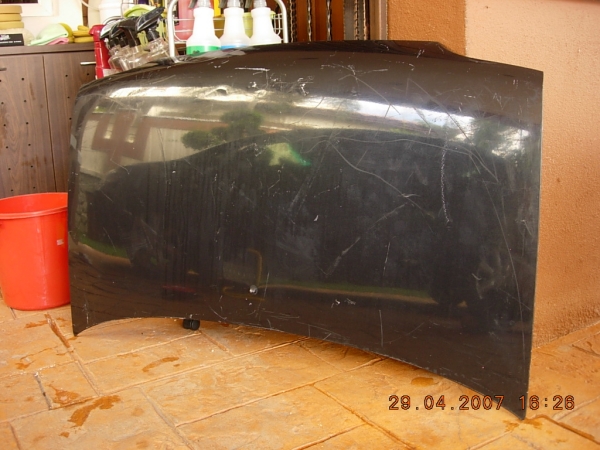
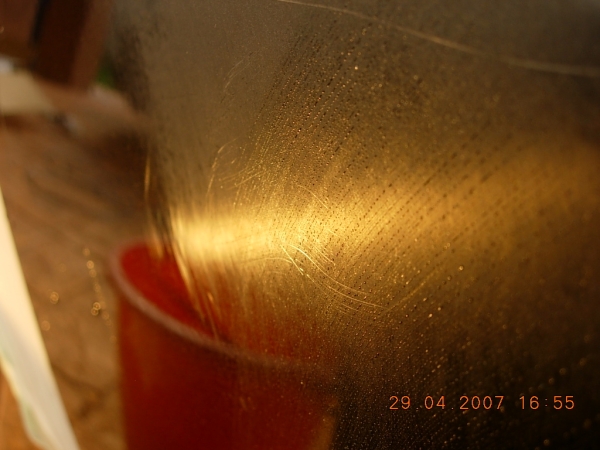
So this is the condition of the panel when I bought it, lots of dust and dirt.

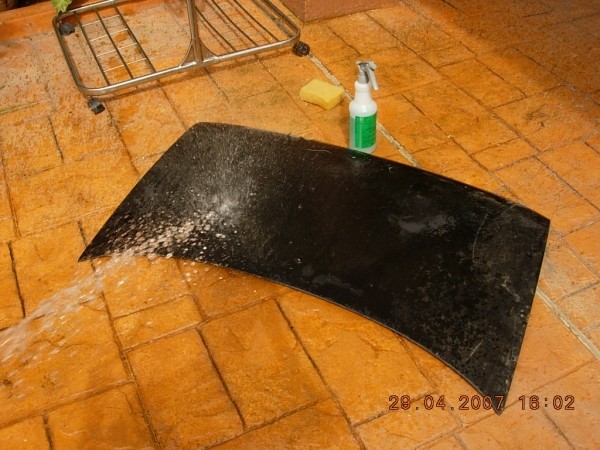
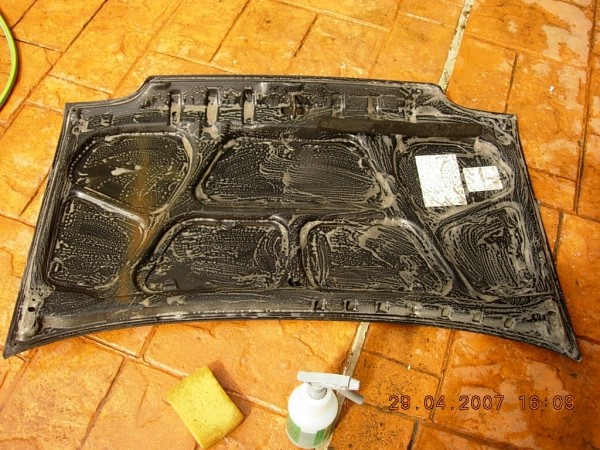
Giving it a good wash with Meguiar's All Purpose Cleaner and a sponge.
The underside got sprayed with Safe D-Greaser and agitated with a brush.
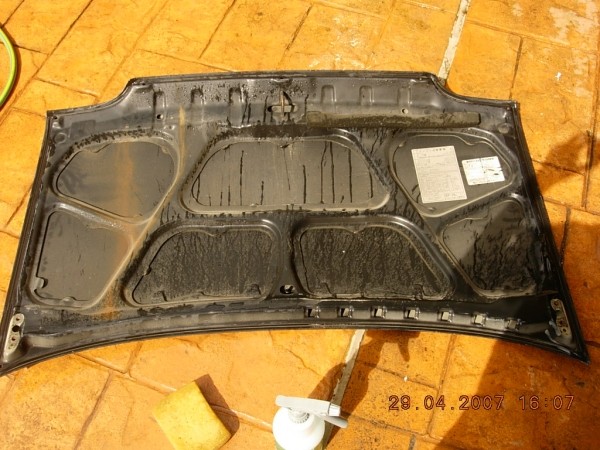
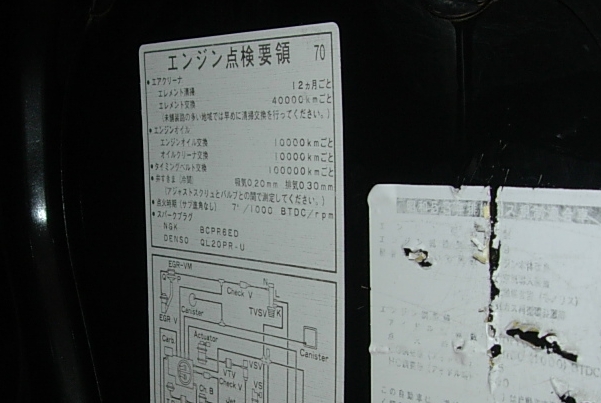
Imported from Japan.
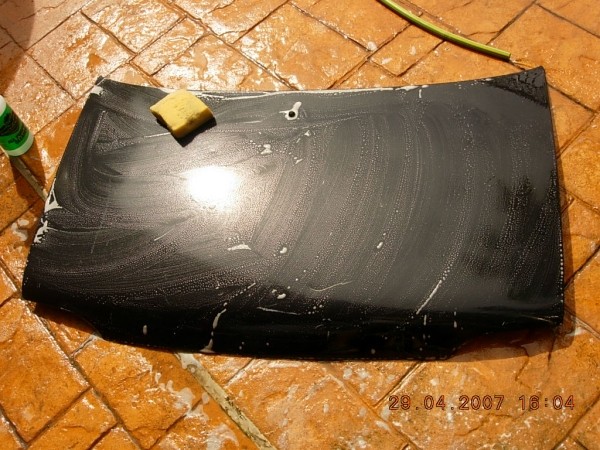
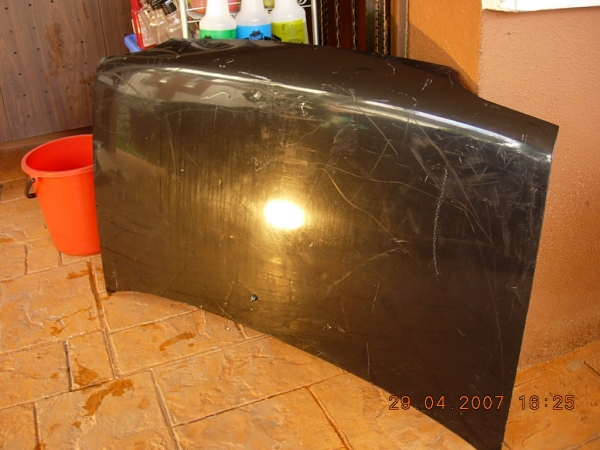
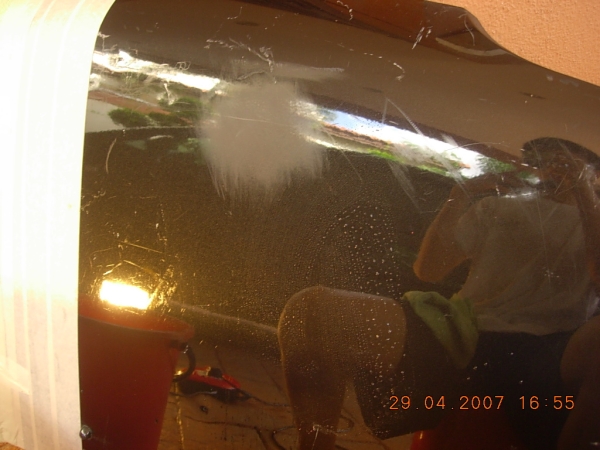
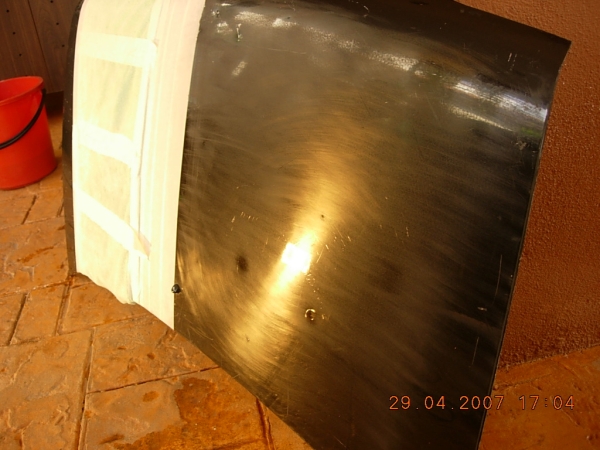
This is the panel that has been washed and clayed.It doesn't look that bad...
Nothing some ColorX can't fix:laughing .
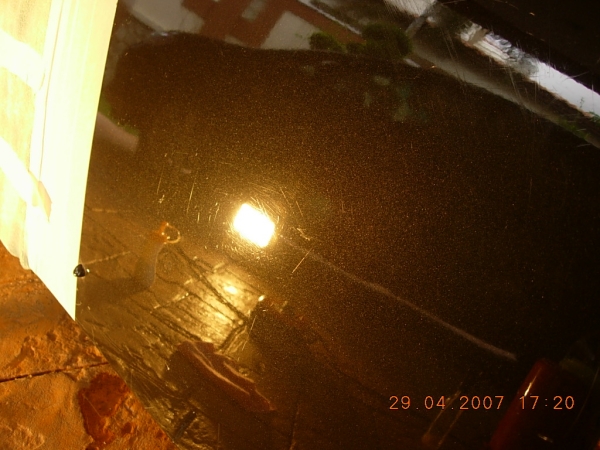
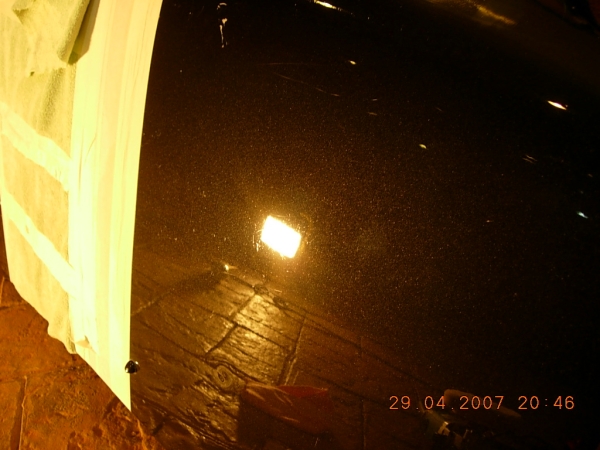
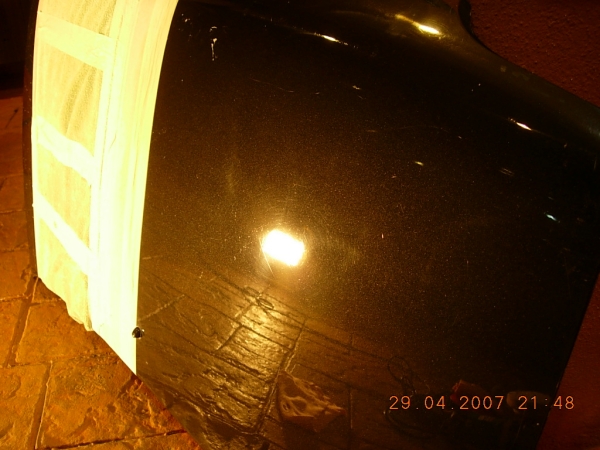
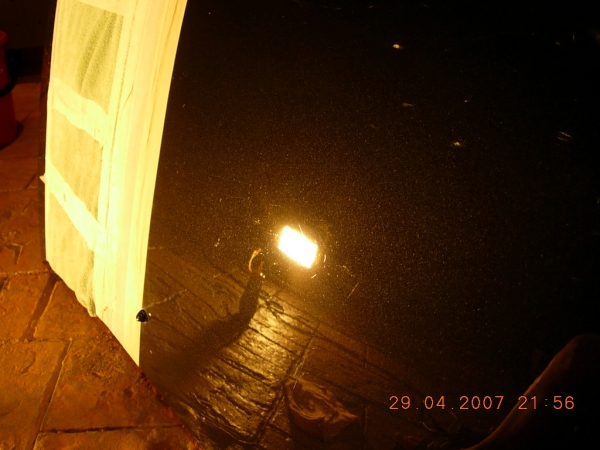
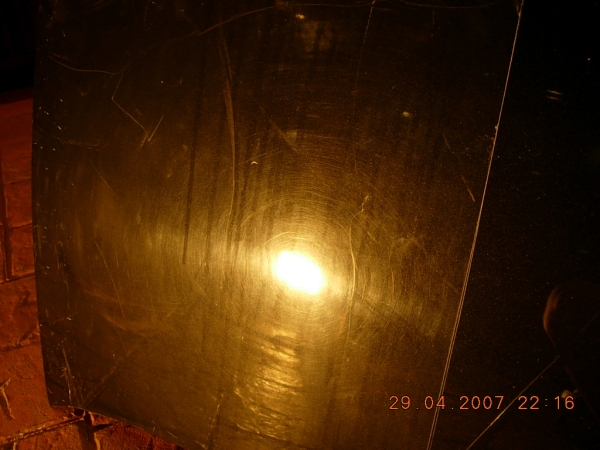
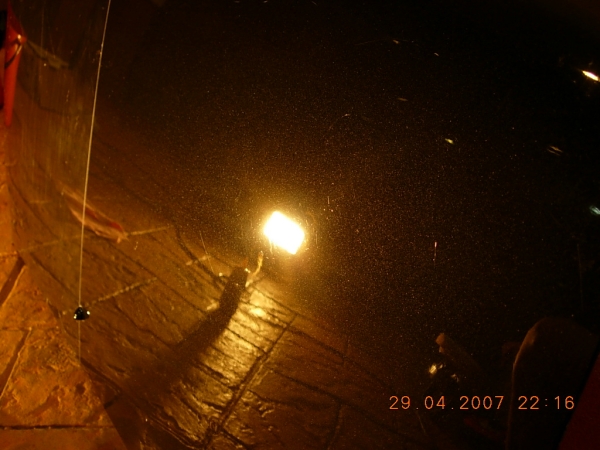
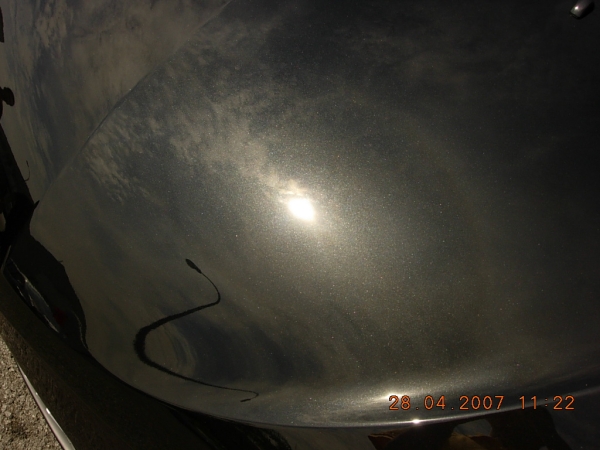
Switch on the Halogen light. WOAH! wheee
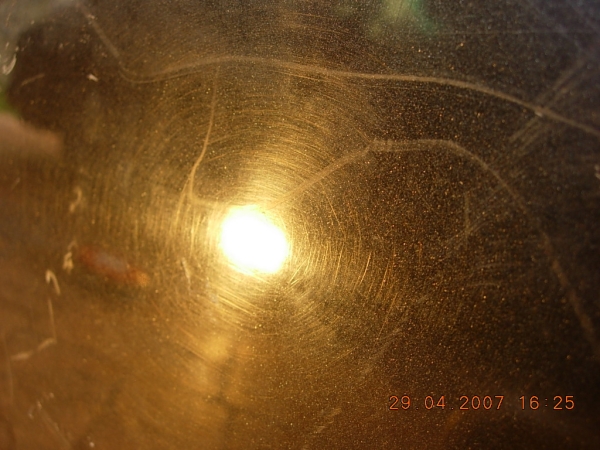
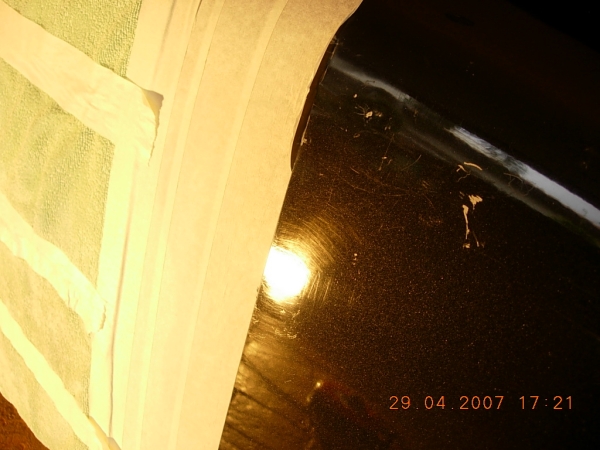
Taped up half of the hood.

Lay a line of M83 Dual-Action Cleaner Polish
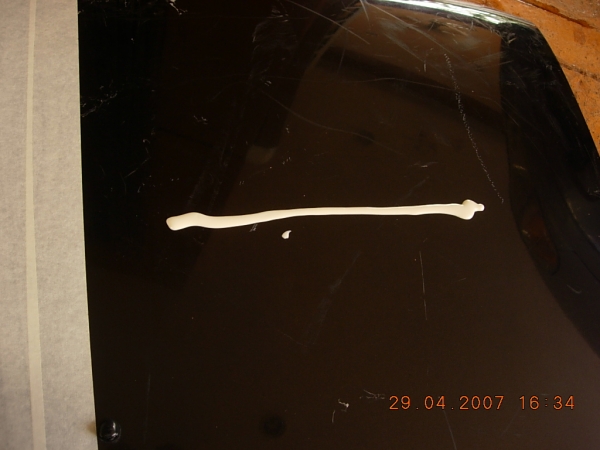
Polish it with W-8006 polishing pad at speed 1 (600rpms)
At this point, all the stains and oxidized paint was cleaned up, but still had way to many defects.
round 2,
lay some more DACP
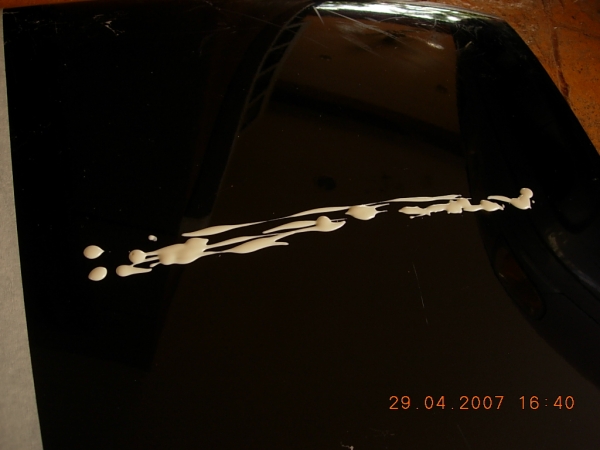
big mistake, too much product, caused splatter.
only a small improvement
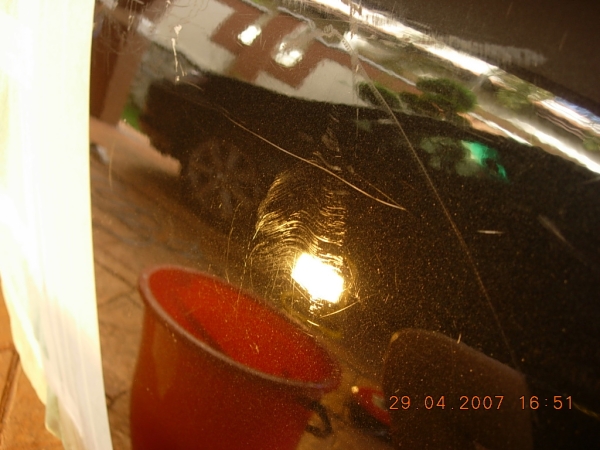
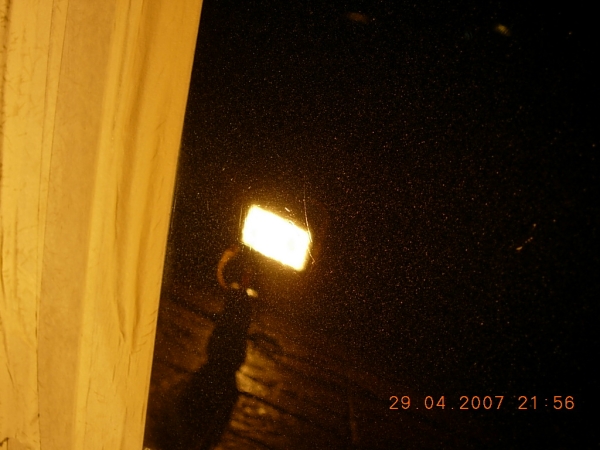
and defects like this weren't going away,
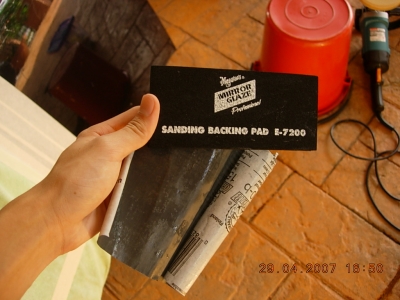
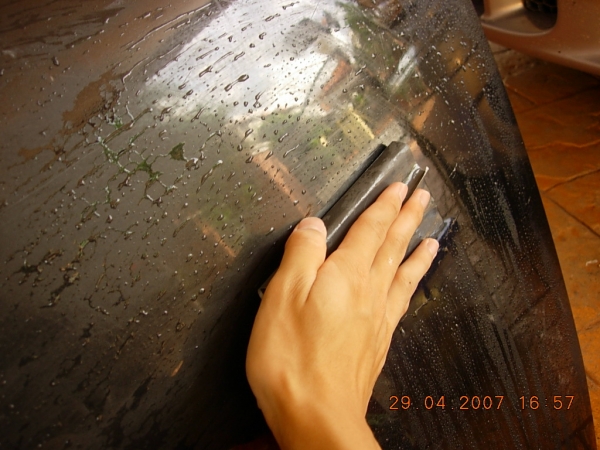
So I took out my new sanding pad, wrapped it with 1500 grit sandpaper.
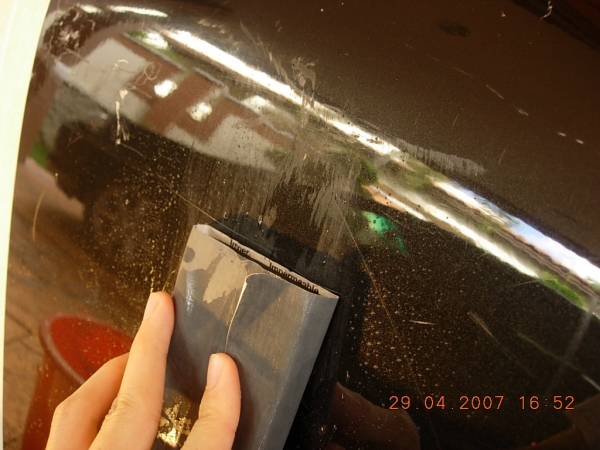
And tried to sand it out
Then I got greedy.
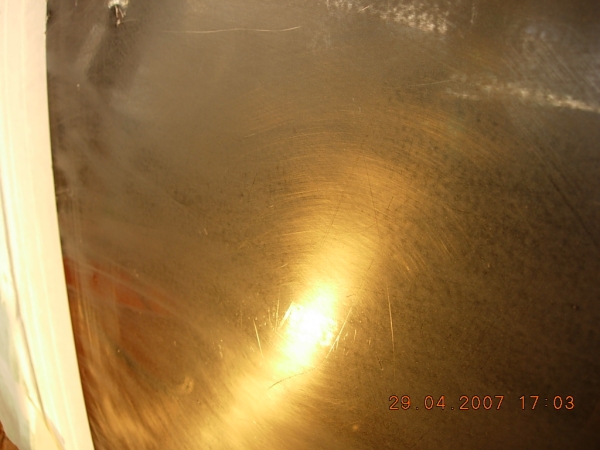
Gave it a pass of DACP
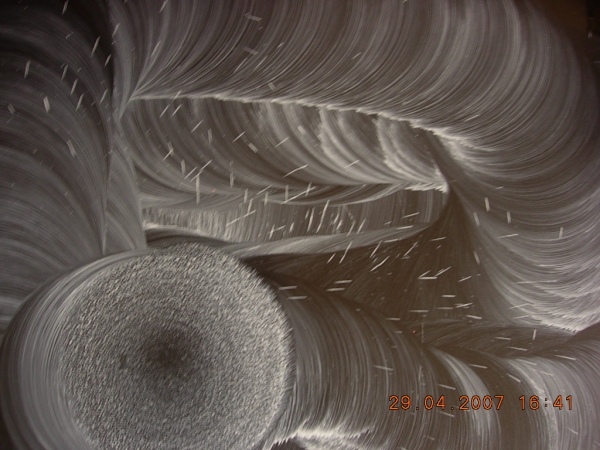
woah! even more swirls than the second pass of DACP.
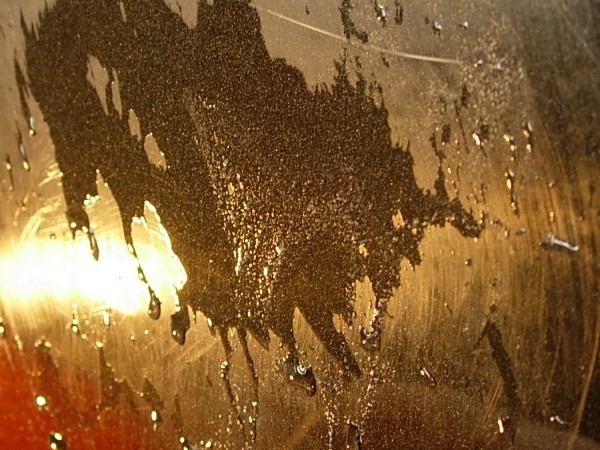
Cleaned the pad with a nylon brush, you could see dust shooting out from the pad.
Gave it another pass of DACP, this lessened the swirls, but the deeper defects are still not moving.
Sanded some areas with deep defects,
After a pass of DACP, still had some sanding marks.
Other areas were improving.
The heavy rain was blowing droplets of water into my working area, so I had to delay for a while.
Came back gave it a pass of M80 Speed Glaze with W-8006 pad.
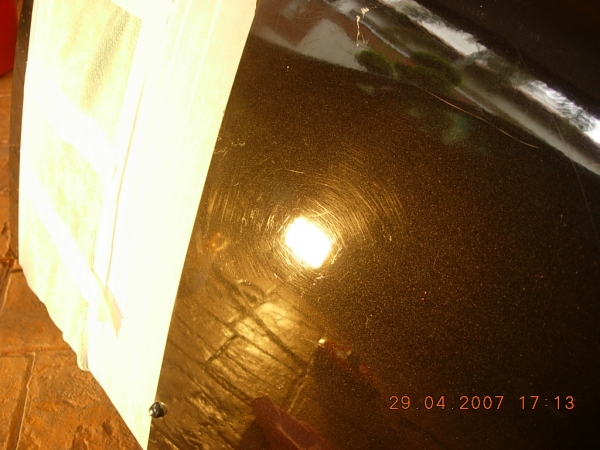
had some terrible buffer swirls in some areas.
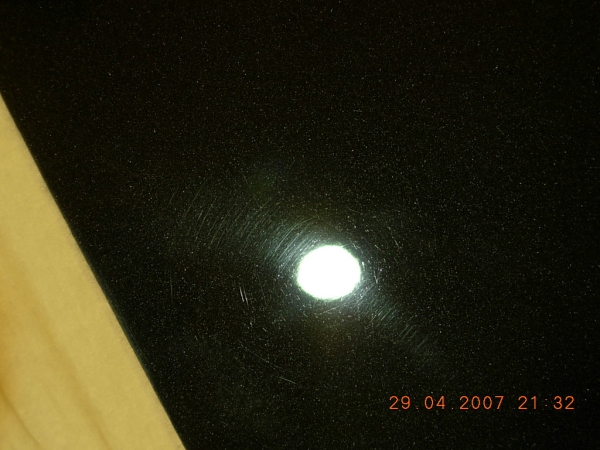
So I switched to a W-9006 Finishing Pad, polished with M80 at 600 rpms.
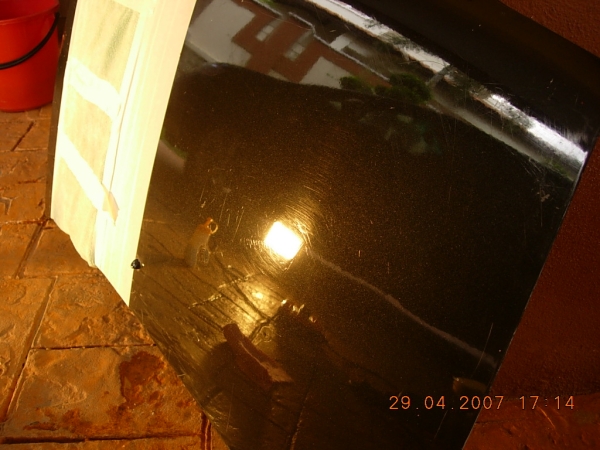
Sweeet! This got rid of the buffer swirls and left a nice clear finish.
Being satisfied for now, I waxed it with M21 Synthetic Sealant, followed by M26 Hi-Tech Yellow Wax.
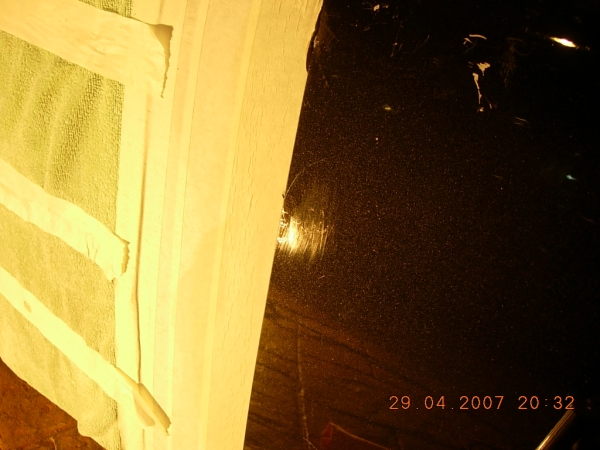
While waiting for the wax to dry, I removed the taped up area.
Not much of a difference...
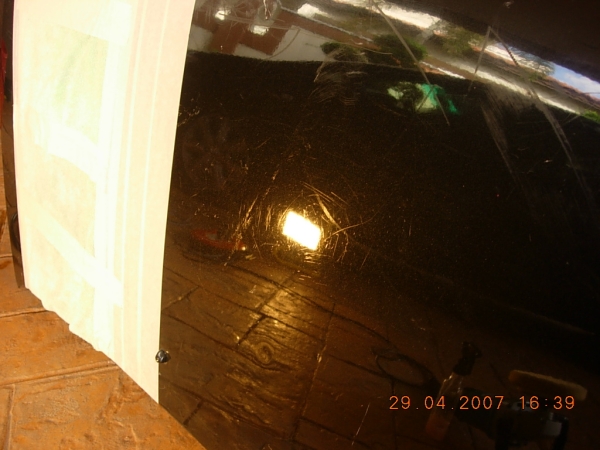
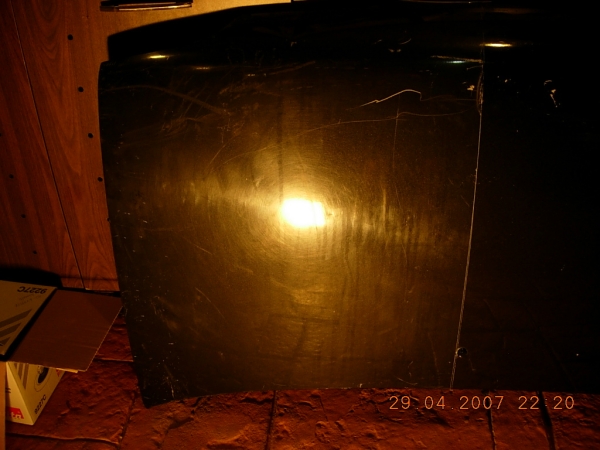
wait, switch on the light.
Before
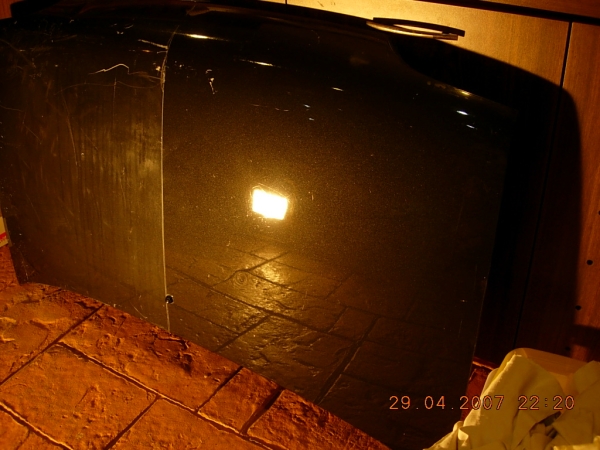
After
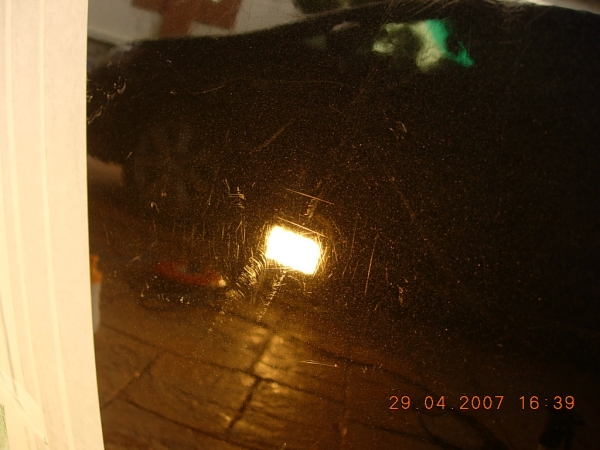
Before
After
wheeeeeeee
:) Thank You very much for reading this write up.
"How hard could it be?" - Hard.....
what should I do to achieve a finish like this
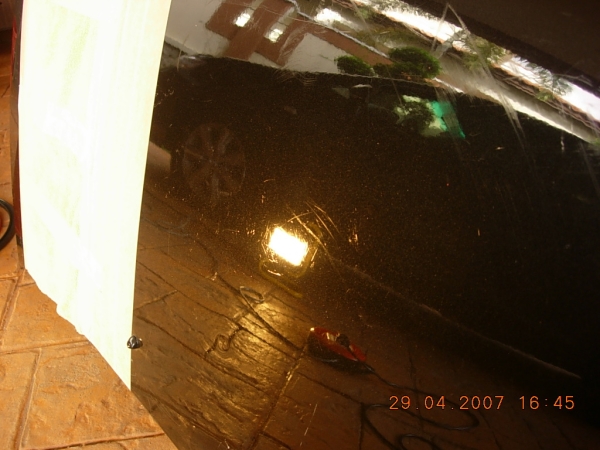
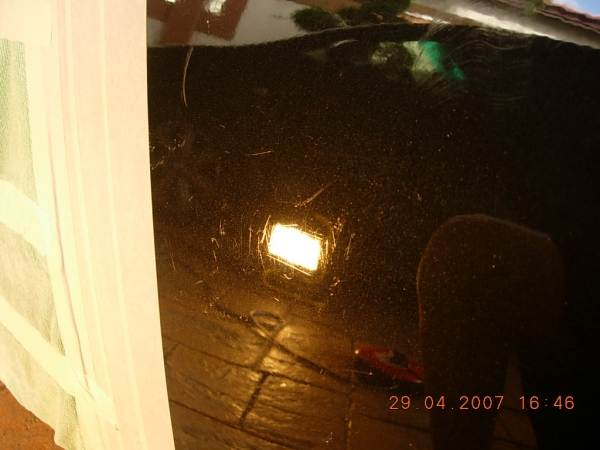
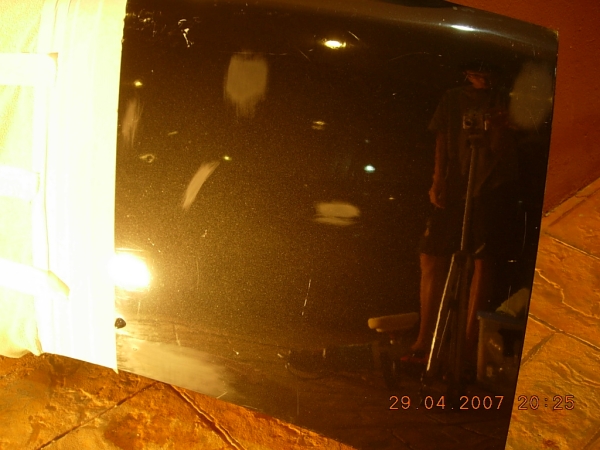
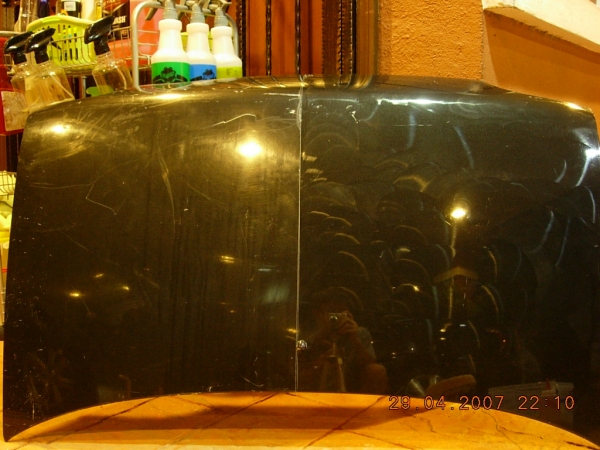
Here are some pictures of the panel under natural lighting conditions.
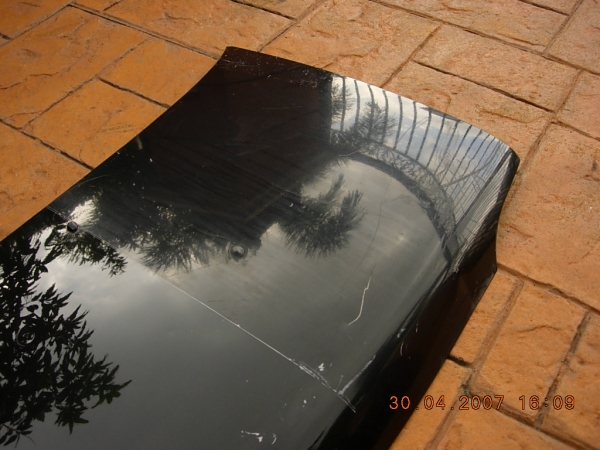
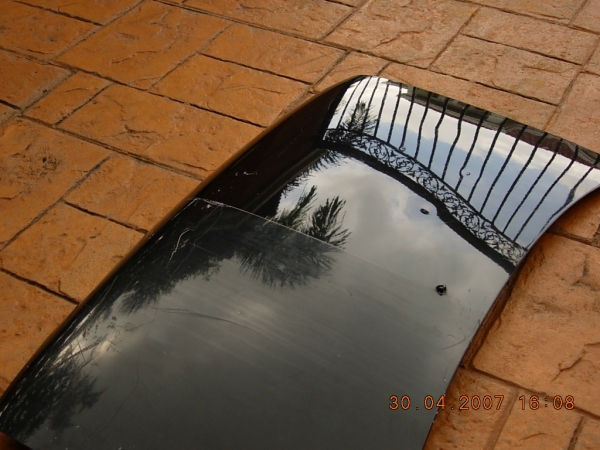
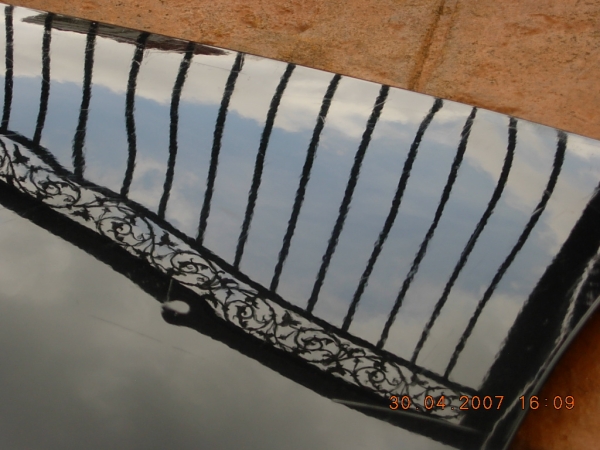
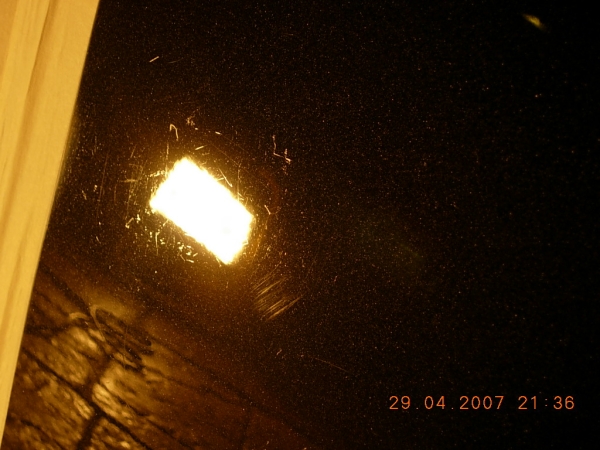
It looks good but isn't perfect, as seen in this reflection
My question is, how do I get rid of those [B]deep[/B] defects?
Here is a summary of steps taken :
M83/W-8006/600 rpms
M83/W-8006/600 rpms
'Wetsand' entire panel
M83/W-8006/600rpms
'Wetsand' areas with deep defects
M83/W-8006/600rpms
M80/W-8006/600rpms
M80/W-9006/600rpms
M21 by hand
M26 by hand
All comments, advice, critiques, are very welcomed! thanks in advance!
Read more!
Below is a write-up I posted on Meguiar's Online and Meguair's Online Malaysia
here is the link to the thread in Meguiar's Online(MOL):
http://www.meguiarsonline.com/forums/showthread.php?t=20602
and below is what has been typed, visit the thread on MOL for clearer pictures. Thank You
Hi all!
A few months after purchasing my Rotary Buffer (Makita 9227c), I haven't really had the chance to use it yet, I fear that I might cause buffer swirls, holograms or paint burns, I didn't dare to use it on a car.
So I went and bought a scrap panel! It's from a Perodua Kancil...
Colour is Metallic Grey(or so I thought).
recently being inspired by the flawless finish produced by the guys at Hypercoat, I got fired up to try it out myself.
I mean, "How hard could it be???"
So this is the condition of the panel when I bought it, lots of dust and dirt.
Giving it a good wash with Meguiar's All Purpose Cleaner and a sponge.
The underside got sprayed with Safe D-Greaser and agitated with a brush.
Imported from Japan.
This is the panel that has been washed and clayed.It doesn't look that bad...
Nothing some ColorX can't fix:laughing .
Switch on the Halogen light. WOAH! wheee
Taped up half of the hood.
Lay a line of M83 Dual-Action Cleaner Polish
Polish it with W-8006 polishing pad at speed 1 (600rpms)
At this point, all the stains and oxidized paint was cleaned up, but still had way to many defects.
round 2,
lay some more DACP
big mistake, too much product, caused splatter.
only a small improvement
and defects like this weren't going away,
So I took out my new sanding pad, wrapped it with 1500 grit sandpaper.
And tried to sand it out
Then I got greedy.
Gave it a pass of DACP
woah! even more swirls than the second pass of DACP.
Cleaned the pad with a nylon brush, you could see dust shooting out from the pad.
Gave it another pass of DACP, this lessened the swirls, but the deeper defects are still not moving.
Sanded some areas with deep defects,
After a pass of DACP, still had some sanding marks.
Other areas were improving.
The heavy rain was blowing droplets of water into my working area, so I had to delay for a while.
Came back gave it a pass of M80 Speed Glaze with W-8006 pad.
had some terrible buffer swirls in some areas.
So I switched to a W-9006 Finishing Pad, polished with M80 at 600 rpms.
Sweeet! This got rid of the buffer swirls and left a nice clear finish.
Being satisfied for now, I waxed it with M21 Synthetic Sealant, followed by M26 Hi-Tech Yellow Wax.
While waiting for the wax to dry, I removed the taped up area.
Not much of a difference...
wait, switch on the light.
Before
After
Before
After
wheeeeeeee
:) Thank You very much for reading this write up.
"How hard could it be?" - Hard.....
what should I do to achieve a finish like this
Here are some pictures of the panel under natural lighting conditions.
It looks good but isn't perfect, as seen in this reflection
My question is, how do I get rid of those [B]deep[/B] defects?
Here is a summary of steps taken :
M83/W-8006/600 rpms
M83/W-8006/600 rpms
'Wetsand' entire panel
M83/W-8006/600rpms
'Wetsand' areas with deep defects
M83/W-8006/600rpms
M80/W-8006/600rpms
M80/W-9006/600rpms
M21 by hand
M26 by hand
All comments, advice, critiques, are very welcomed! thanks in advance!