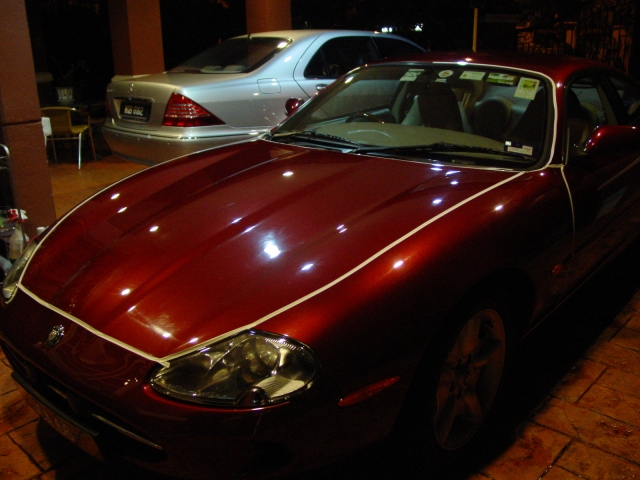
Jaguar XK8 and 3 days
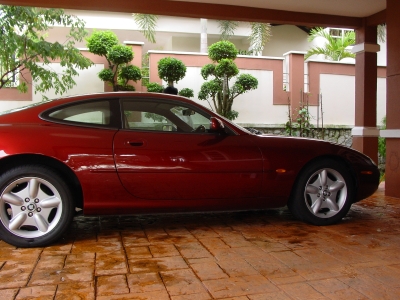
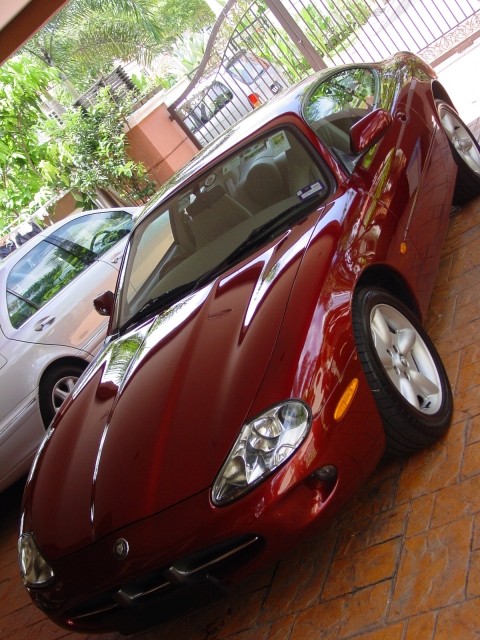
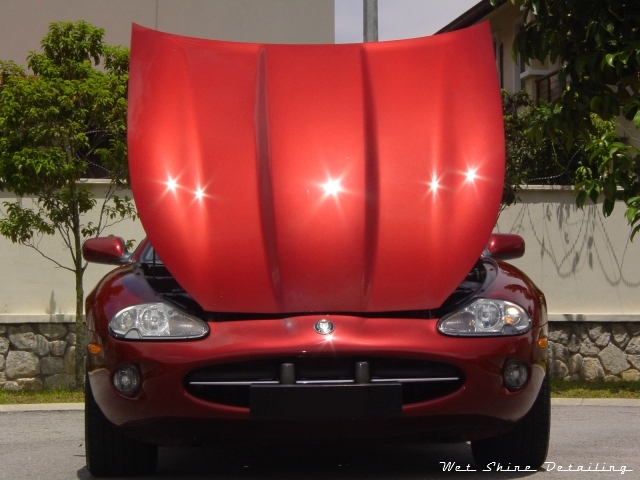
Hello everyone, today I am to detail a car to prepare it for my good friend’s wedding day. This car is a year 2000 Jaguar XK8 with metallic red paint. When the car came in, it was obvious that the paint was really letting it down, lots of defects like swirls and mainly RDS caused by cat claws.
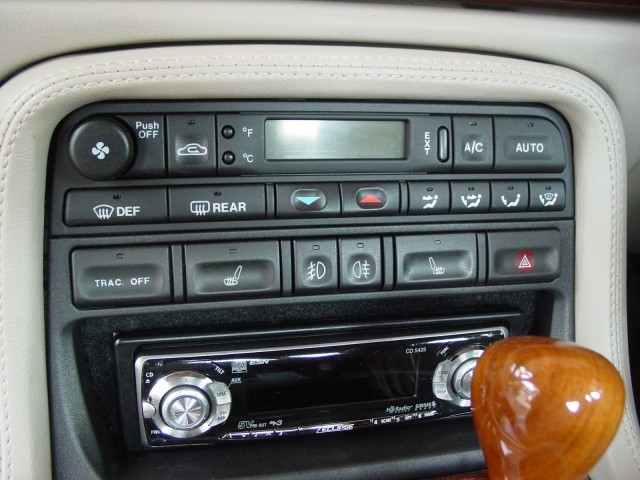
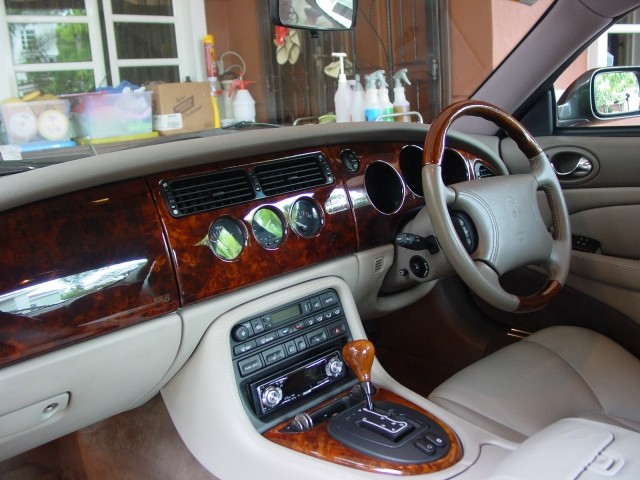
Interior
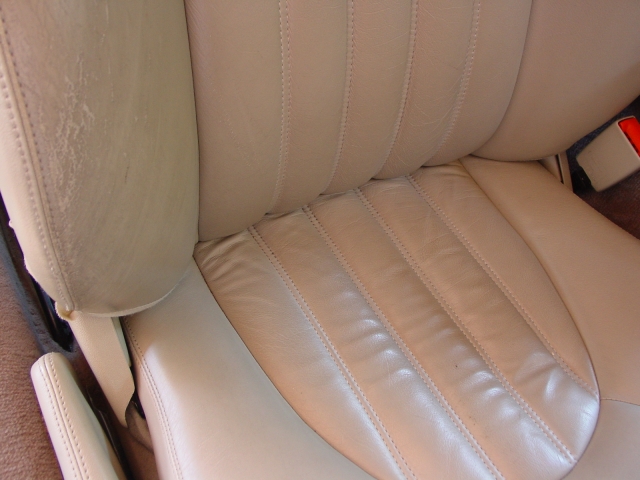
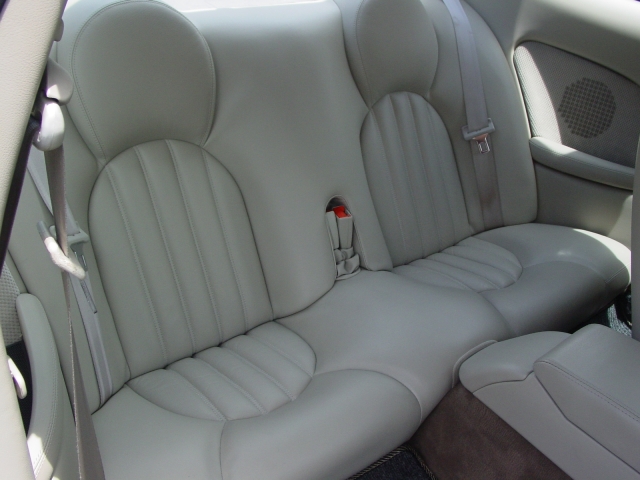
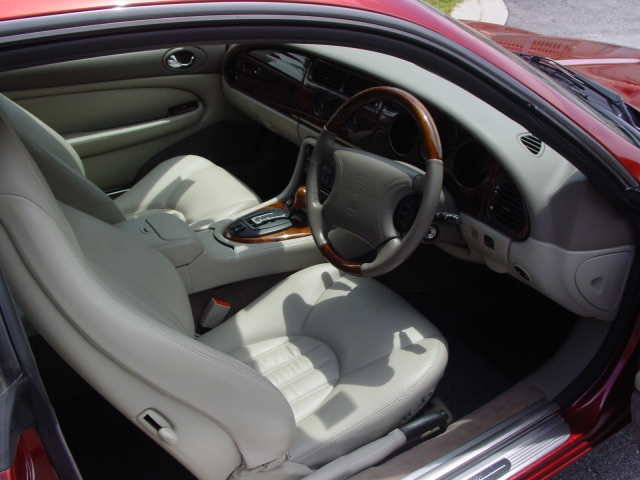
So I begin by cleaning the interior first. Below are before pictures of the interior, dusts and dirt, thankfully they were easy to clean. Leather seats were moderately grimy.
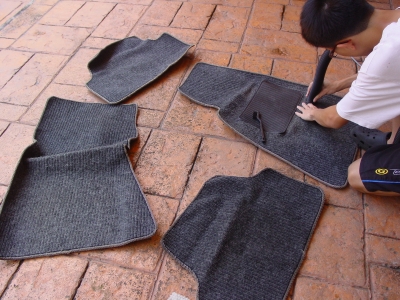
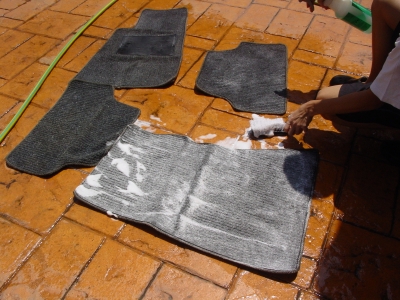
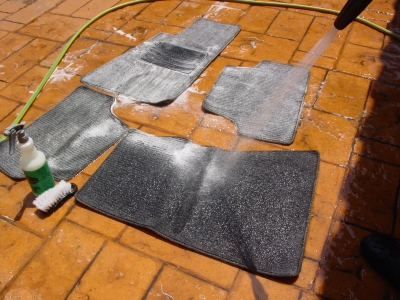
The process began by first removing the floor mats, vacuumed to remove loose dirt, scrubbed with Meguiar’s All Purpose Cleaner (diluted 4:1), rinsed off and let to air dry naturally.
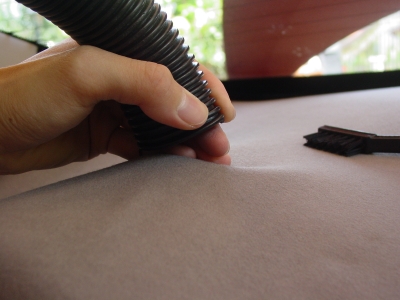
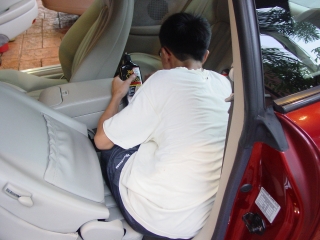
Then, the interior was thoroughly vacuumed in all areas that was accessible. A nylon brush was used to whisk away debris from cracks and crevices, which was then vacuumed away. The fabric behind the rear passenger area was loose, so it was gently vacuumed to prevent it from stretching.
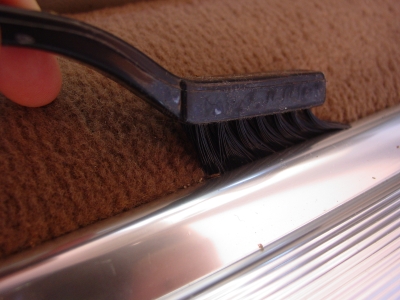
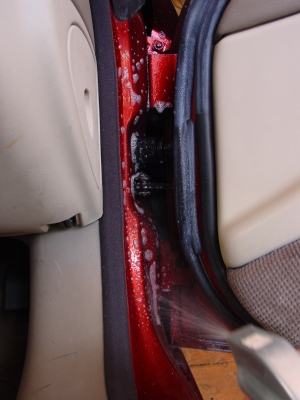
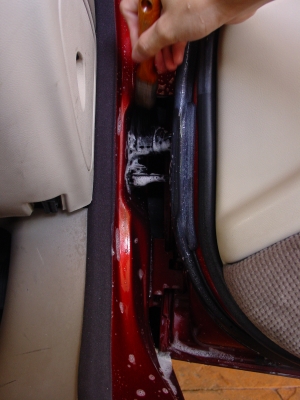
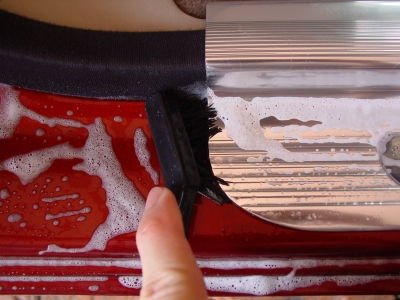
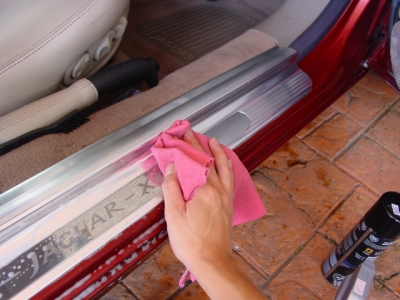
Door jambs and underneath the doors were sprayed with APC (10:1), agitated with a wet paintbrush and wiped off with a damp MF cloth. Prior to cleaning, sticky residues were first dissolved with a tar remover. All removable rubber pieces were also cleaned with APC (10:1)


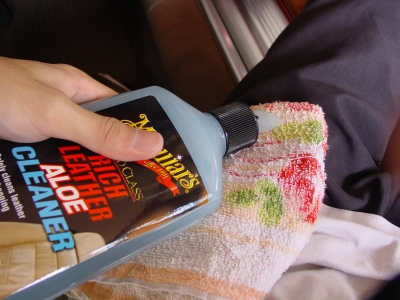
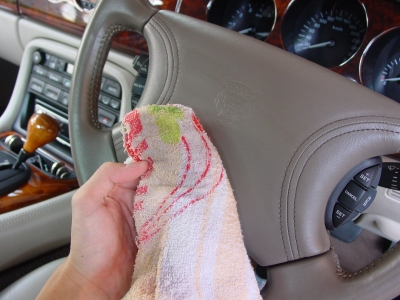
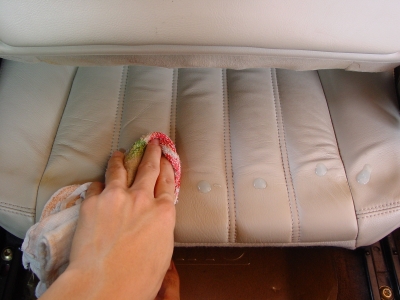
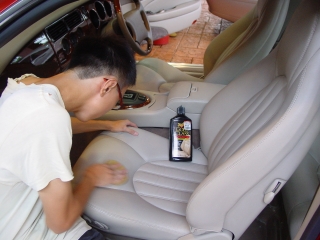
Leather on the seats, steering wheel and door cards were cleaned with Meguiar’s Rich Leather Aloe Cleaner worked in with a terry cloth, stubborn stains were cleaned with APC (10:1).
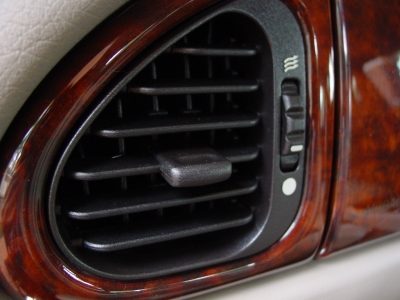
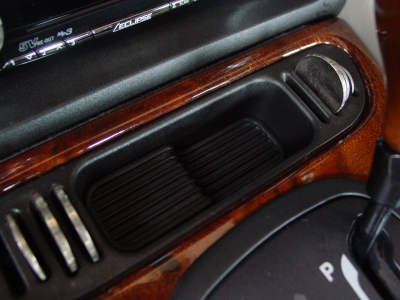
All plastics and vinyl were cleaned with APC(10:1) as well. Below are the finished result of the interior. Time taken was 3-4 hours.
Exterior
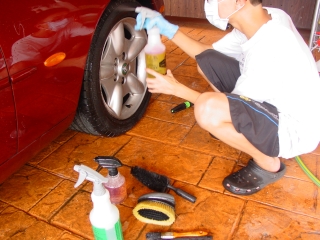
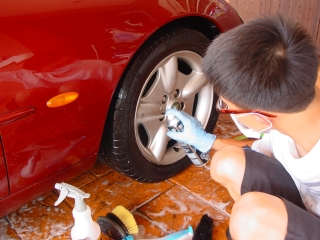
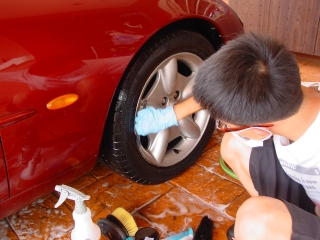
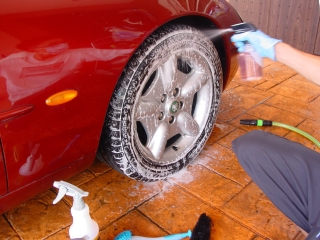
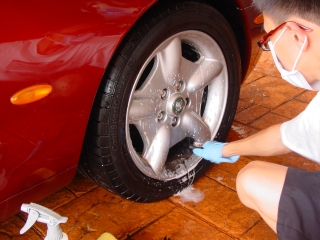
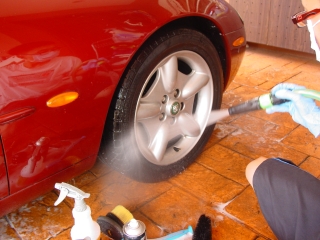
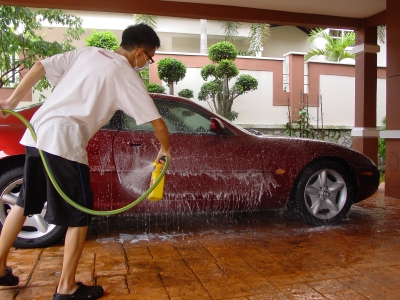
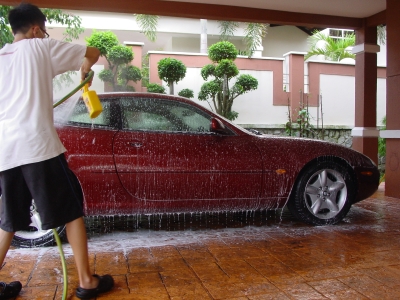
With the interior out of the way, it is time to move on to the exterior, starting with washing the wheels, wheel well and tires. Wheel wells were cleaned with Super Degreaser (4:1) followed by APC (4:1). Tires and wheels received a mixture of Super Degreaser and APC as the wheels had a matte finish, so I assumed it wasn’t clear-coated and would skip an acidic based wheel cleaner. Sticky residue on the outer rim were removed with a tar remover.
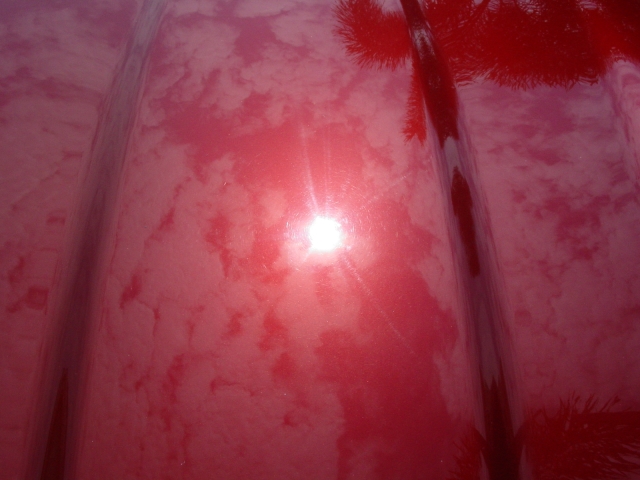
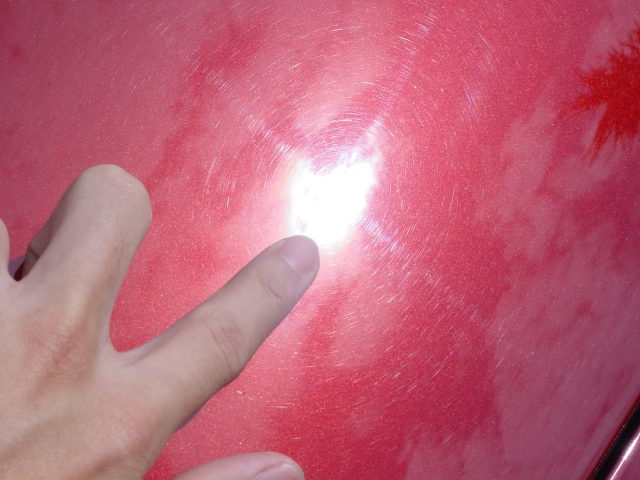
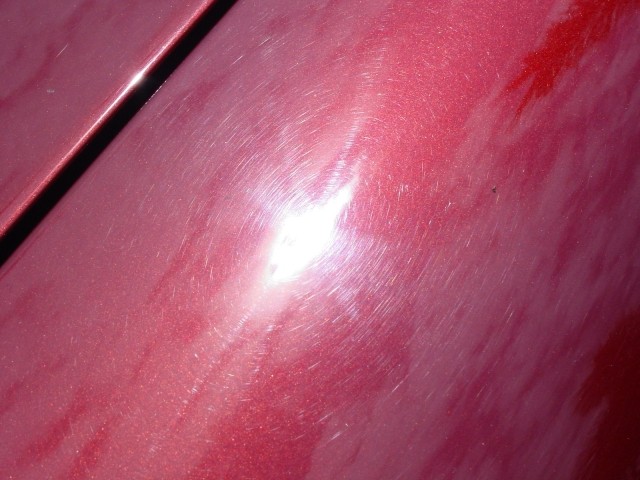
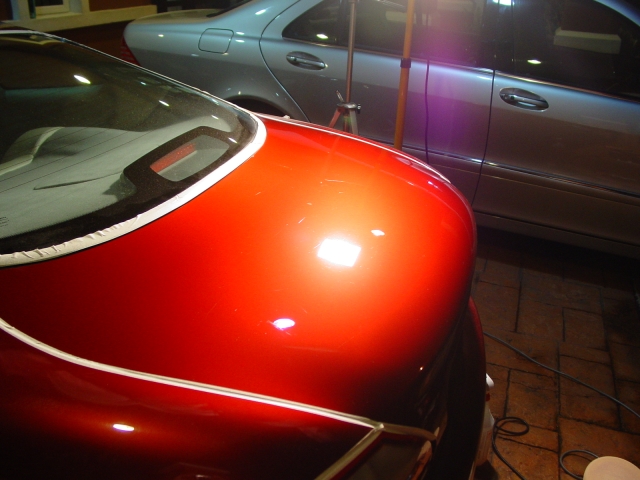
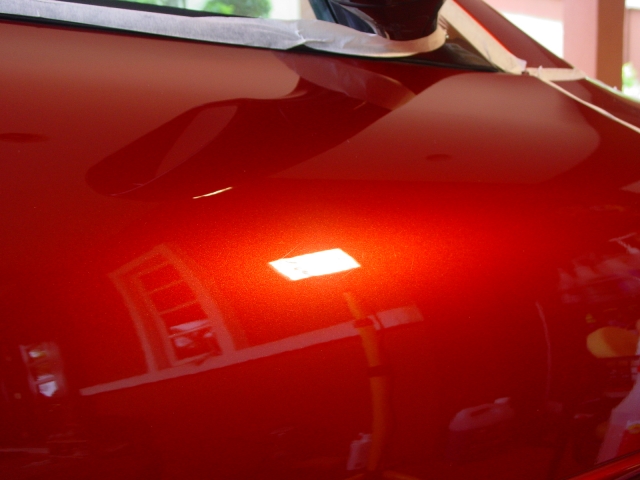
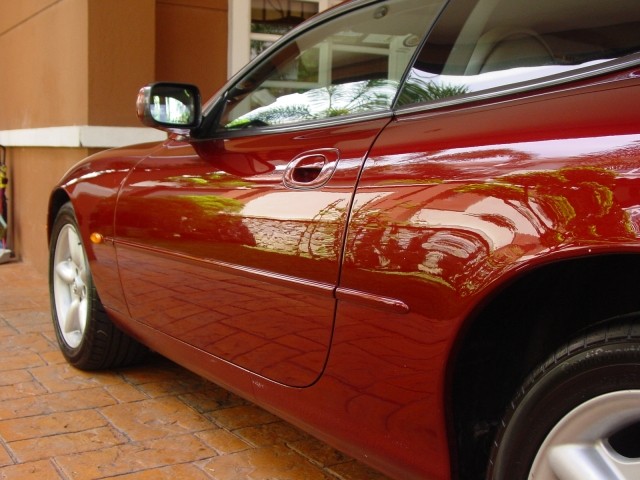
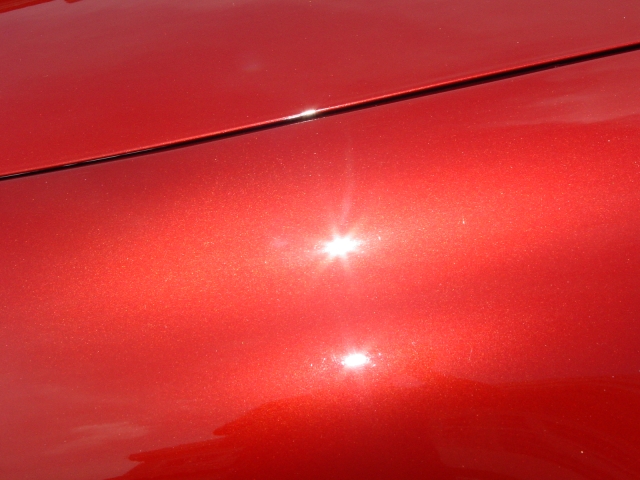
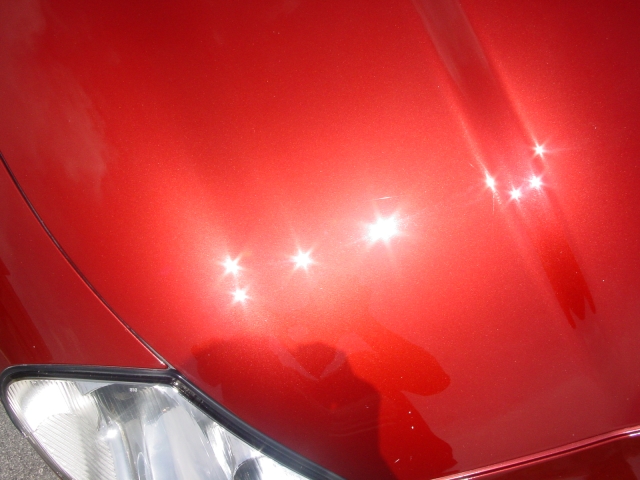
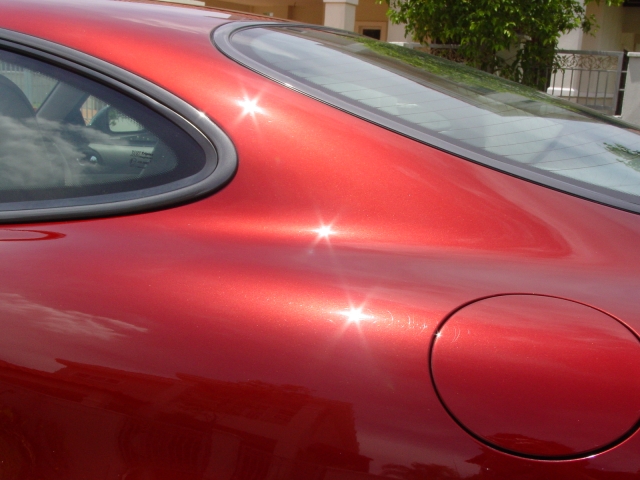
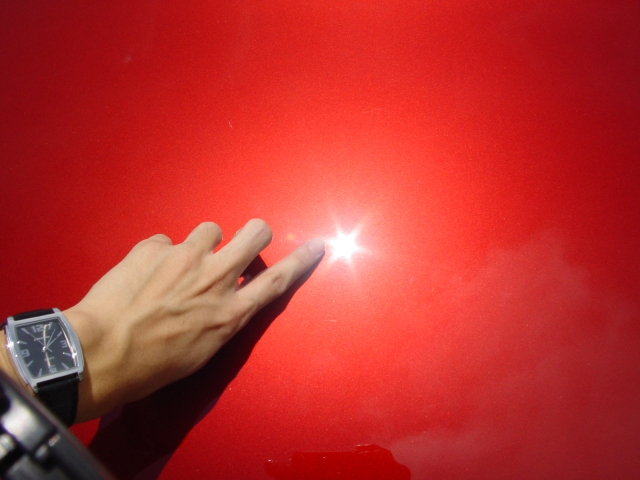
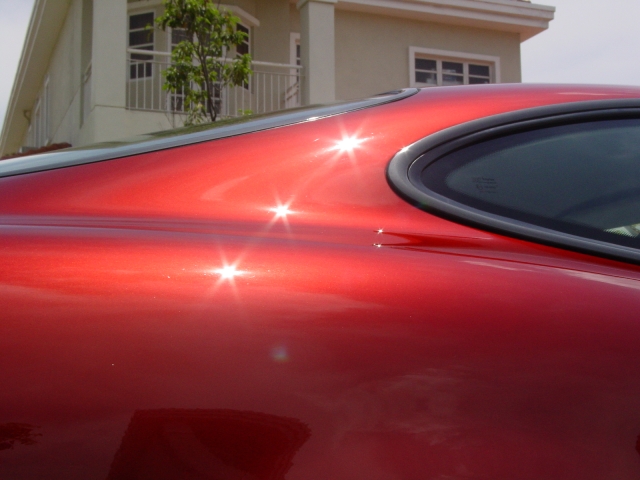
With the wheels and tires done, it’s time to turn our attention to the exterior. Below are some pictures of the paintwork under the sun before being washed.

Firstly, the car is soaked with Meguiar’s
After soaking, the car is rinsed, washed with the two bucket method and clayed. This car needed clay badly as it was HEAVILY contaminated and the sound of the clay shaving off contaminants could be heard. Diluted Shampoo Plus was used as clay lube. The claying process took about one and a half hour. Whole car is rewashed again and dried.
Paintwork Correction
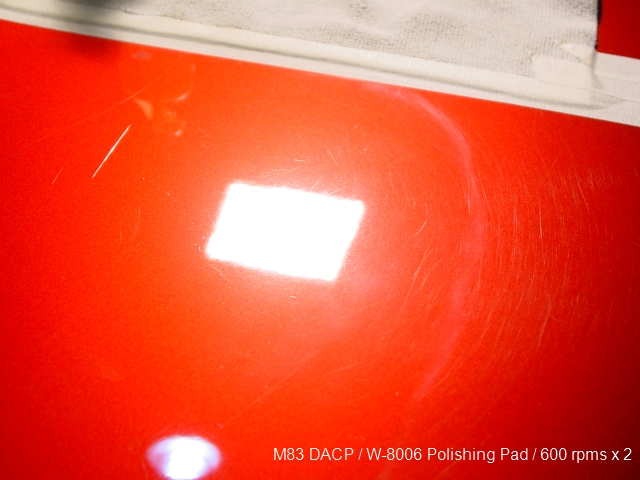
After the car has been dried, half of the boot has been taped to perform a test spot. Starting with a pass of M83/W-8006/600rpms , this removed a fair amount of defects but plenty still remained.
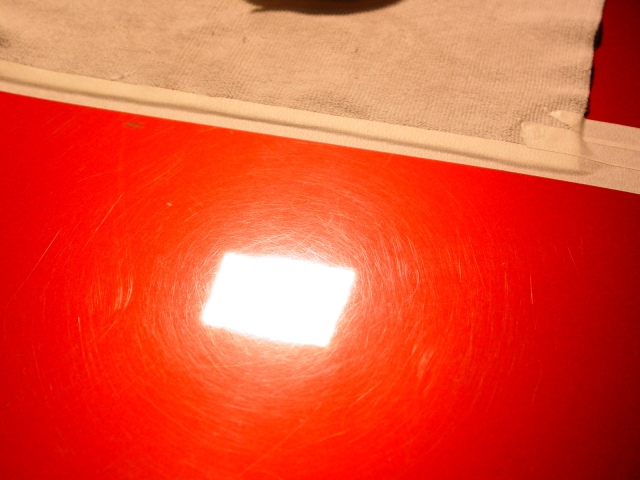
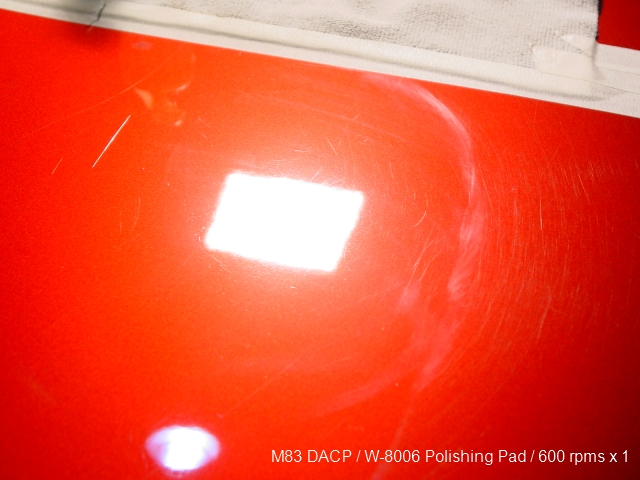
A second pass of the same pad and polish combo did not provide a significant difference.
So I moved up to M85 and a wool pad, this removed most of the defects at 900rpms, leaving just Random Deep Scratches(RDS) behind.
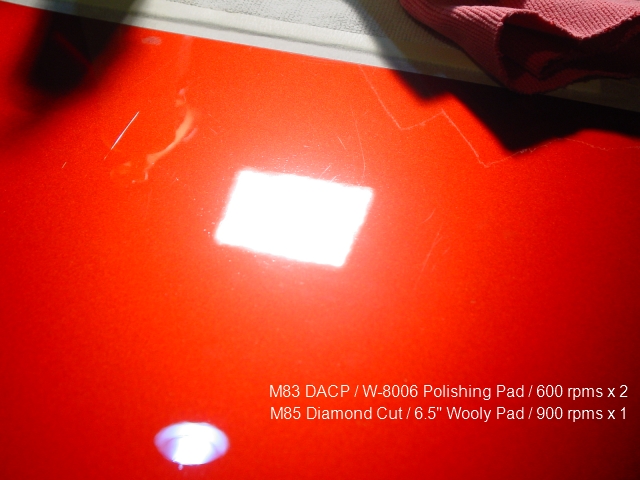
Some of these RDS can be felt by the fingernail, and this car has been rotary polished, so I limited myself to four passes of M85/Wool/900rpms. Defects that isn’t removed after fourth pass will remain.
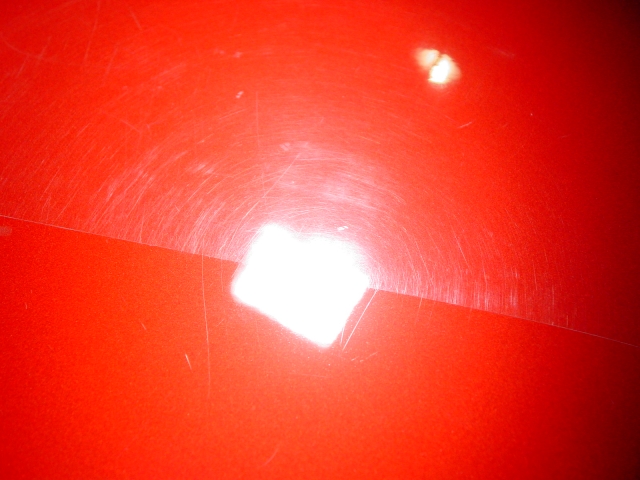
Here’s a close-up 50/50 shot. Compounded areas received M83/W-8006/600rpms followed by OP/W-9006/600->1000->600 rpms.
50/50 shot from afar.
Whole boot polished.
Whole car is then taped off. (note the swirled up hood)
The machine process on the whole car would be :
M85/Wool @ 900 rpms (with a limit of 4 passes)
M83/W-8006 @ 600 rpms
OP/W-9006 @ 600-900-600 rpms
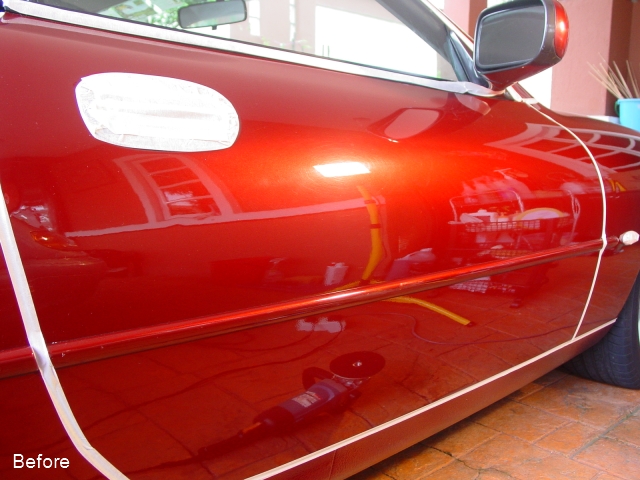
Driver’s door before :
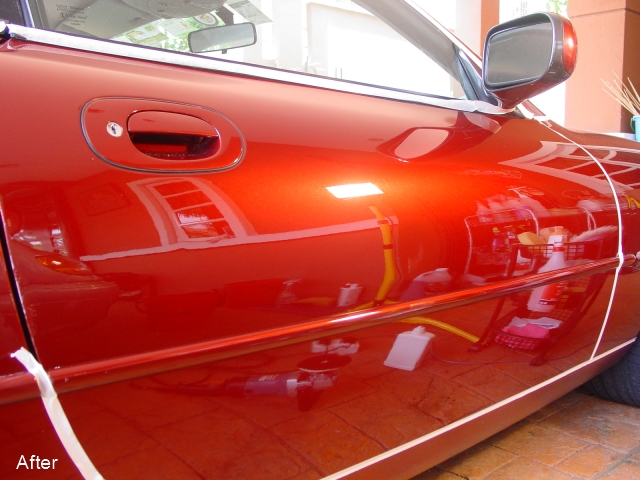
Driver’s door after :
Driver’s door before:
Driver’s door after :
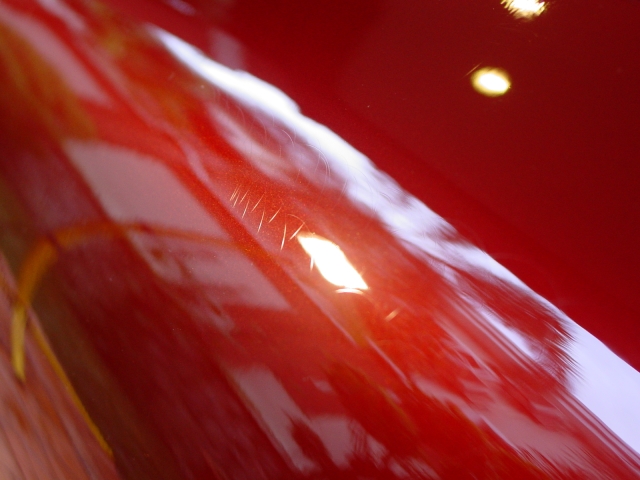
In the picture above, when zoomed in, showed some deep circular marks which couldn’t be removed even after 4 passes of compound, but they couldn’t be really be felt by the fingernail. A paint thickness gauge is needed?
Another after :
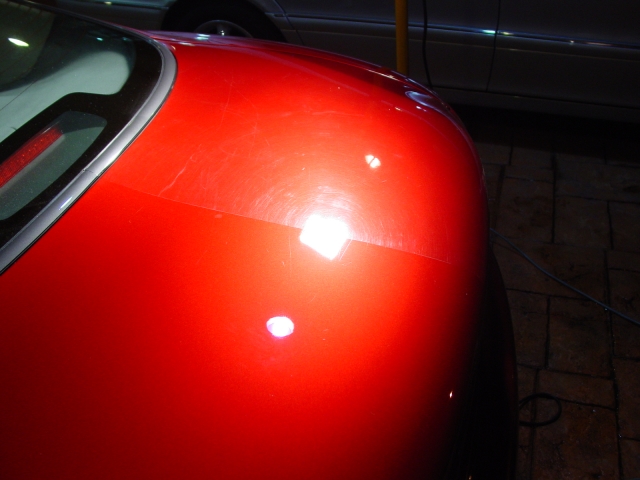
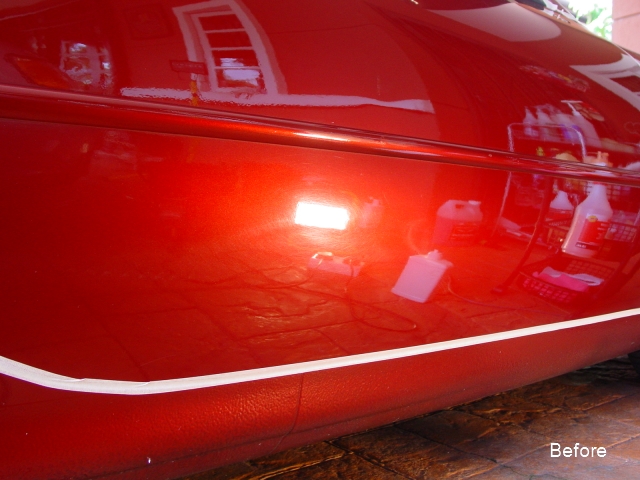
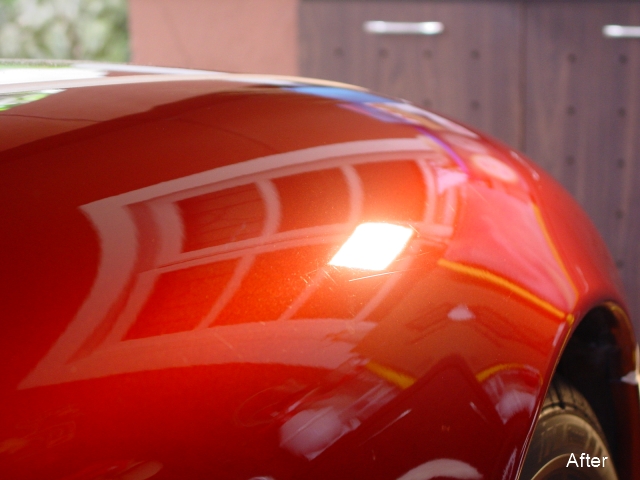
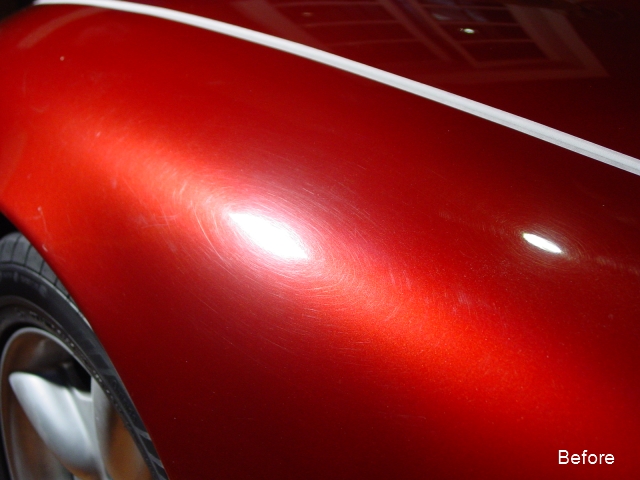
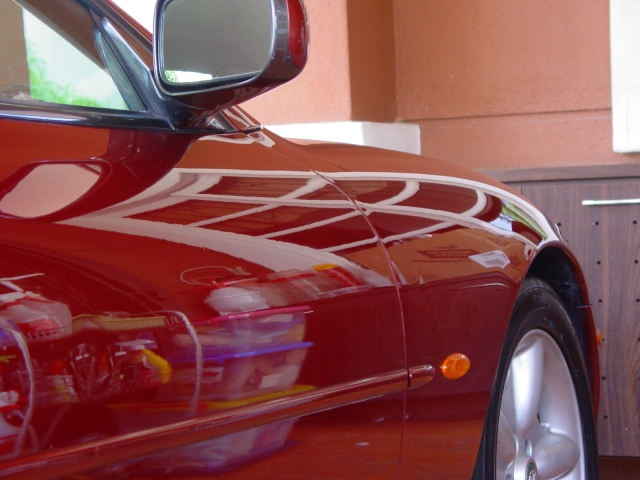
Driver’s side front fender before:
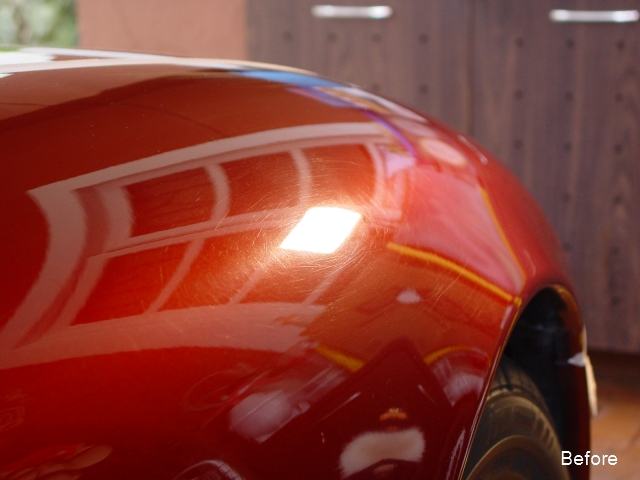
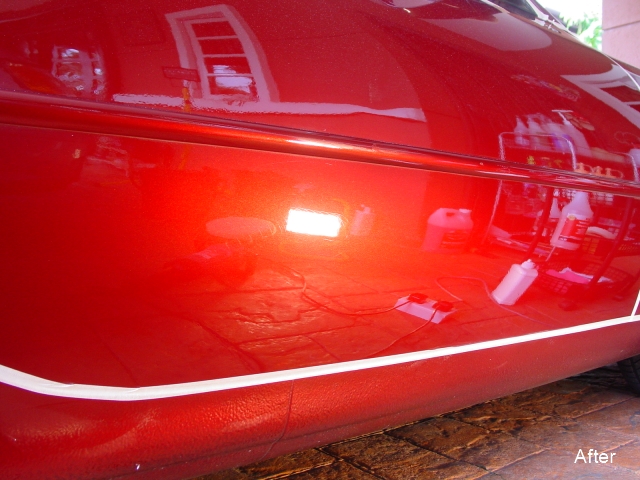
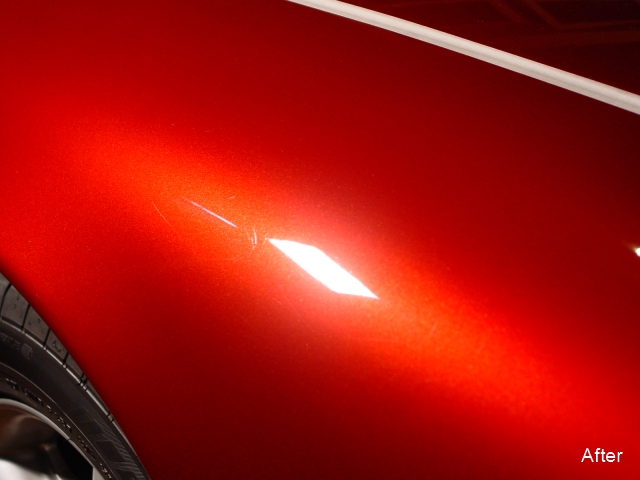
Driver’s side front fender after:
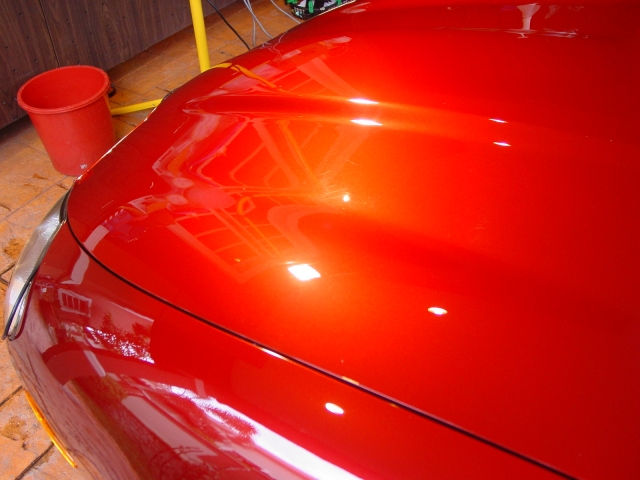
Hood before:
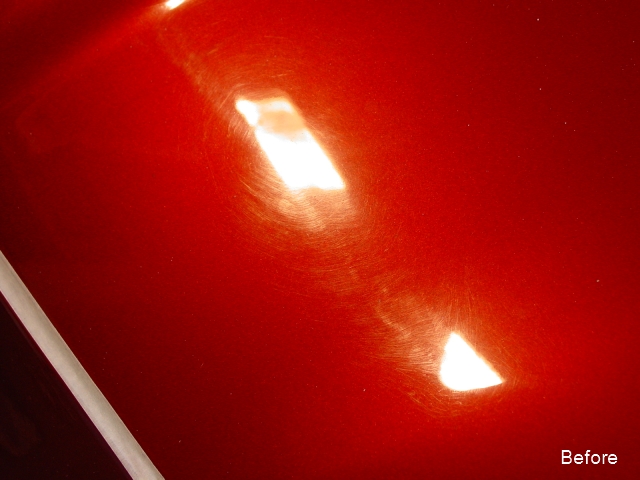
Hood after:
Sorry about the changing white balance.
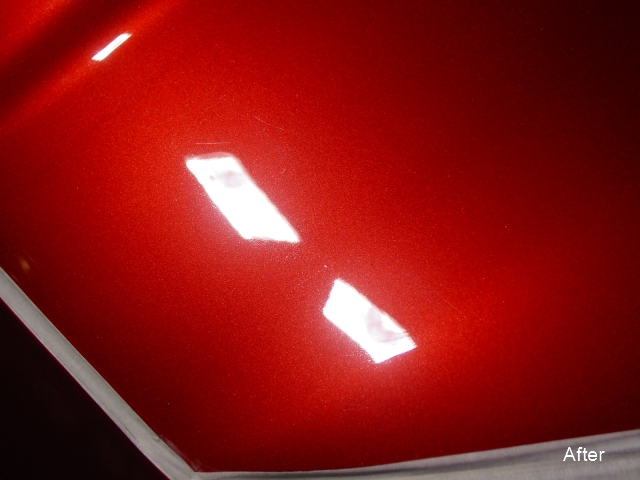
Some RDS possibly caused by cat claws remained.
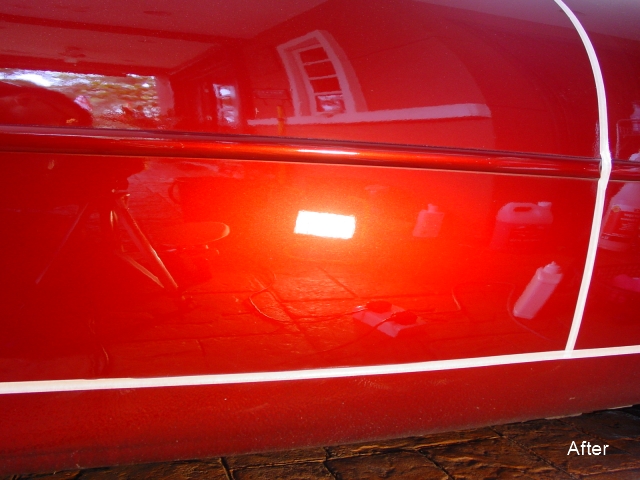
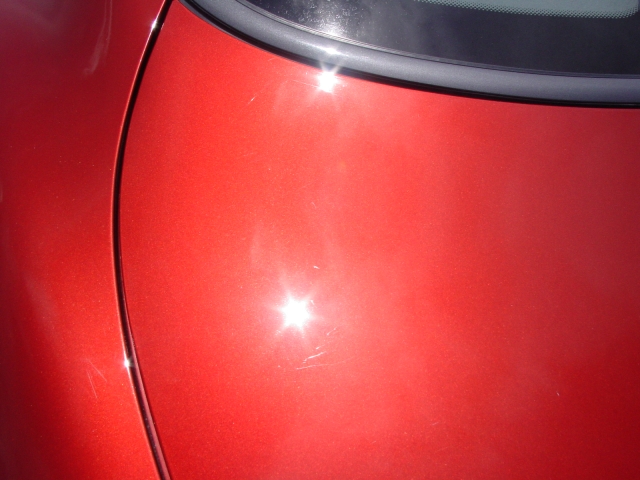
Passenger’s side front fender before:
Passenger’s side front fender after:
More deep circular marks on the passenger side rear quarter
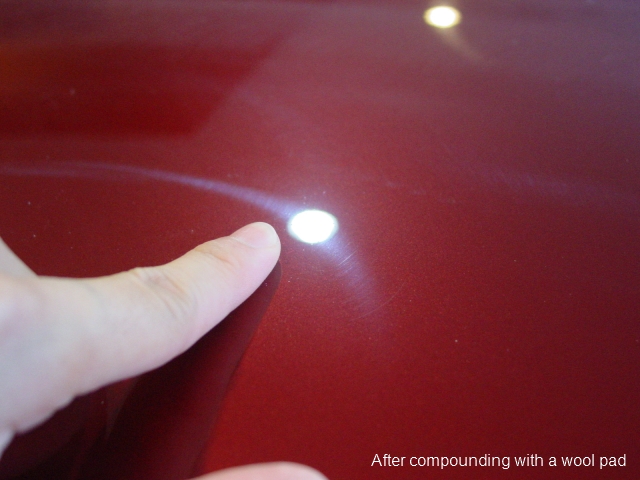
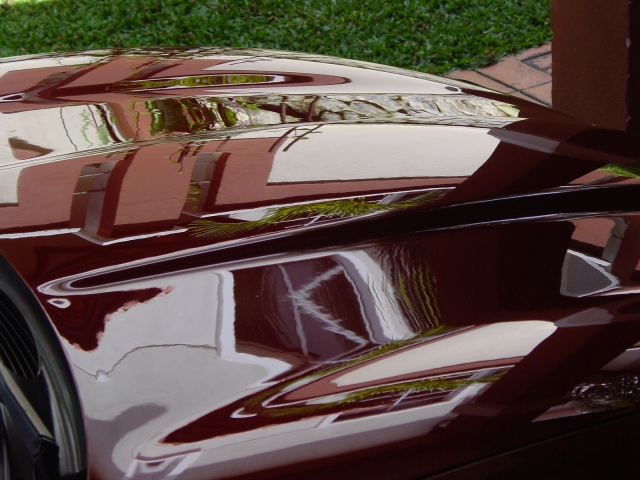
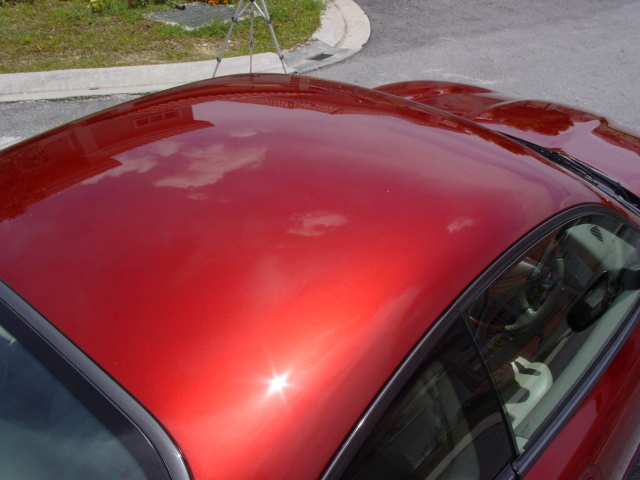
Roof before:
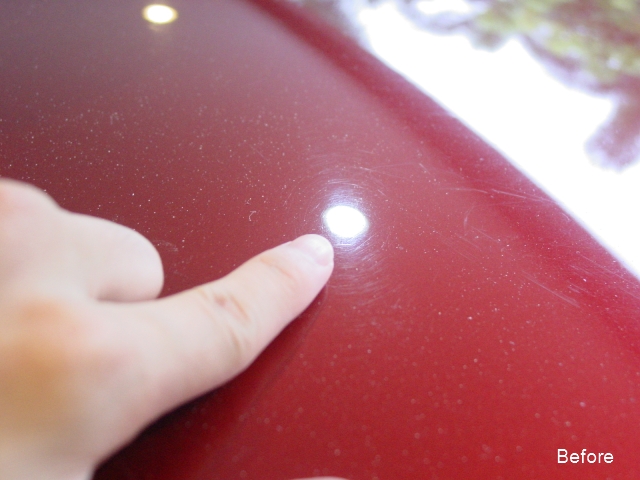
Roof after compound :
Working in Optimum Polish after M83

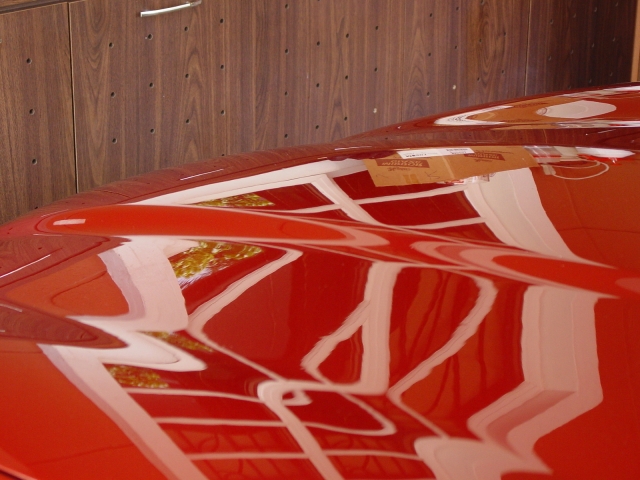
Roof after:
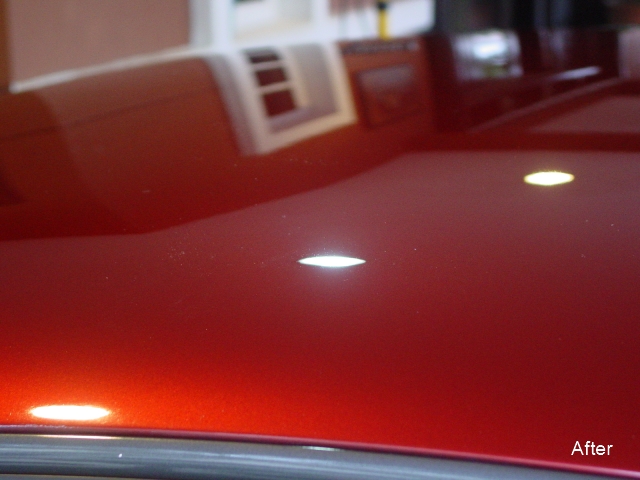
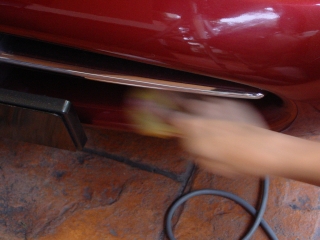
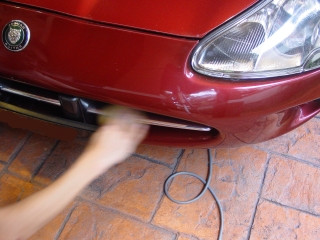
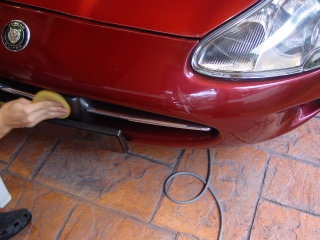
Intricate areas received Optimum Polish by hand.
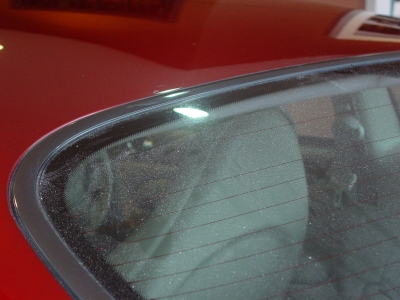
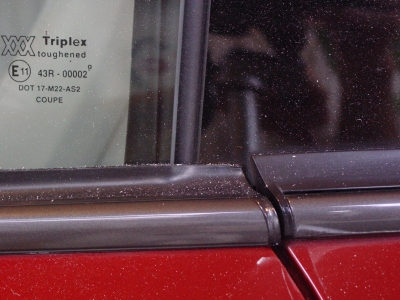
After the polishing stage, car is rewashed to remove polishing dust, a soft paintbrush is used to remove dust from panel gaps.
Car is then dried and sealed with Meguiar’s M21 Synthetic Sealant via ROB.
While the sealant is drying, I fed the leather with Meguiar’s Gold Class Rich Leather Cleaner/Conditioner. The rear passenger area is very cramped, thankfully I’m a small person, hehe.
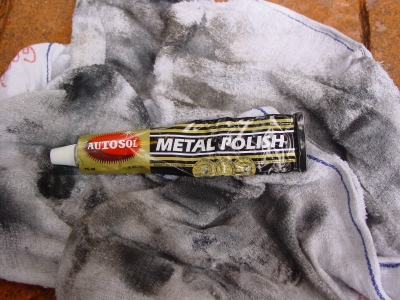
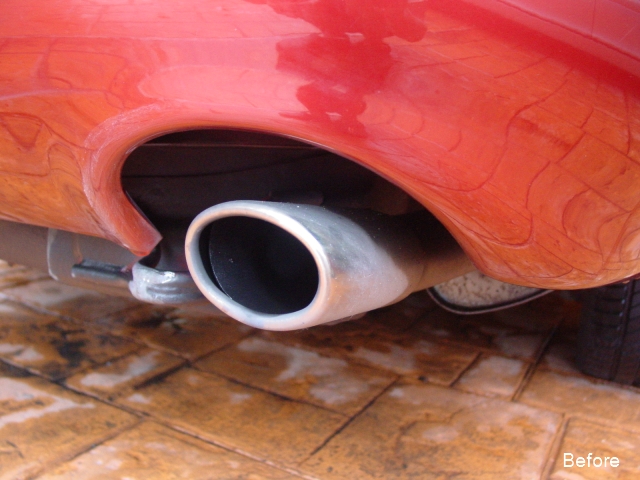
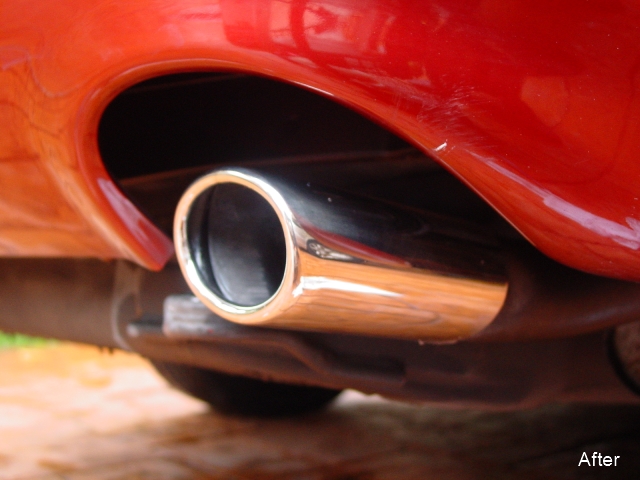
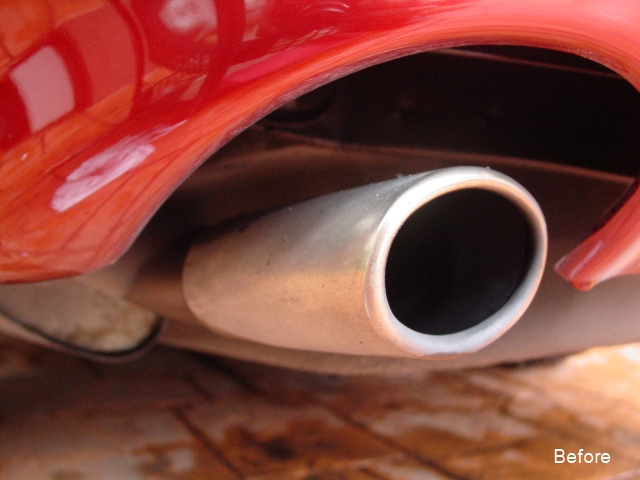
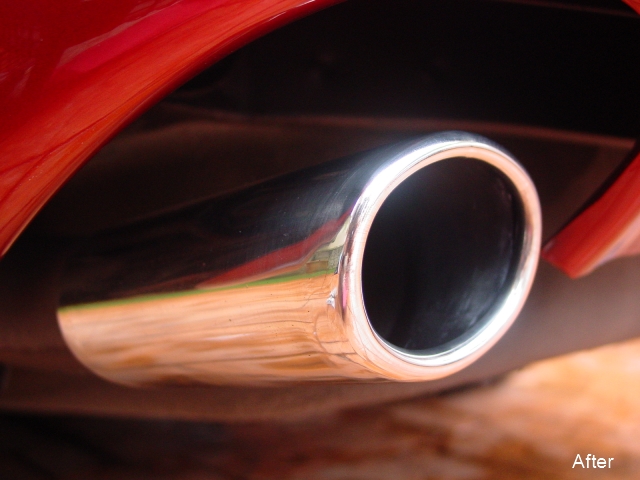
Exhaust tips got polished with Autosol Metal Polish and terry cloths
The layer of M21 was then left to sit overnight. Buffed off the next morning and applied M16.
Wheels received a coat of M21 and tires dress with Meguiar’s Hot Shine tire spray.
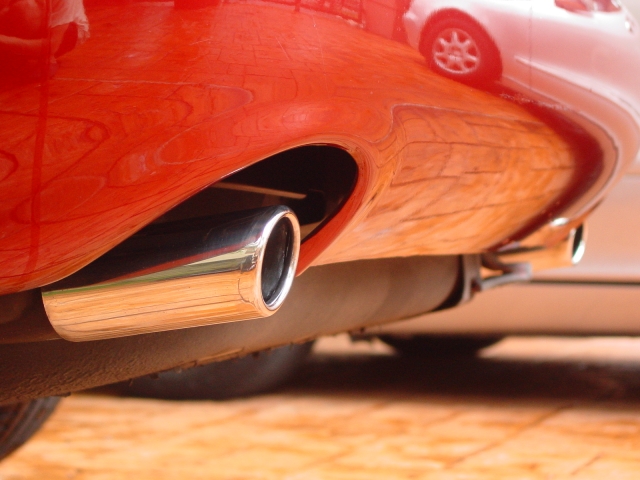
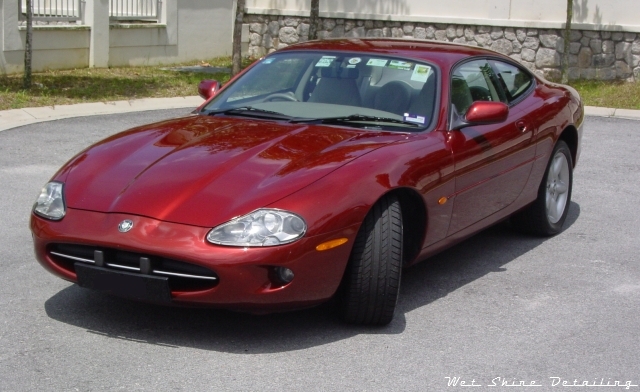
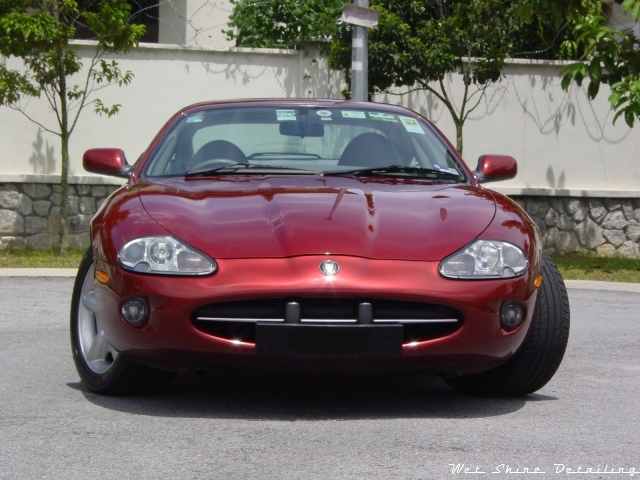
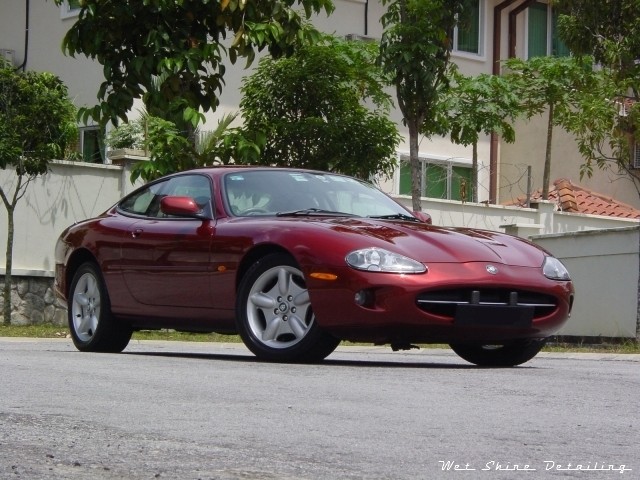
Here are the results
Taking the car out under bright sunlight.
The slight ‘holograms’ you see in the picture above is from uncured wax, hence it’s smudgy appearance.
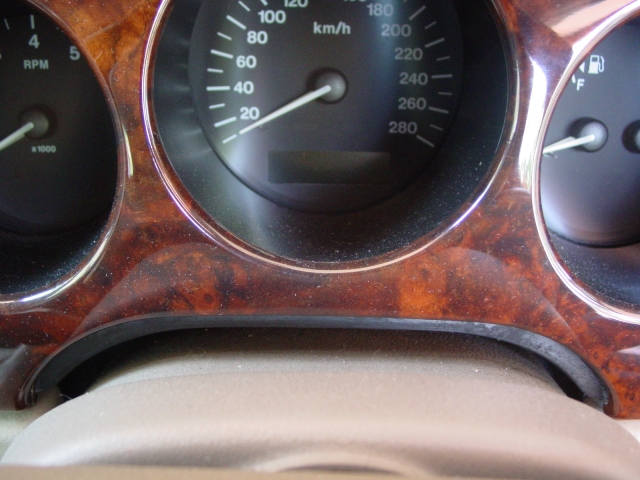
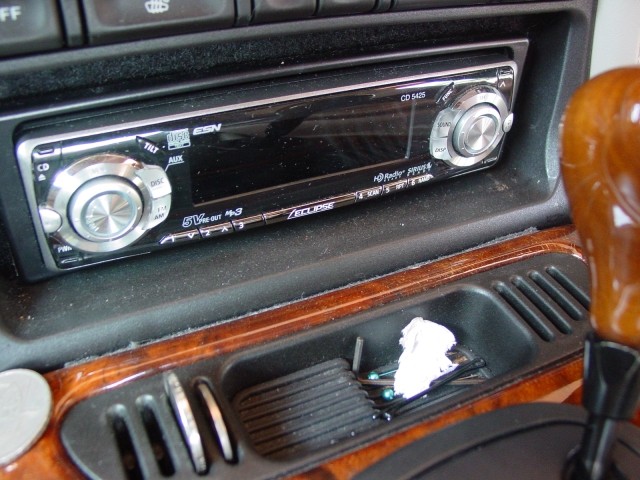
Couple of interior shots,
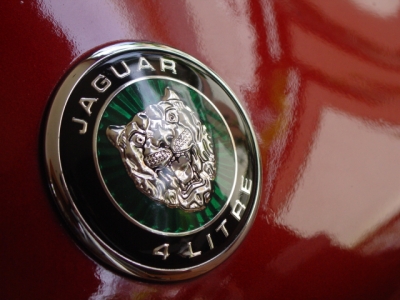
Crouching low and ready to pounce!
Thank you for taking your time to read all of that, and hope you enjoyed it!
Meow…