Proton Satria pearl white complete makeover
Hey guys, first of all, grab a bag of chips and make yourself a cup of yummy beverage because this write-up is going to be longer than usual.
The car of this detail is a 2005 Proton Satria in Pearl White and is actually not my client, but of the Hexa Infinite Marketing(HIM) team’s.
A little introduction about HIM, they are a group of enthusiastic guys with a passion for cars that service, and maintain other people’s car. Their services include oil changing and flushing, replacements of parts and overhauling.
The Proton Satria will be going through a top overhaul job and basically replacing and parts that need replacing and make it as new as possible. I have been asked by them to detail it. When Simon, the man in charge of HIM asked me to do a full detail on the car, I didn’t really comprehend how extensive a ‘full’ detail would be, and it certainly did not prepare me for what was about to come. So enough with the words and on to the detail, I hope you enjoy it!
Day 1
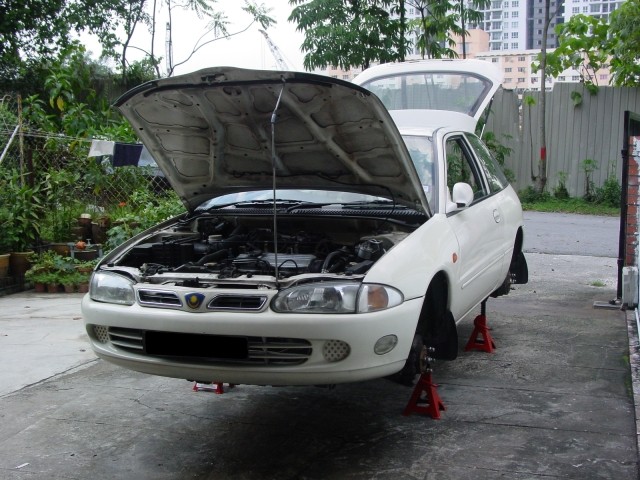
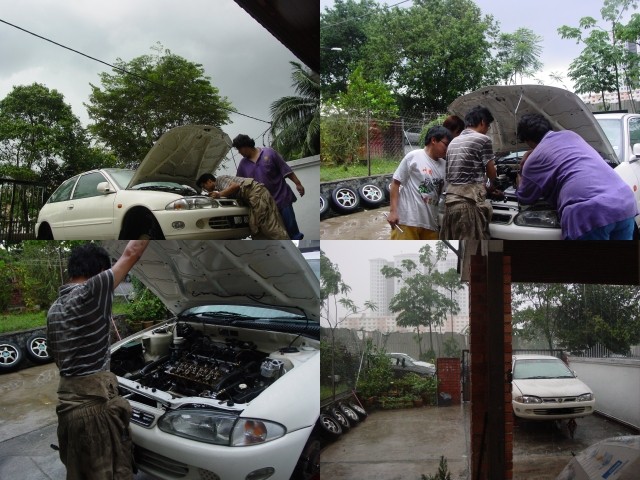
The car arrives at HIM’s place, we waited for the engine to cool down.
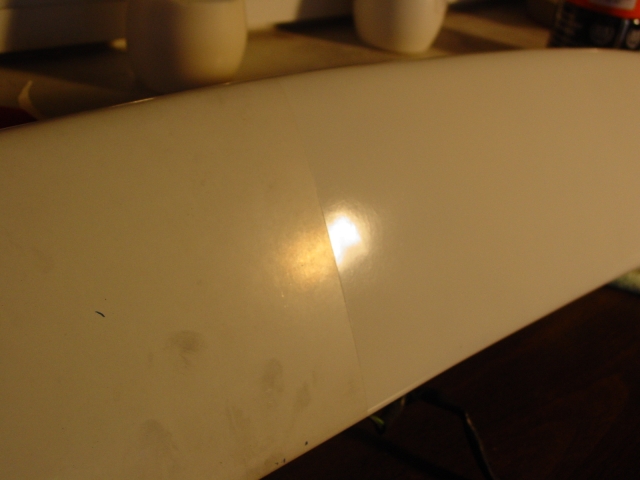
I then wiped down a panel with some Meguiar’s Last Touch spray detailer to perform a test spot with Optimum Polish by hand. I was expecting this car to be heavily oxidized, but the test spot tells me otherwise.
“so I thought, hey this is easy, there’s no oxidation on the paint, hah should be a piece of cake”
And later only I realized that that panel has been repainted and is actually in a better condition than the rest of the car.
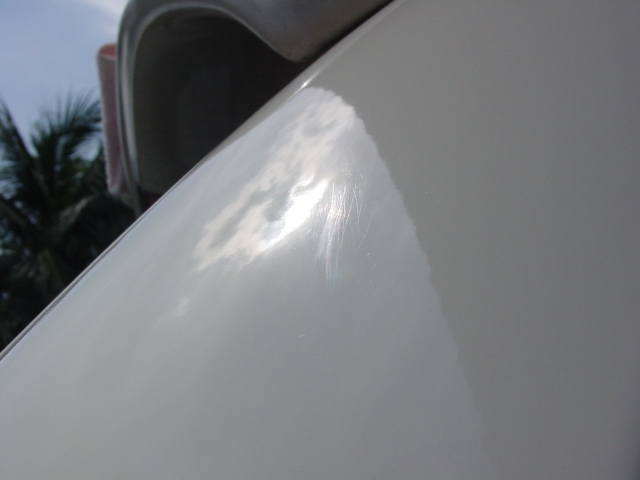
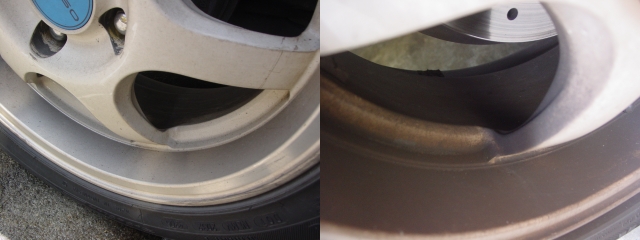
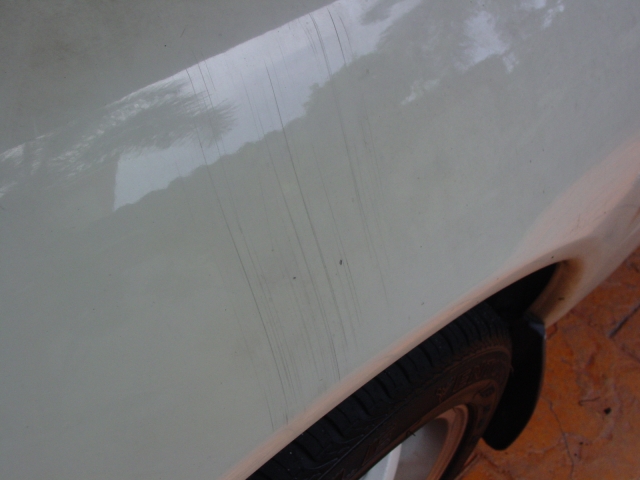
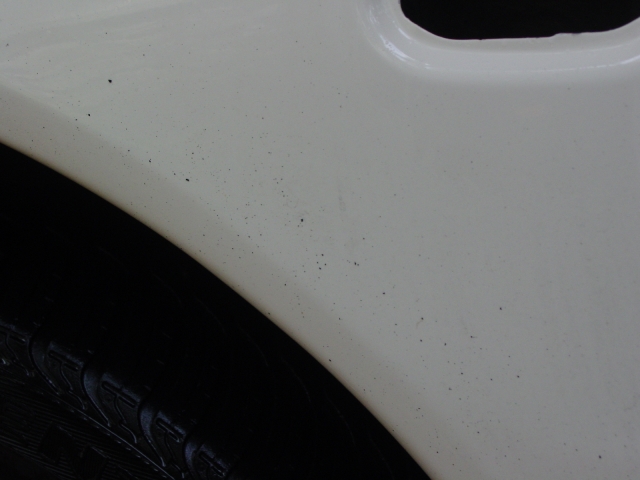
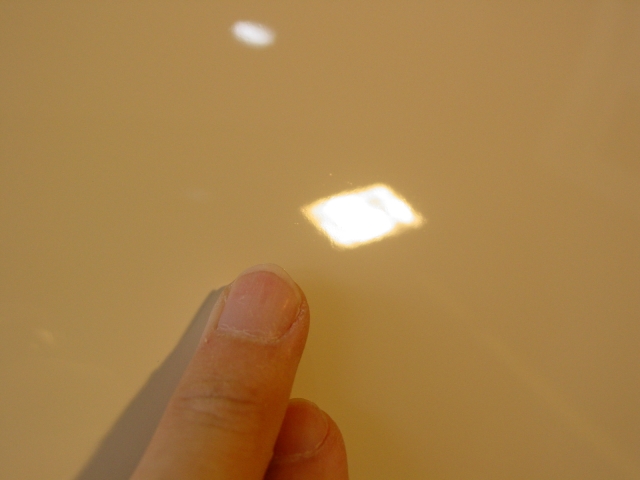
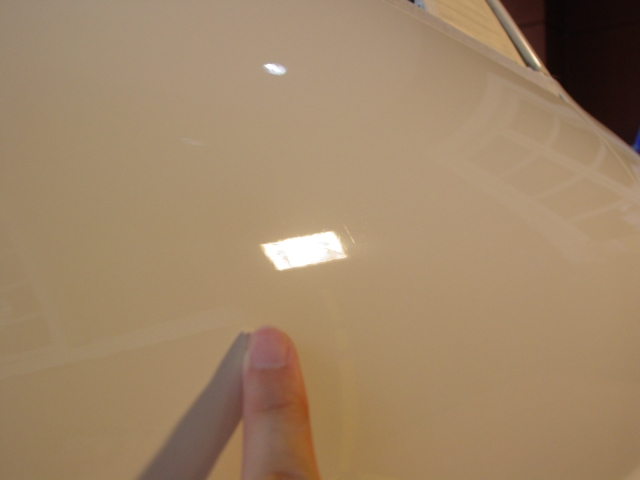
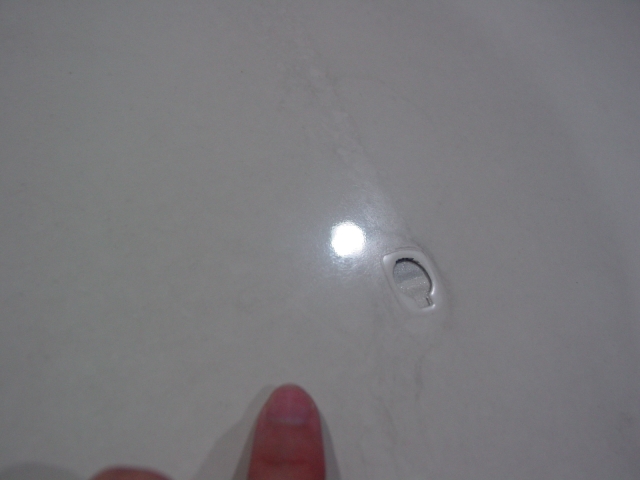
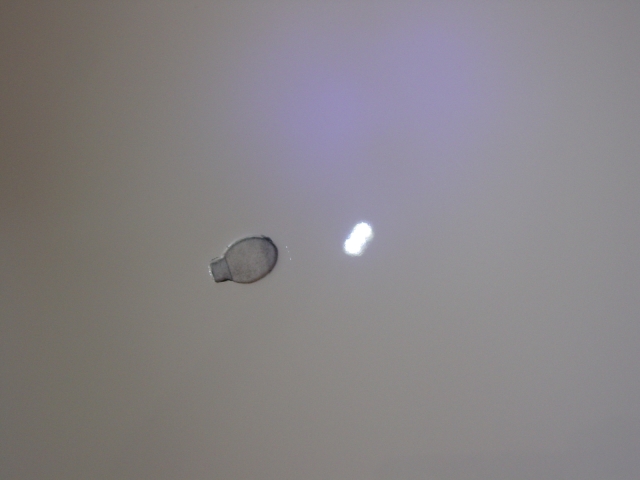
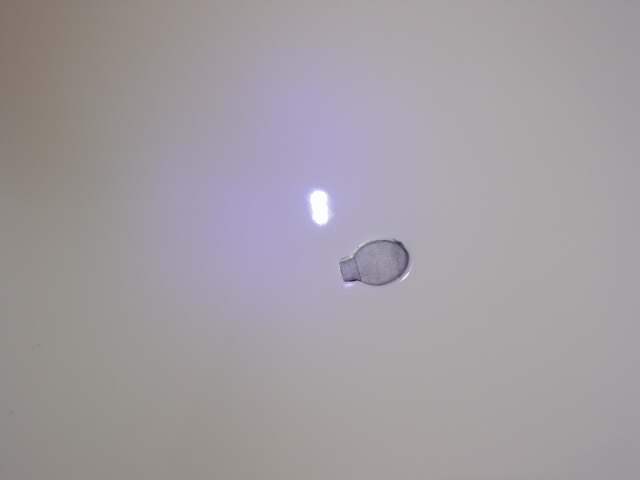
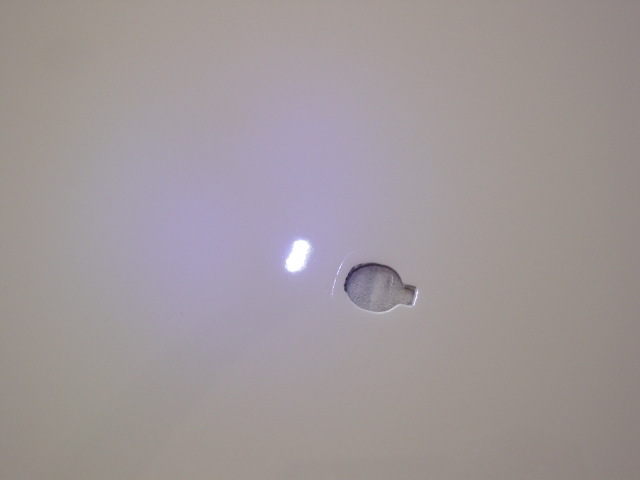
The cleansed paint revealed some Random Deep Scratches(RDS)
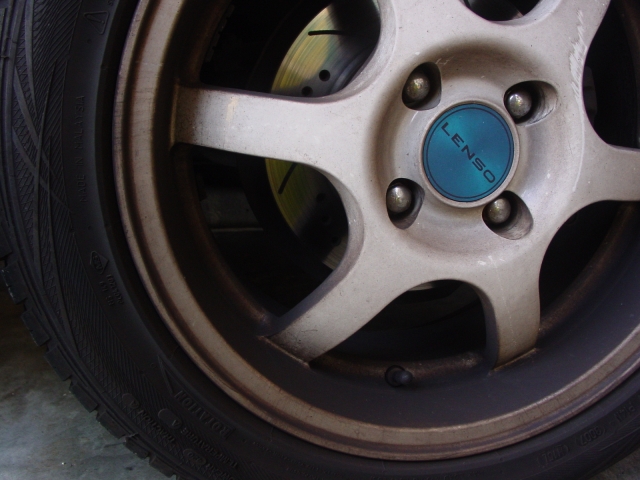
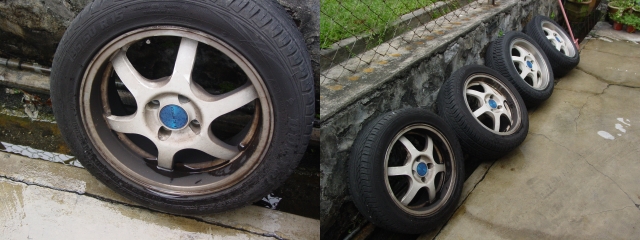
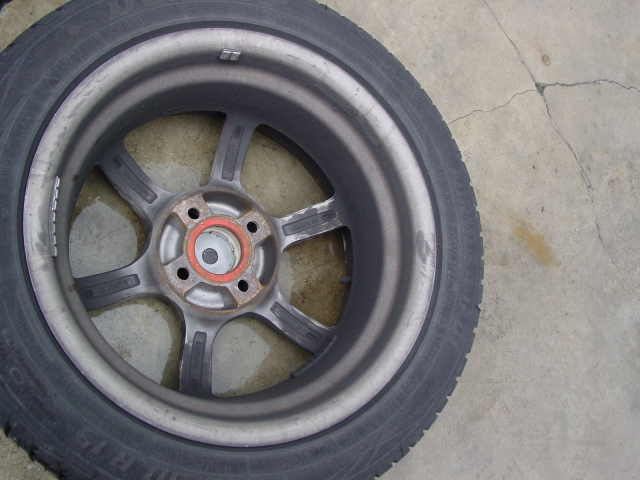
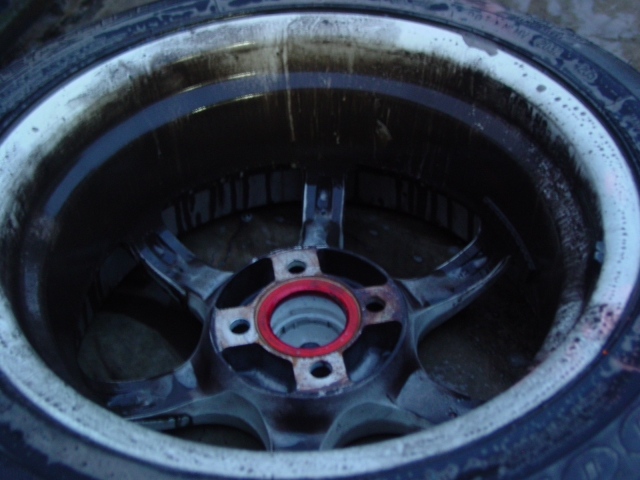
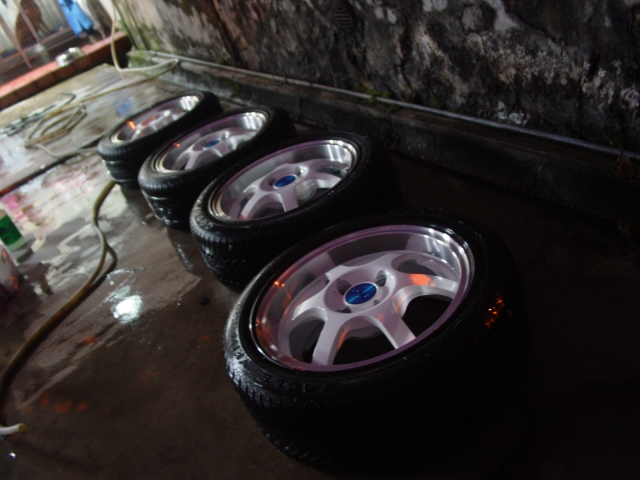
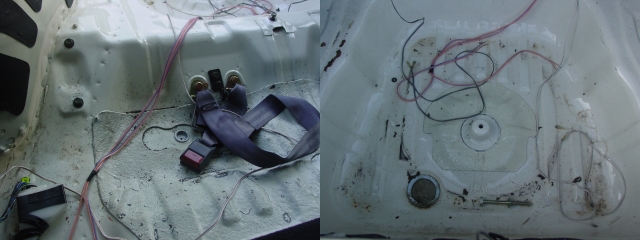
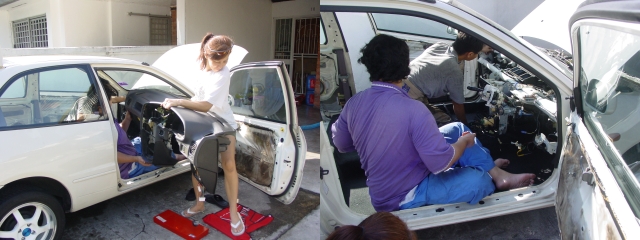
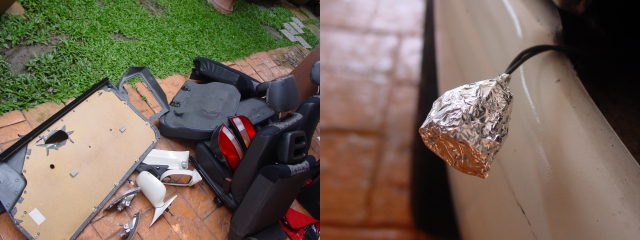
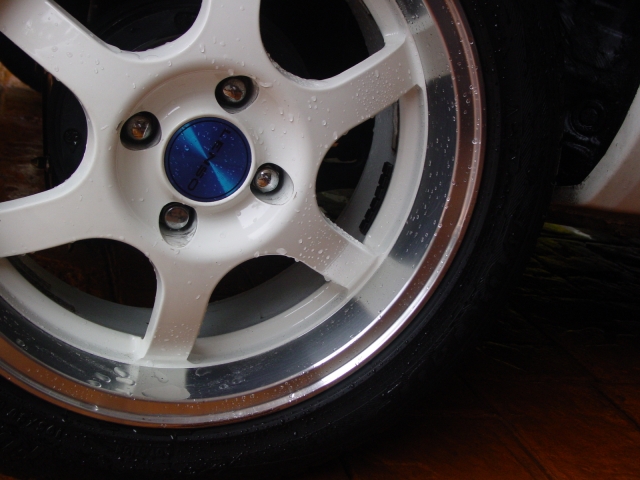
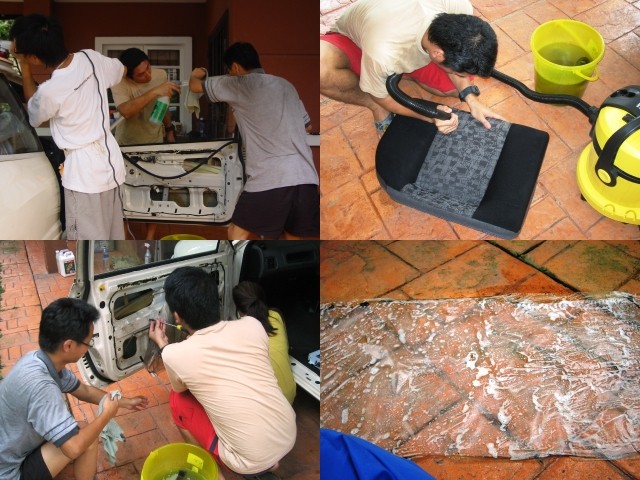
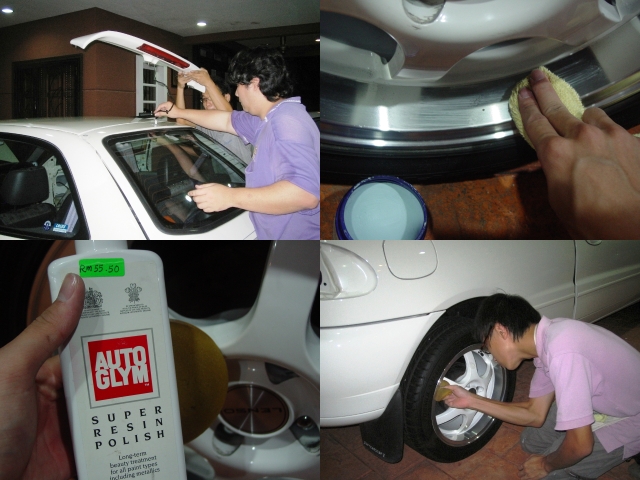
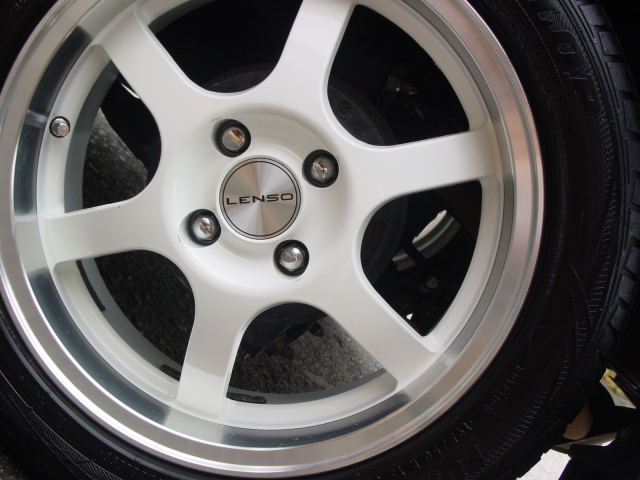
Wheels were very dirty. The HIM guys started by stripping out the interior panels.
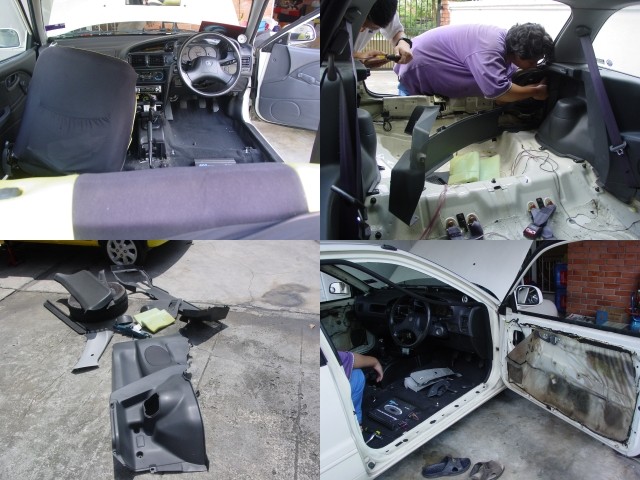
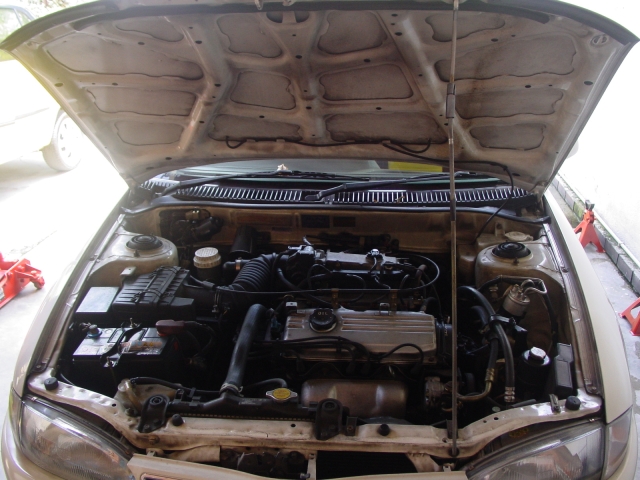
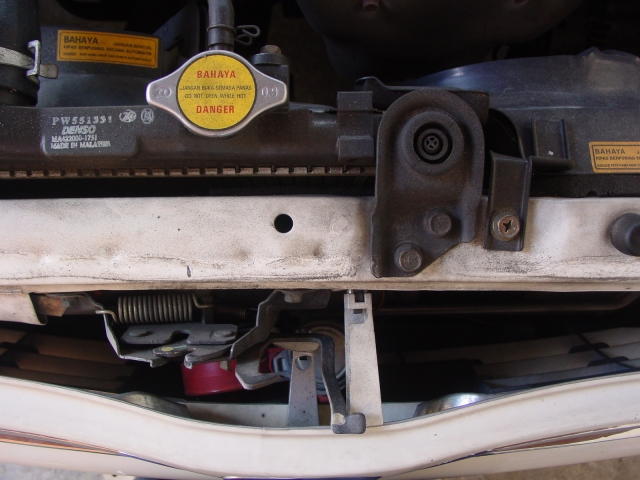
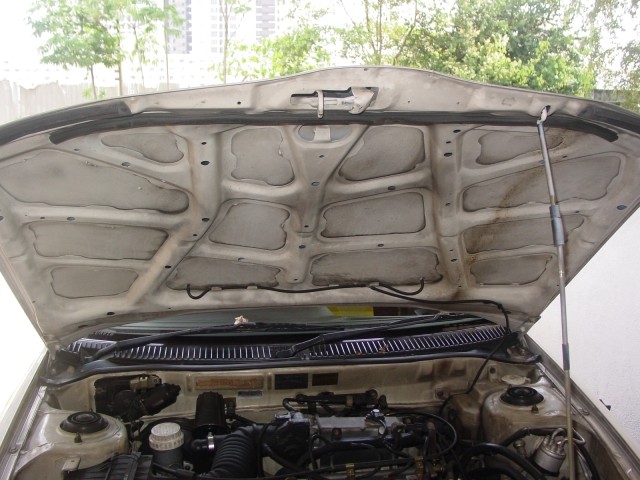
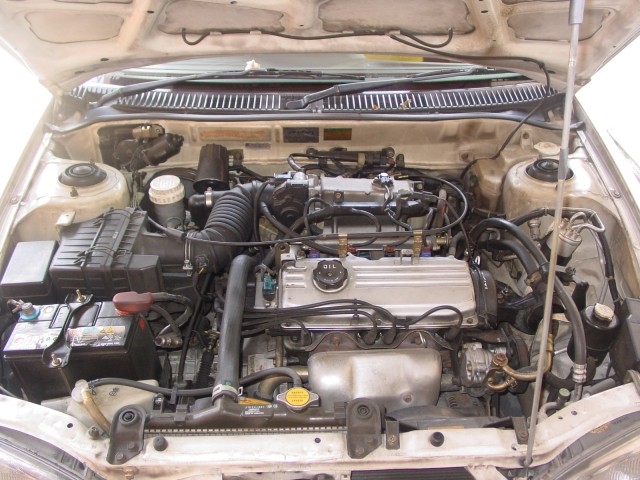
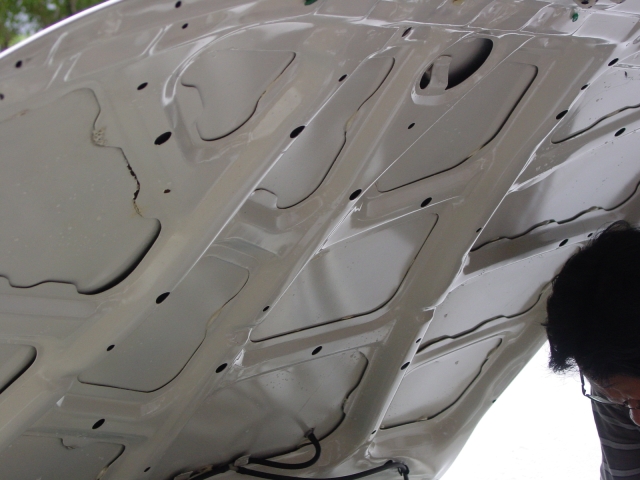
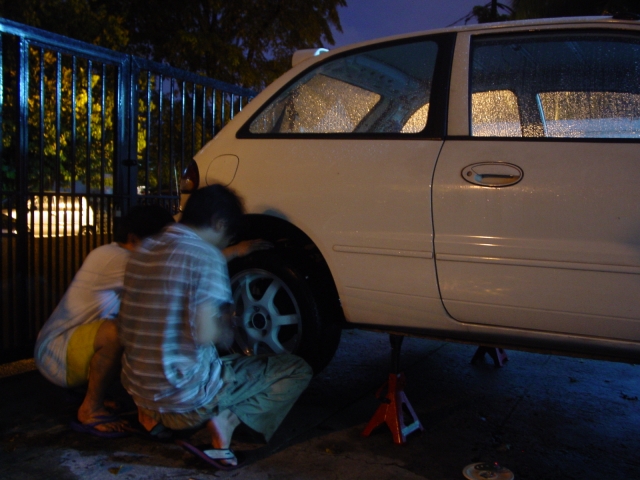
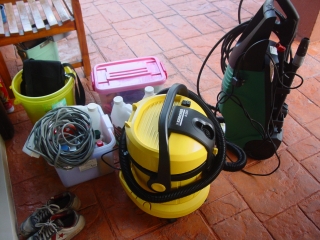
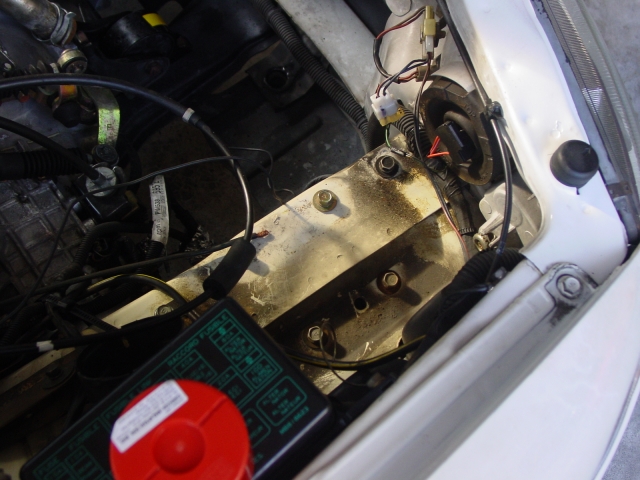
They then removed the wheels and put the car on stands, wrapped all electrical inlets with aluminum foil. The underside of the hood and engine bay was cleaned with Meguiar’s Super Degreaser(diluted 4:1), with a variety of brushes and a sponge. I learned that I should wear a safety goggle next time because the misted chemical can sometimes get into my eye, and I definitely do not want to degrease my cornea, haha.
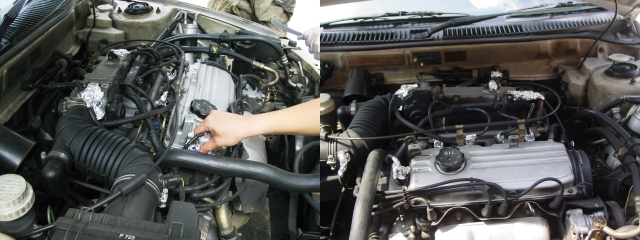
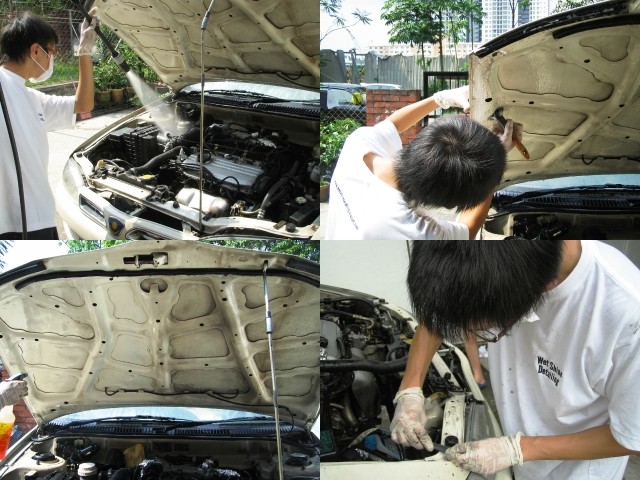
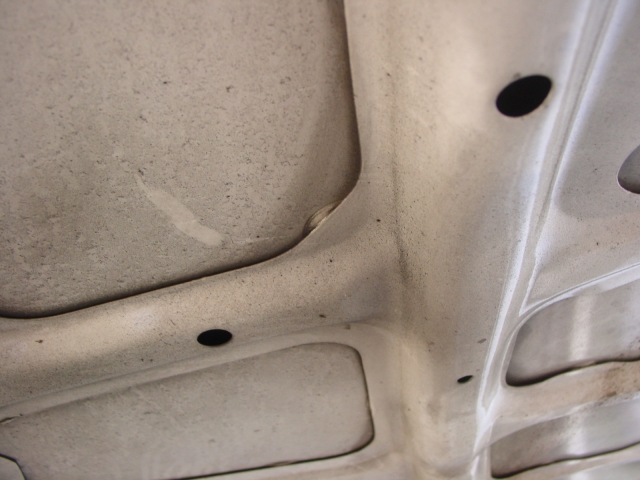
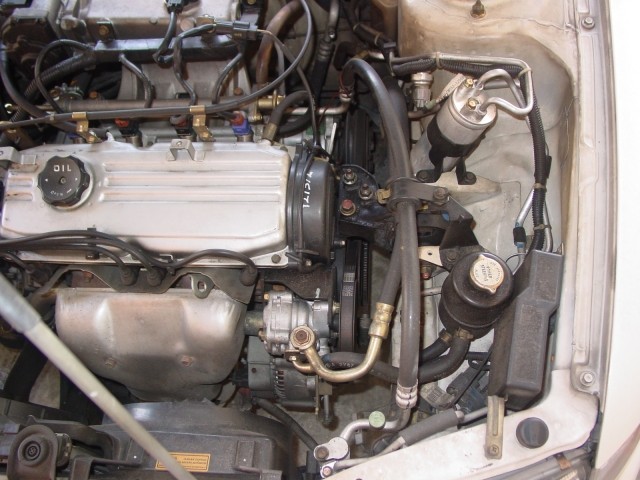
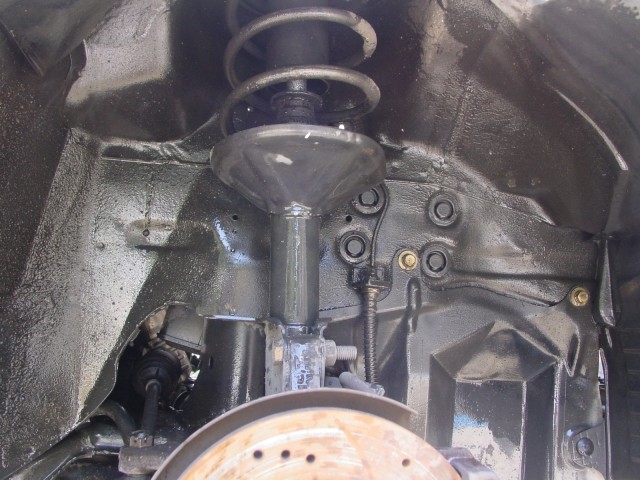
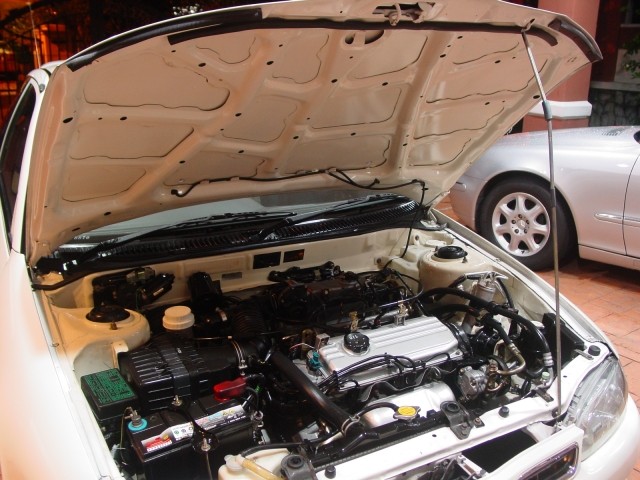
Underside of the hood cleaned and upper half of engine bay cleaned.
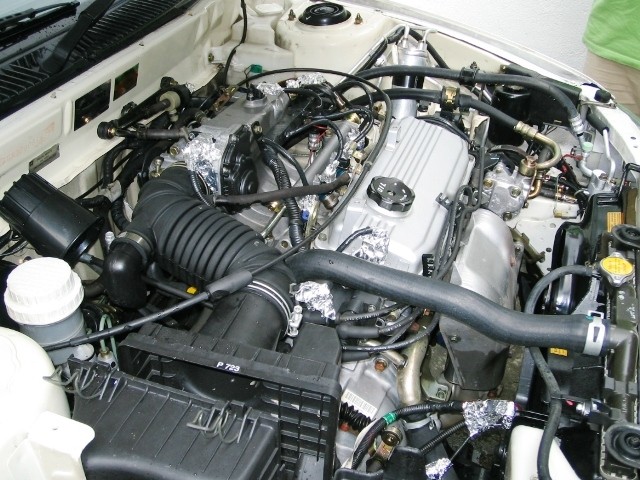
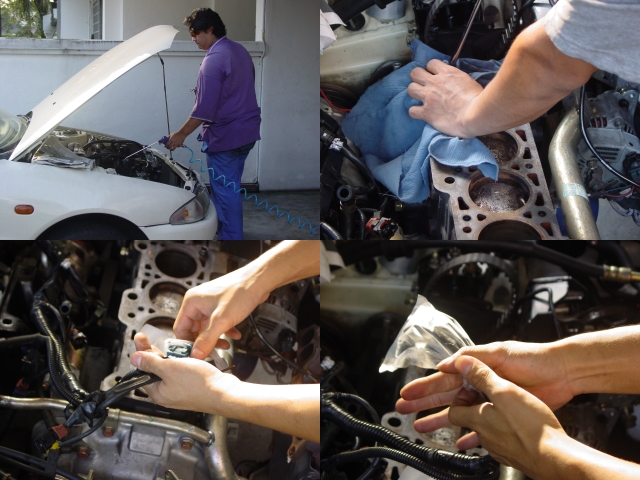
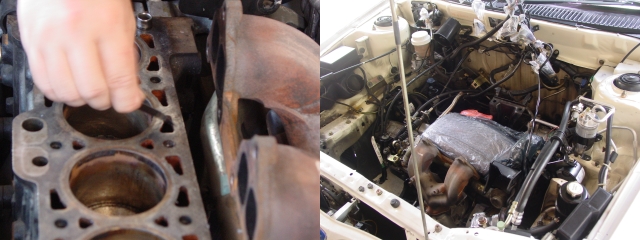
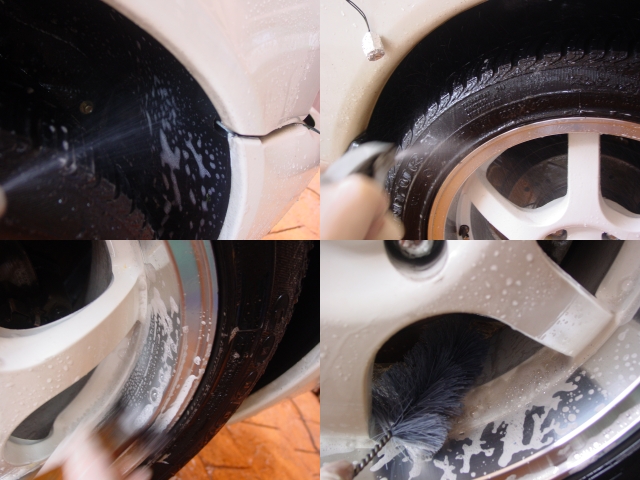
Then the dark clouds were rolling in and the HIM guys were rushing to remove the rocker cam cover. We waited for the rain to stop and then continued on with the job. While they were stripping out the engine parts, I cleaned the wheels with Meguiar’s Super Degreaser and removed the tar with Osren Tar Spot Remover. After cleaning the wheel, they fitted them back and rolled the car inside and I called it a day.
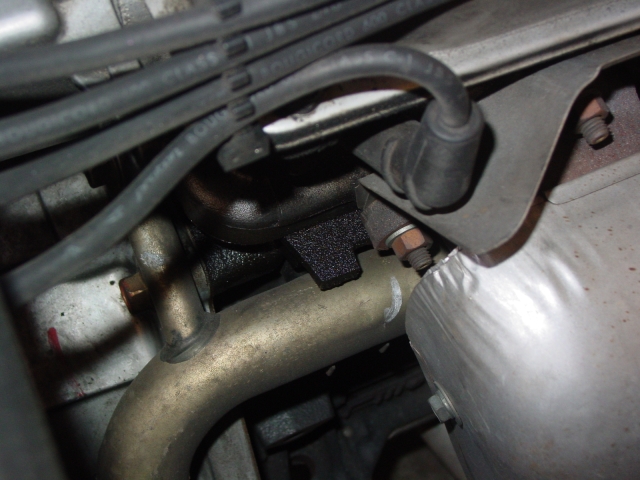
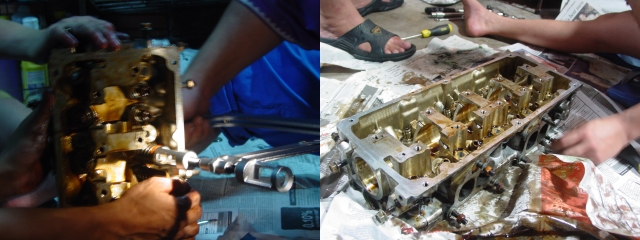
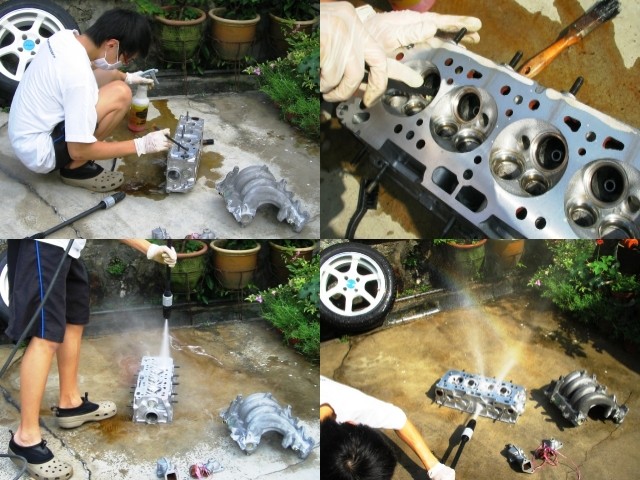
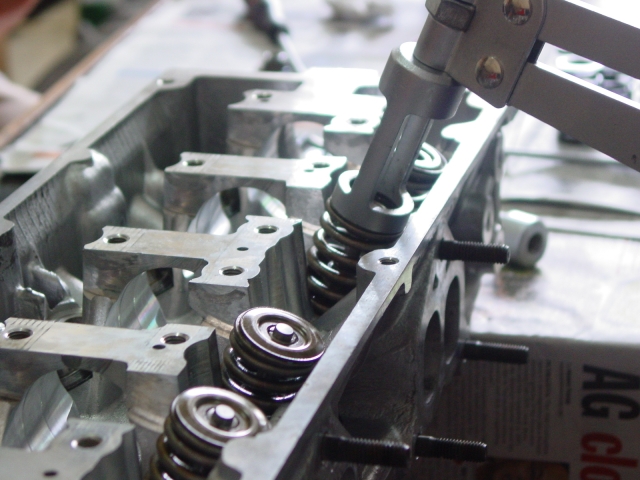
It was my first time seeing a cylinder head up close, so I thought of sharing this picture with you.
End of Day 1
Day 2
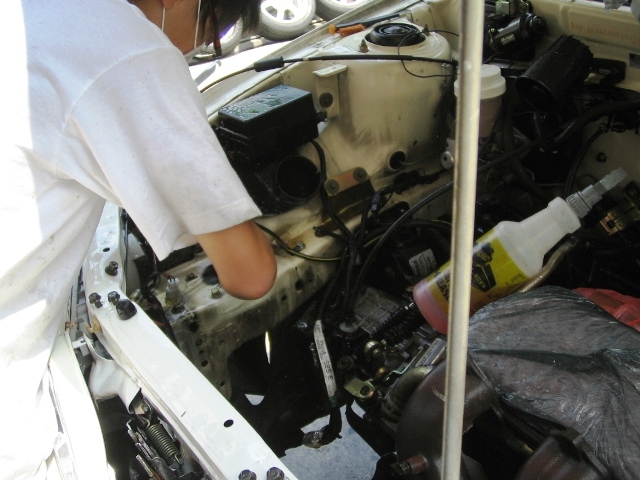
One week passes and I’m off to HIM’s place again during the weekend to clean the interior and the lower half of the engine bay.
In the morning I just watch them clean the gasket off from the cylinder head. They first blow out debris from the holes with an air compressor, wrapped all electrical inlets, stuff the holes with cloth and the sides with newspaper to prevent the gasket stripper chemical from corroding other parts.
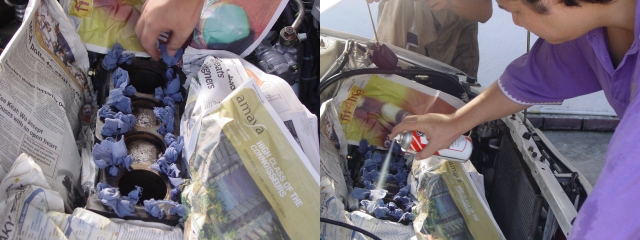
While waiting for the gasket stripper to work on the gasket, they continue to strip the interior by removing the dashboard. And then they scraped of the gasket with a razor blade and covered the engine block with a towel to absorb any moisture and wrap with a plastic bag.
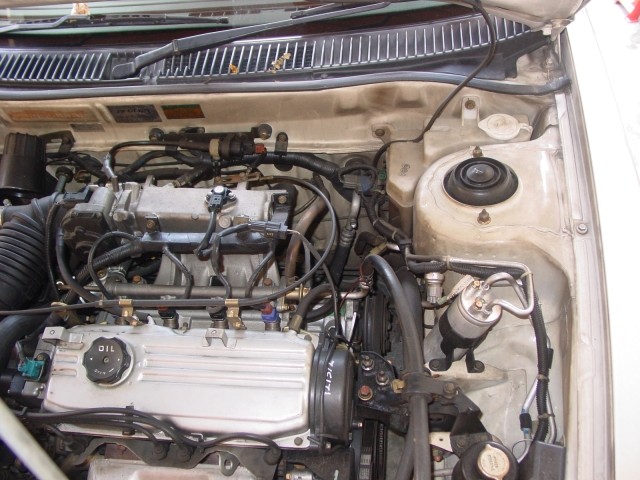
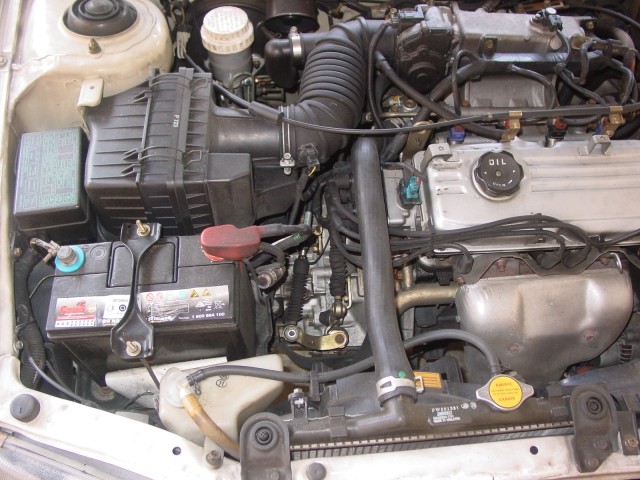
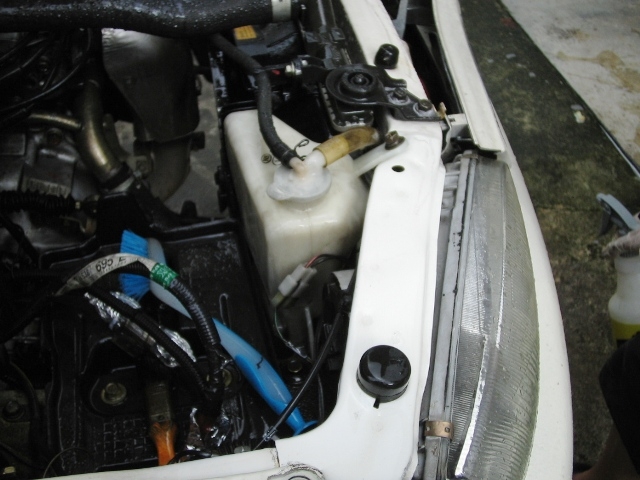
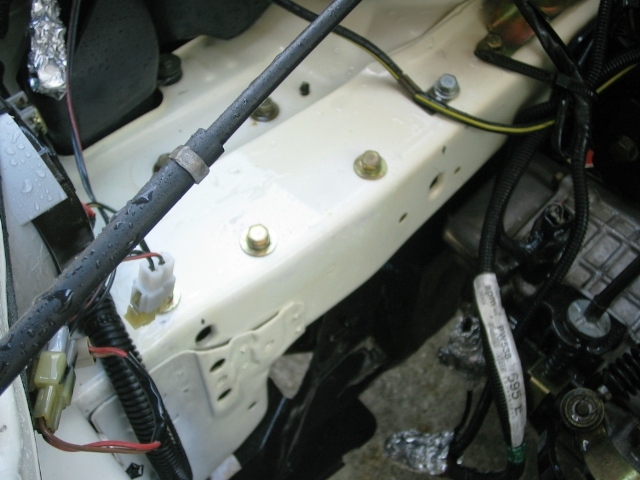
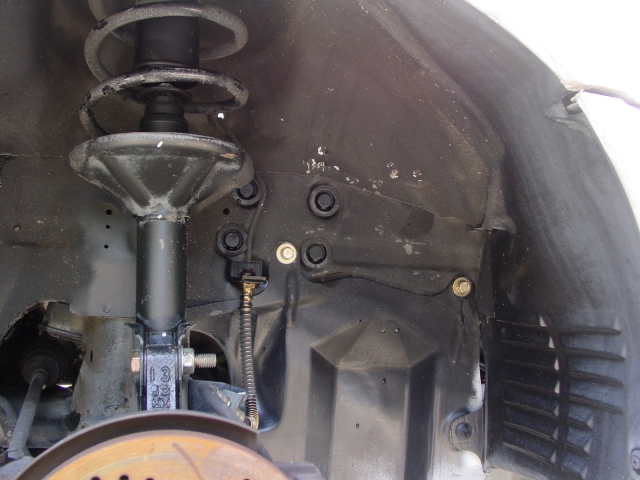
Lower half of the engine bay cleaned and the skimmed cylinder head cleaned with Meguiar’s Super Degreaser(4:1) with a Meguiar’s Triple Duty Brush.
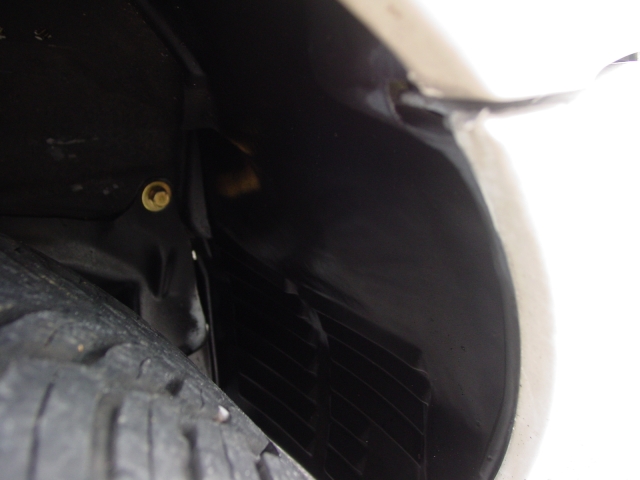
At this stage I took a rest and went into the house to watch them insert the valve collets.

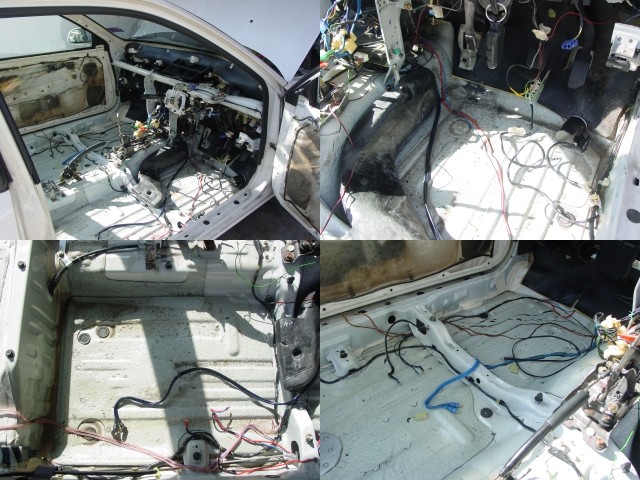
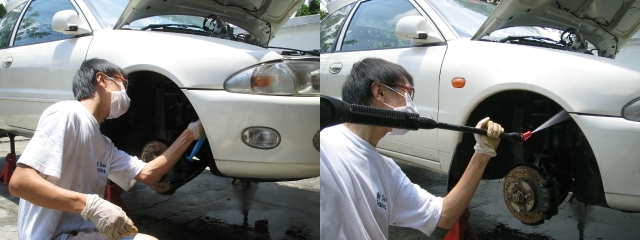
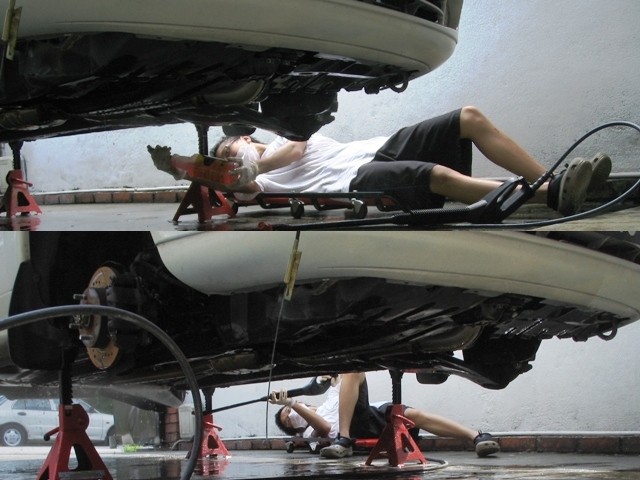
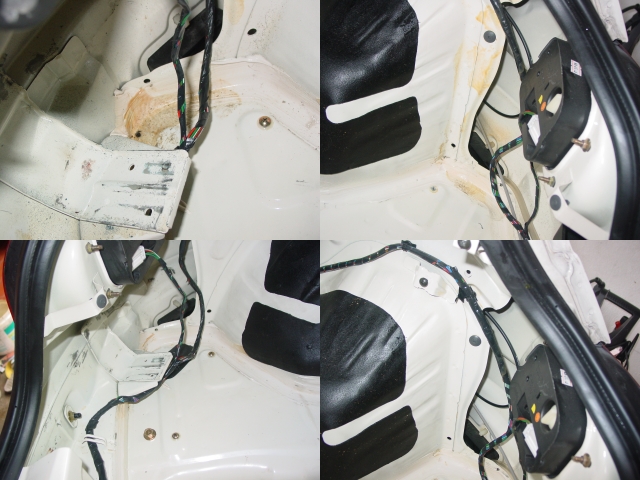
Continued by cleaning the wheel wells with Meguiar’s Super Degreaser(4:1). Undercarriage is also lightly cleaned by rinsing off with high pressure, sprayed on Super Degreaser, lightly brushed and pressure washed off.
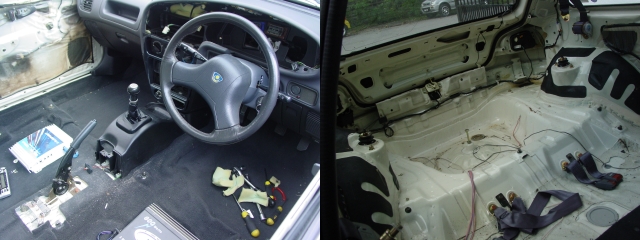
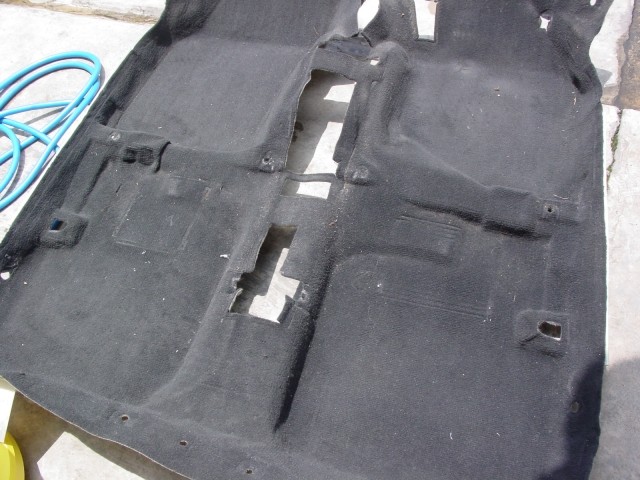
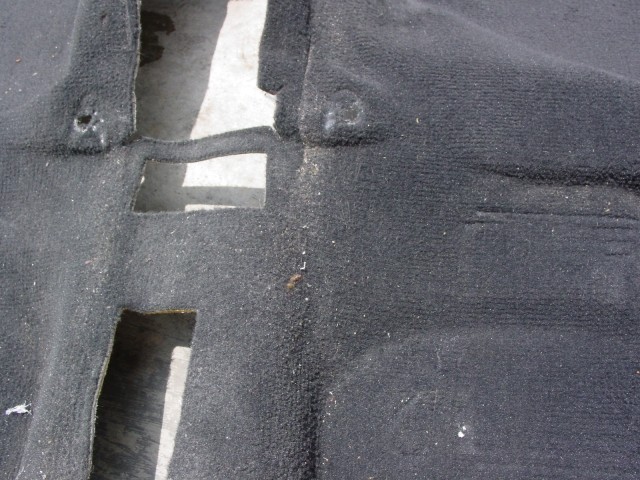
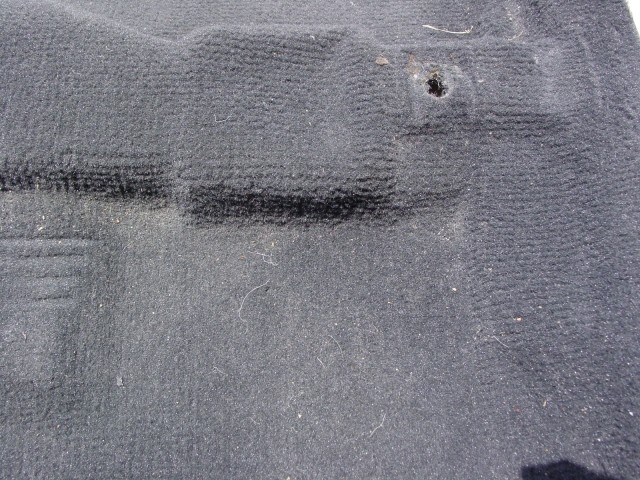
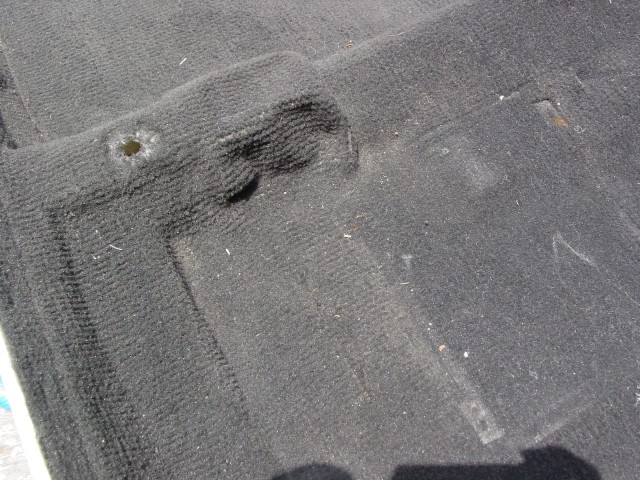
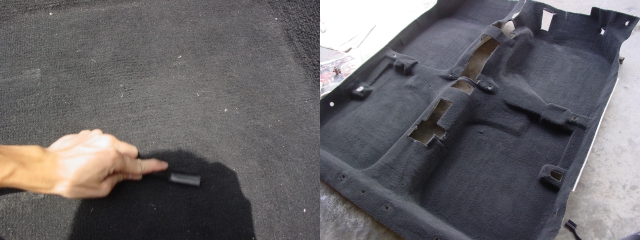
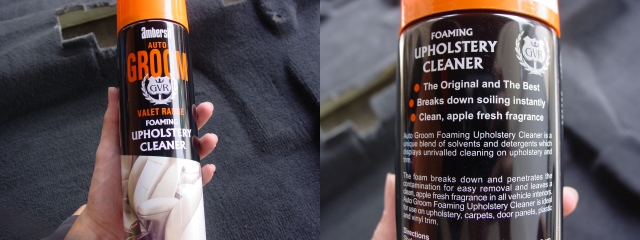
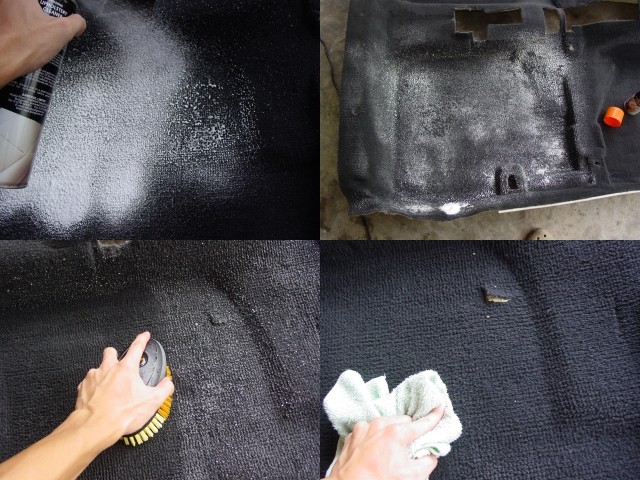
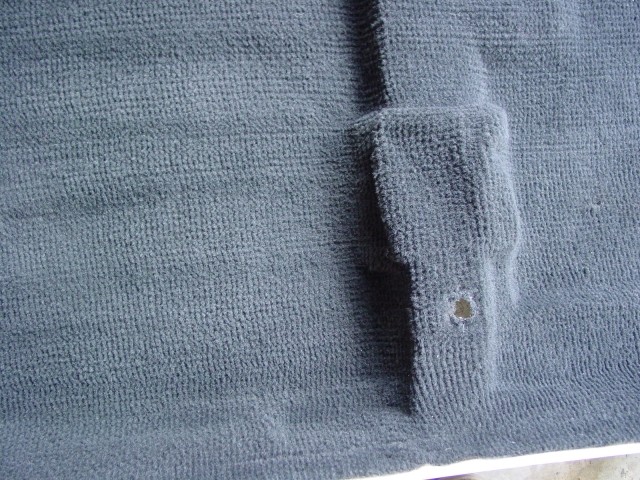
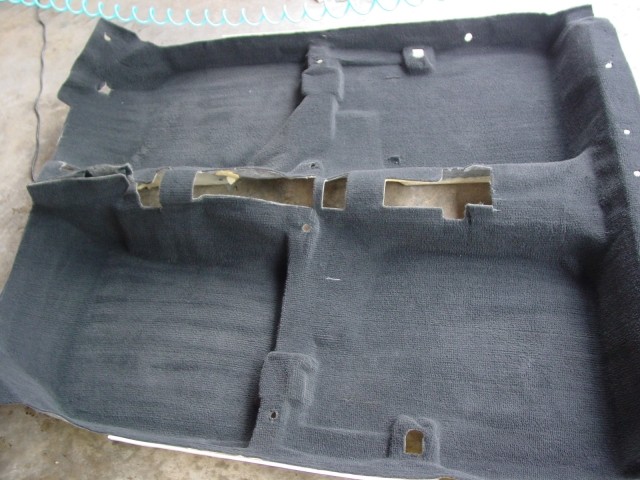
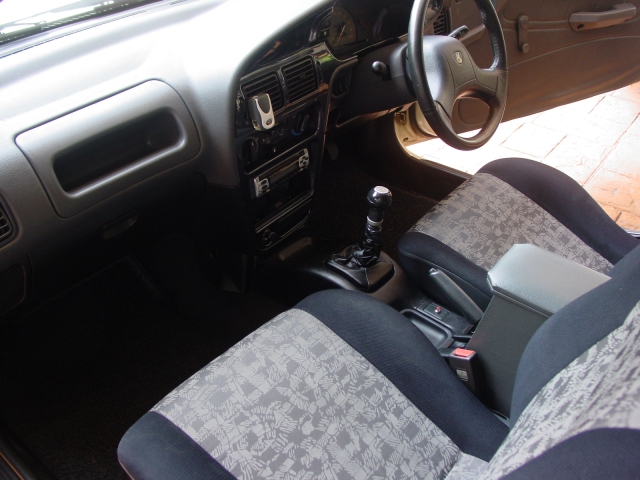
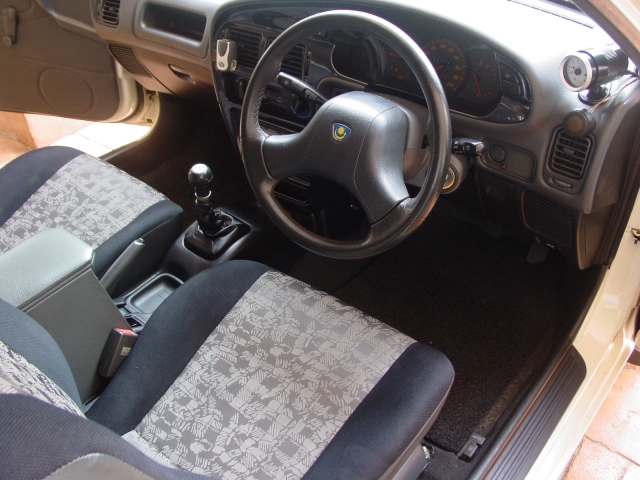
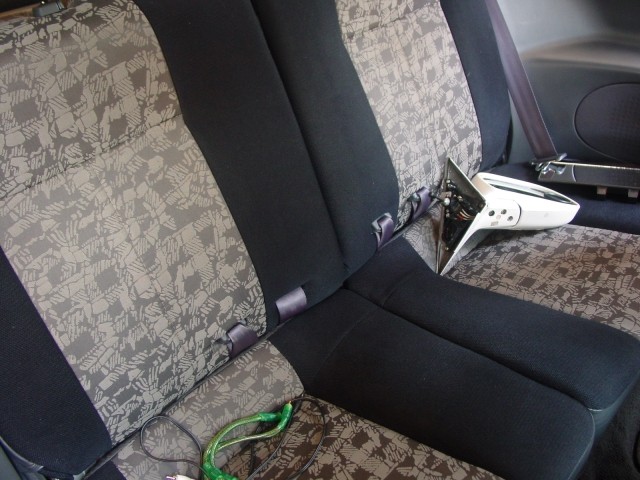
The removed carpeting made cleaning it much more easier. The carpet is first brushed with a nylon brush to surface debris trapped between the fibers, and vacuumed. Then Ambersil’s upholstery cleaner is sprayed, left to sit for a while and scrubbed with a wet Meguiar’s Interior Brush. Wiped off with a damp cloth and moisture extracted with a wet/dry vacuum.
Then the interior is cleaned with Meguiar’s All Purpose Cleaner(diluted 10:1) and M6000 Wax and Grease Remover to remove any sticky and greasy residues. After the interior is cleaned, the HIM guys started to fit back the interior.

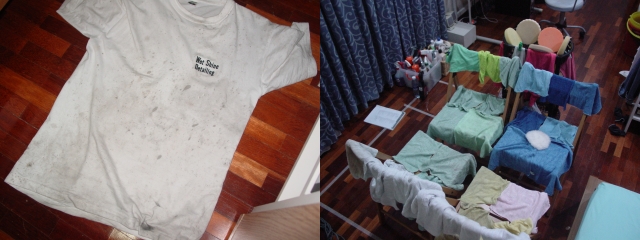
Then I called it a day and went home to wash my cloths and pads that have been soaking for two weeks!
End of Day 2
Day 3
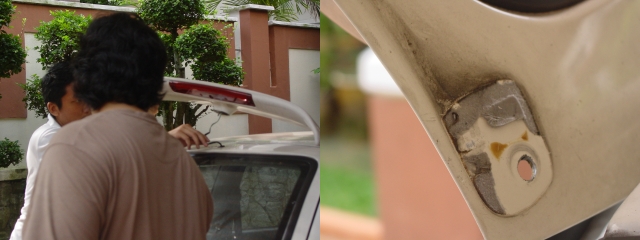
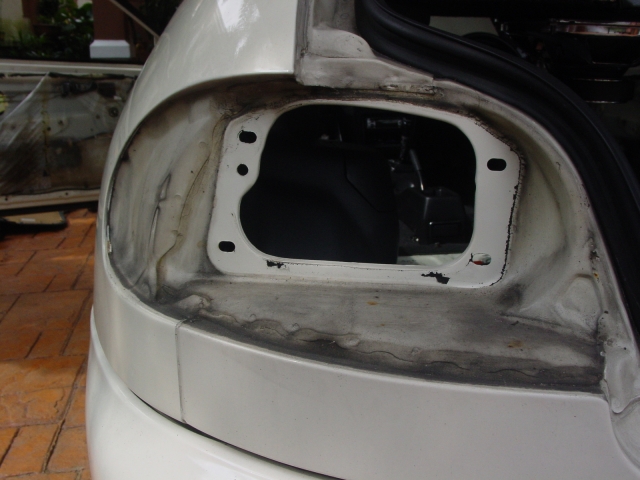
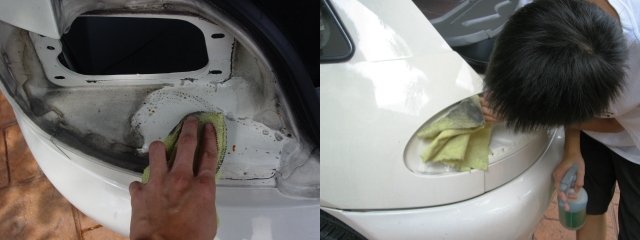
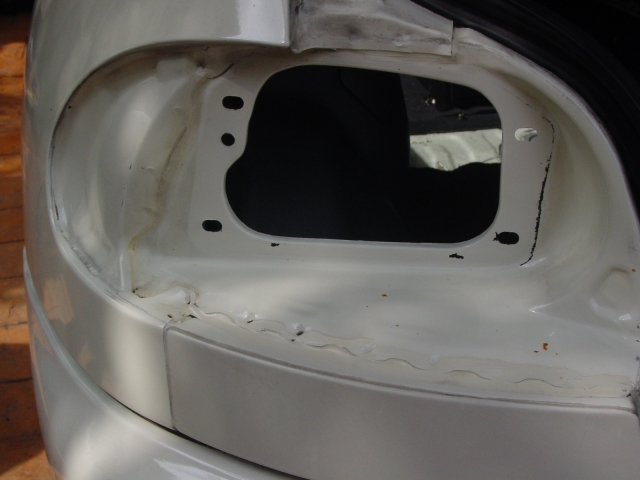
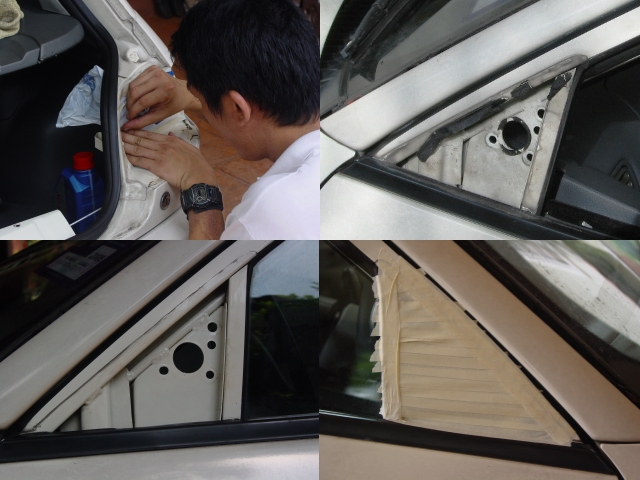
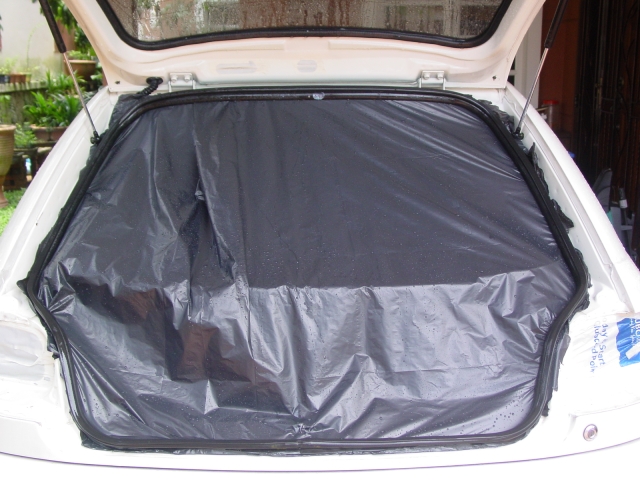
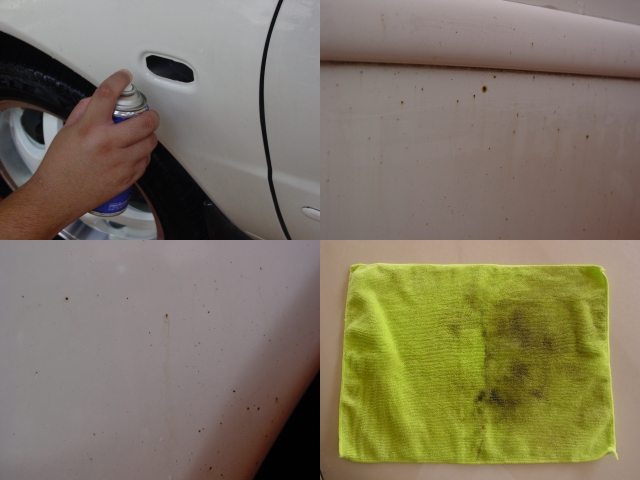
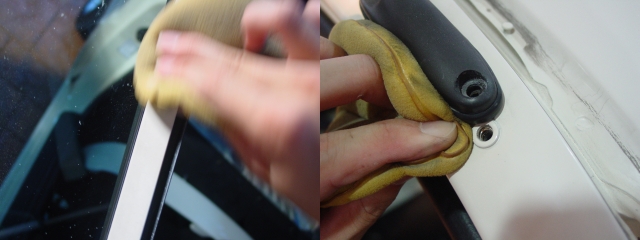
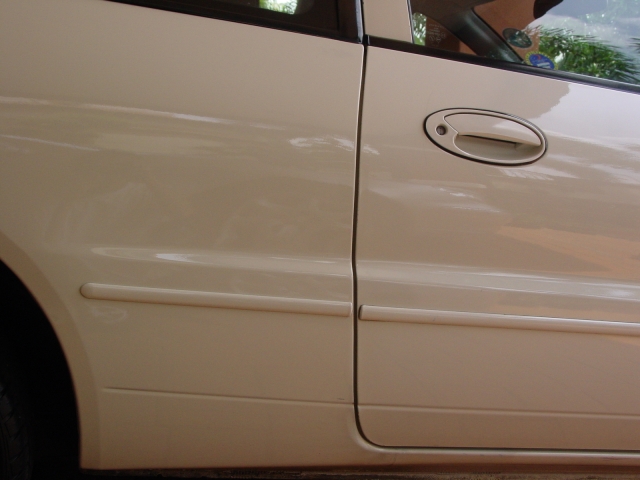
The next weekend, the car is brought over to my place for the exterior makeover. HIM came and helped me removed the spoiler, interior panels, seals and the light clusters. This will make it easier for me to polish certain areas without taping. Dirty areas behind the side mirrors, rear lamps were first wiped down with Meguiar’s All-Purpose Cleaner(4:1) so the wash mitt will not get too dirty when washing the car’s body later. Any opening were taped up or covered to prevent water from entering the interior while washing.
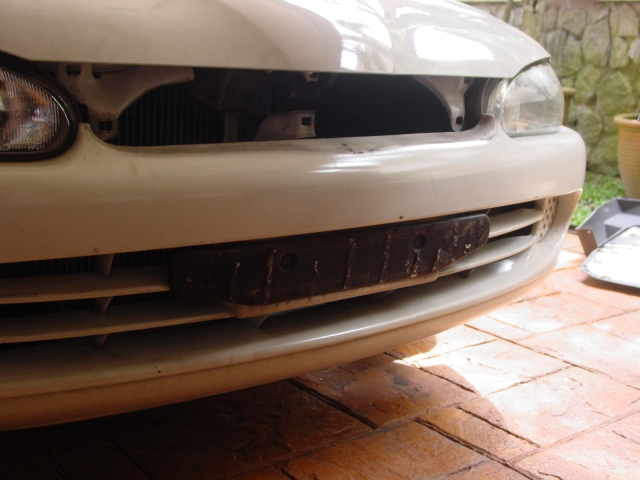
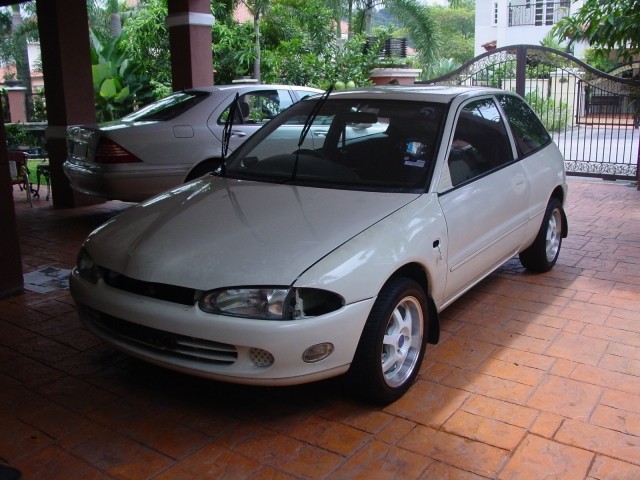
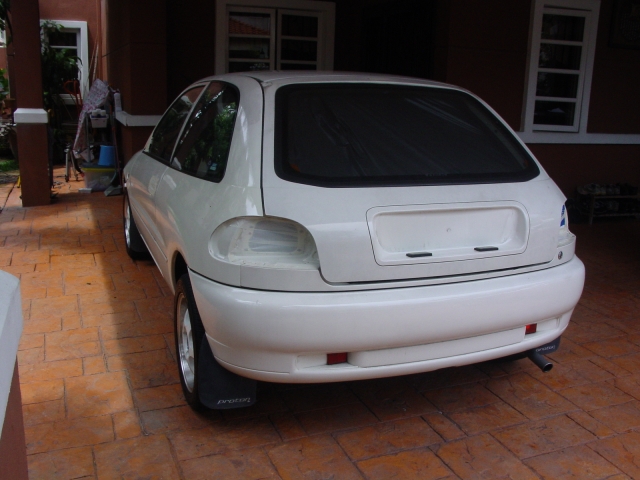
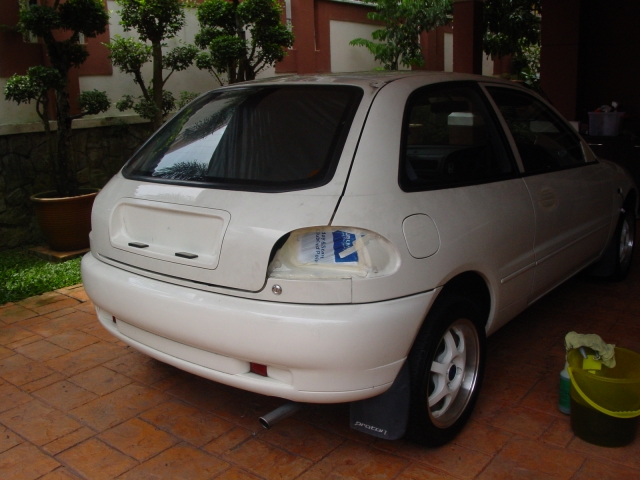
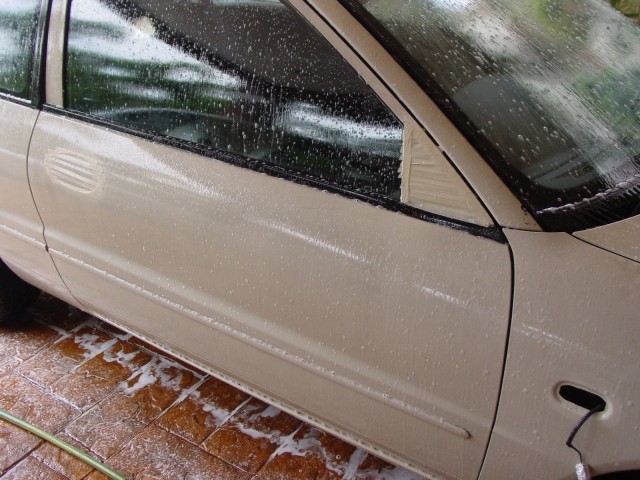
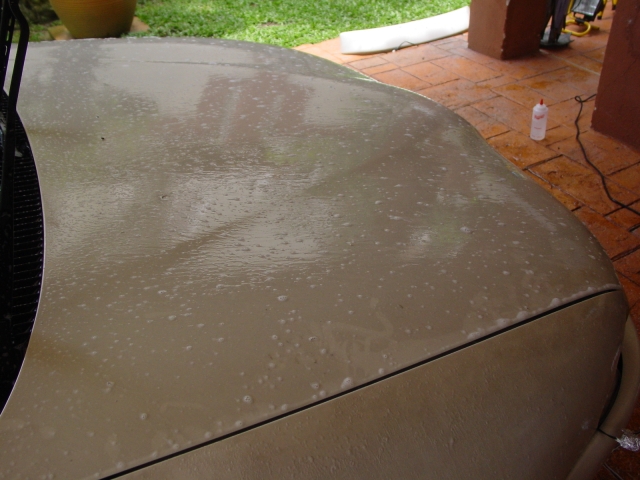
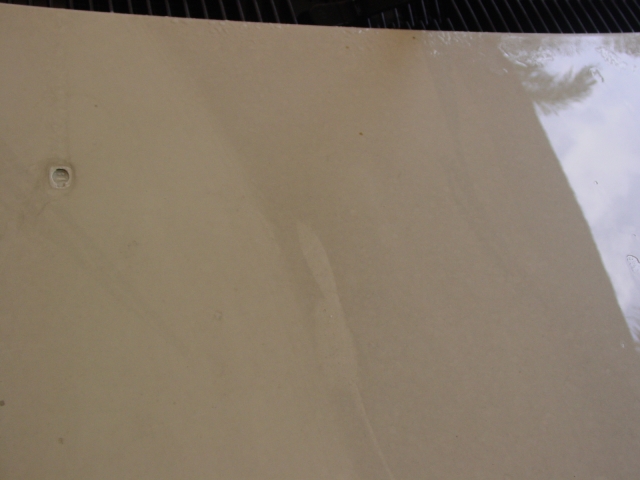
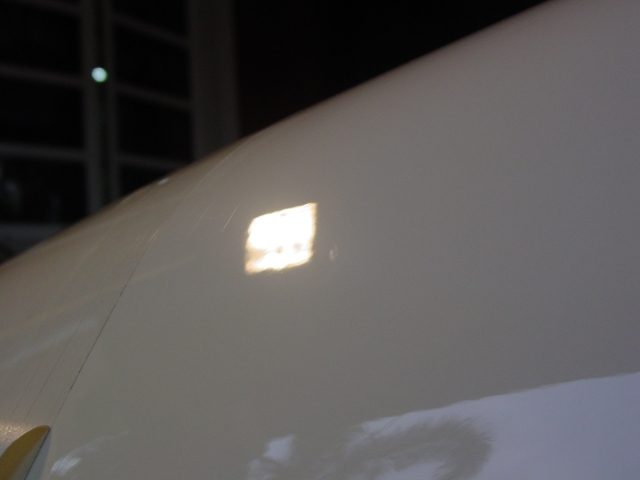
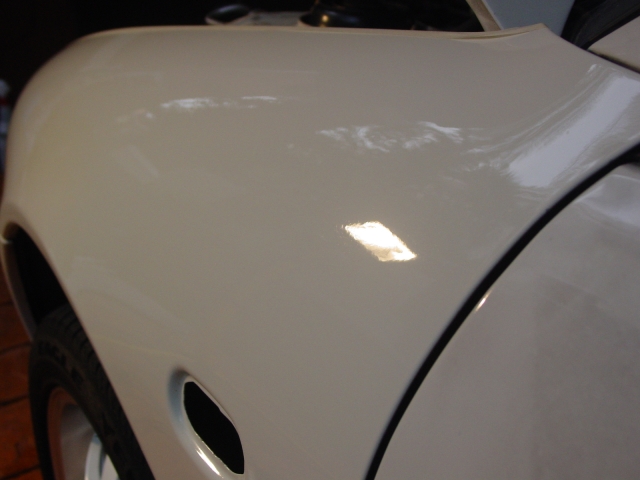
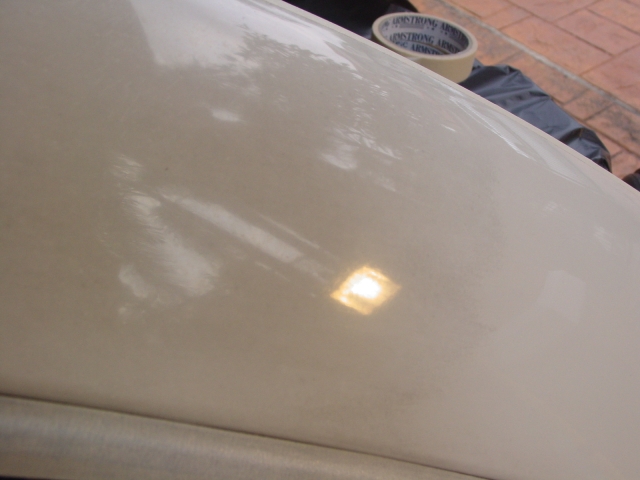
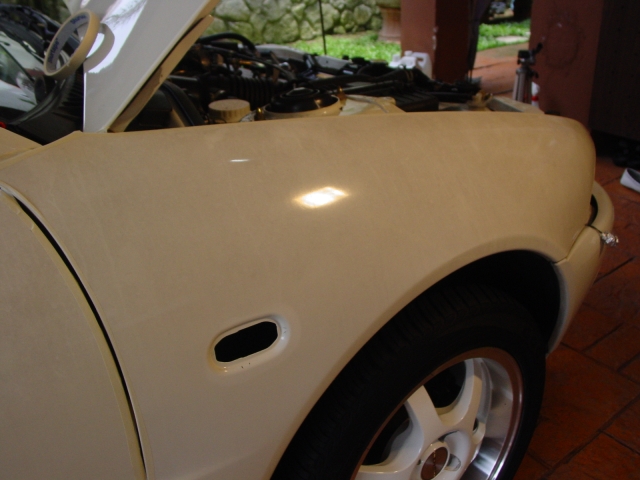
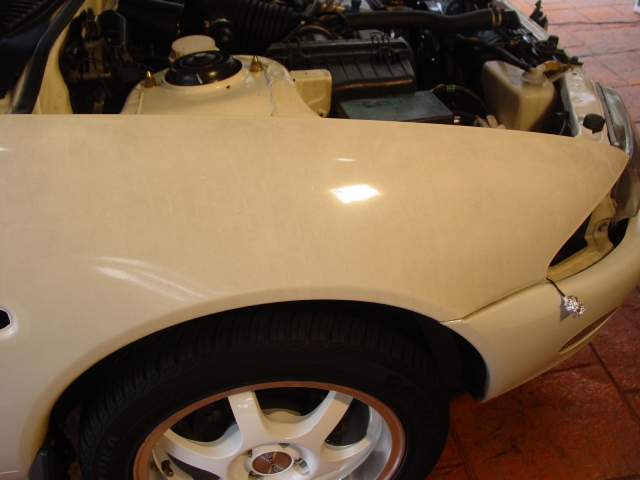
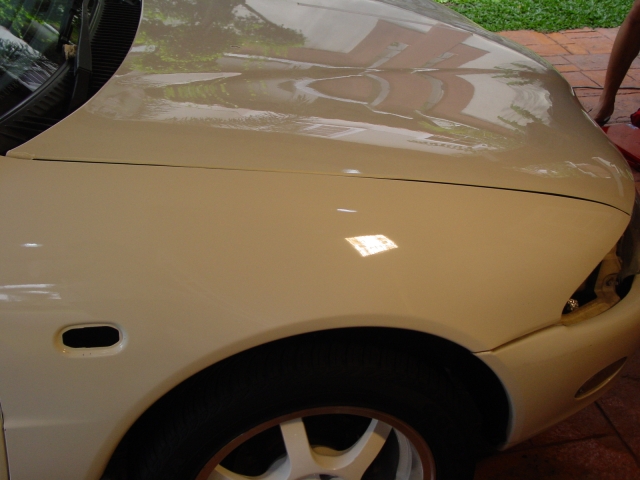
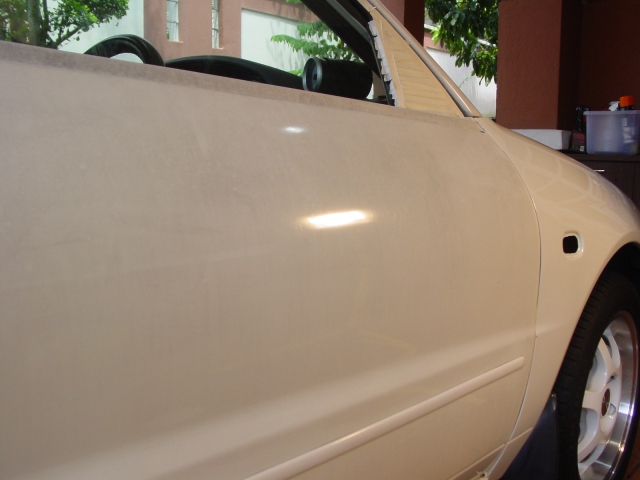
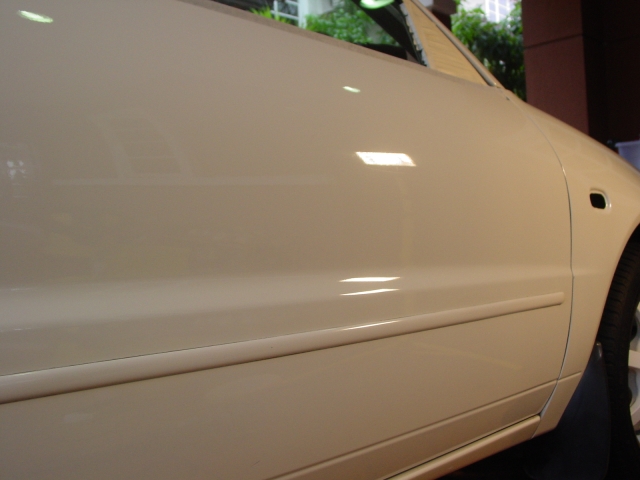
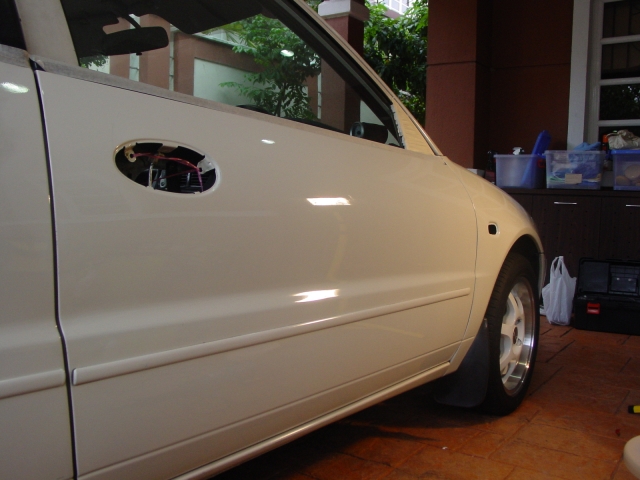
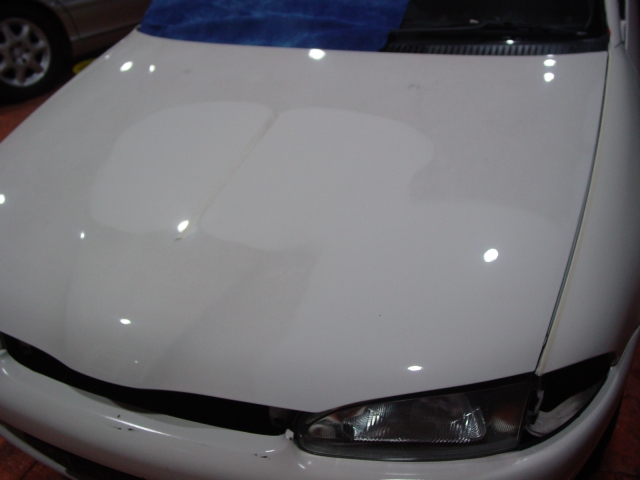
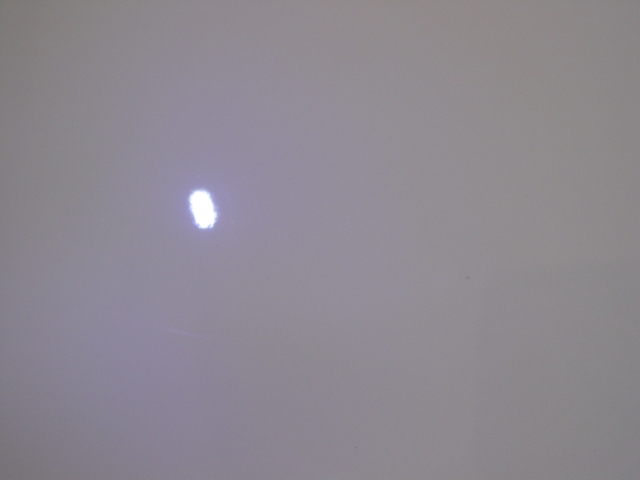
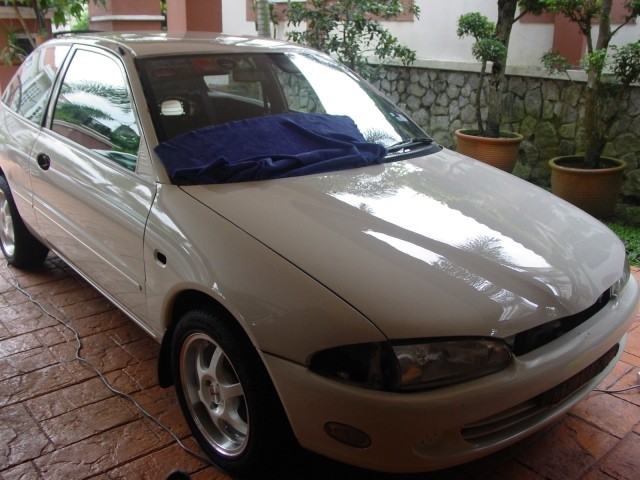
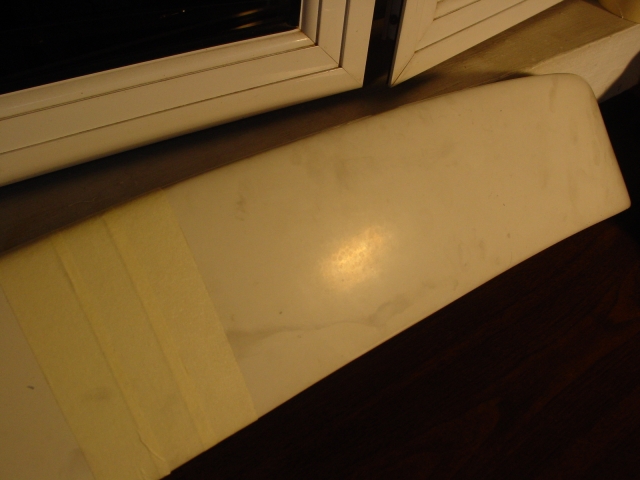
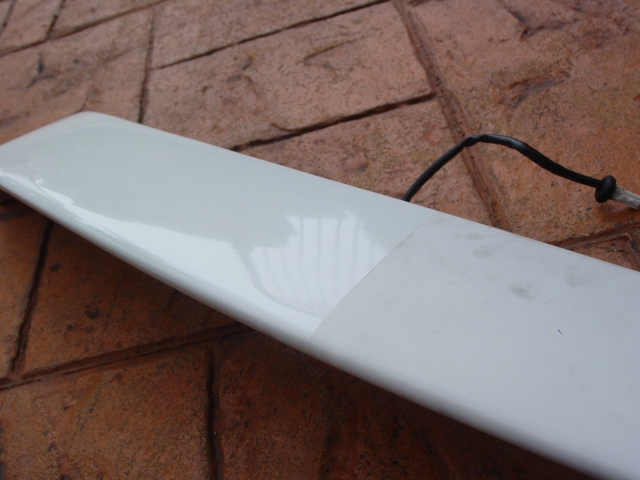
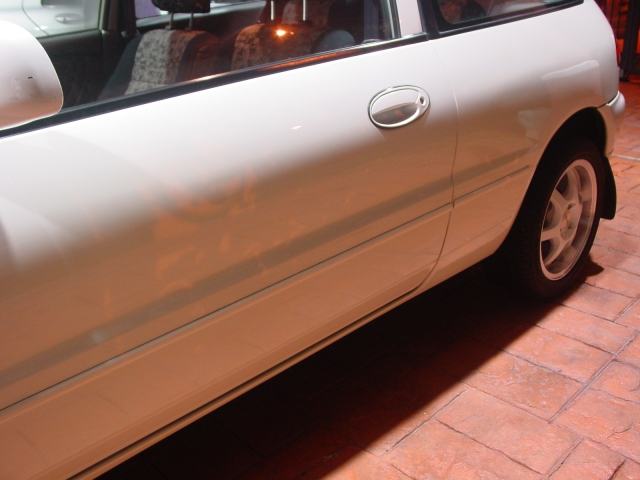
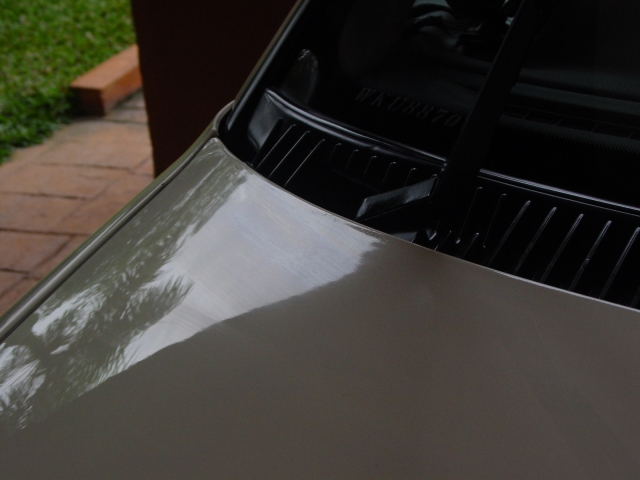
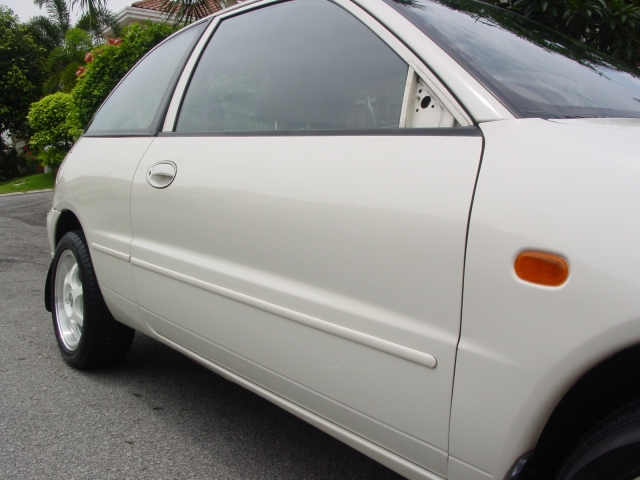
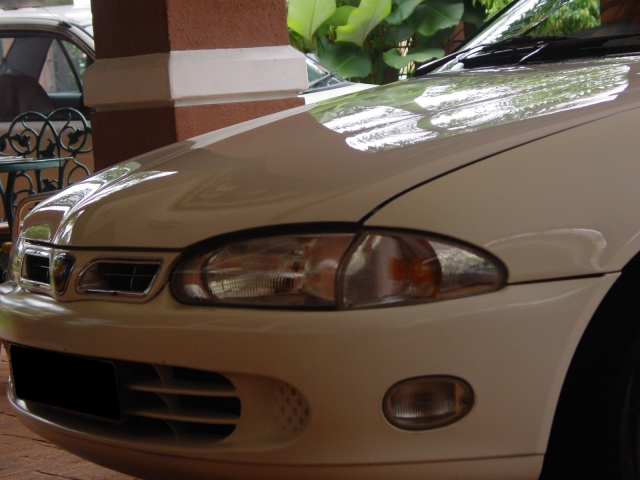
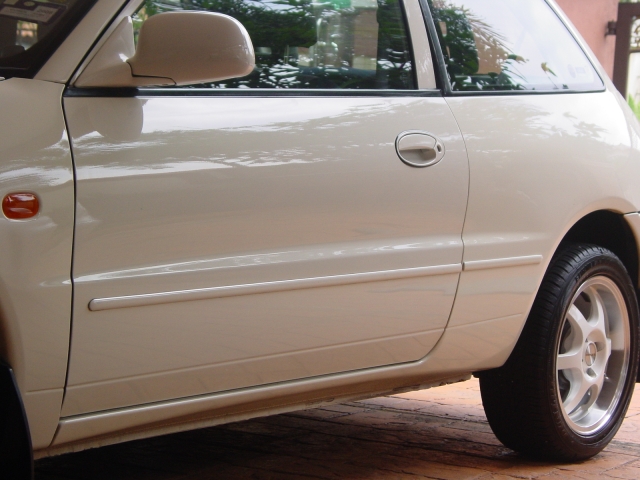
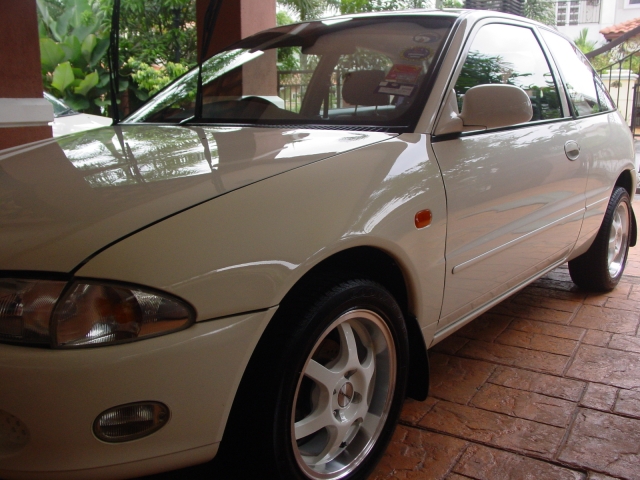
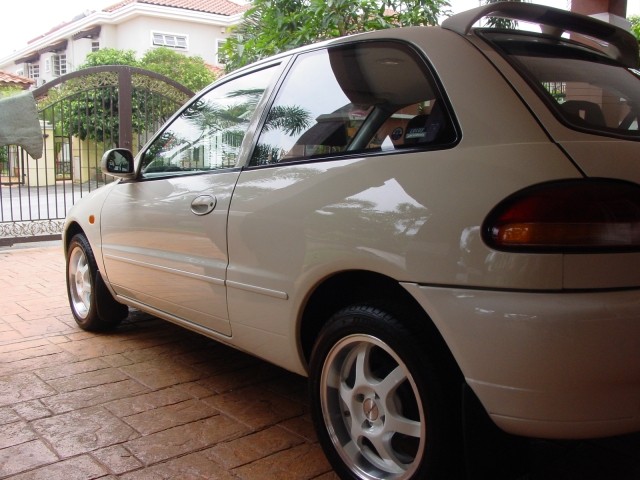
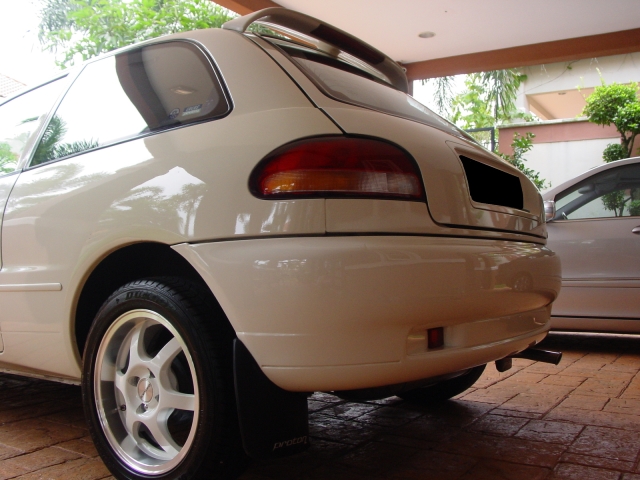
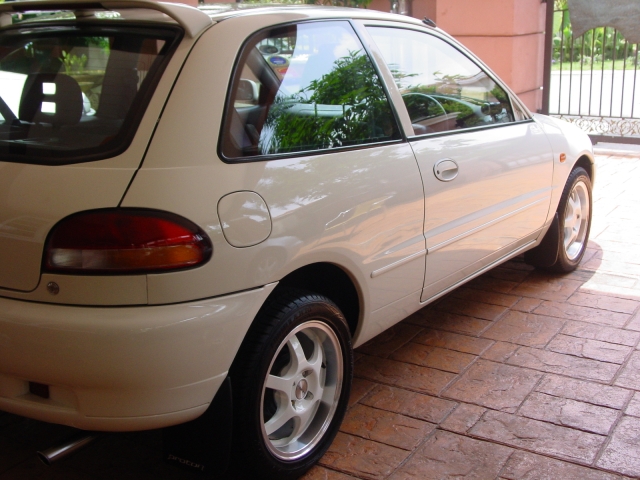
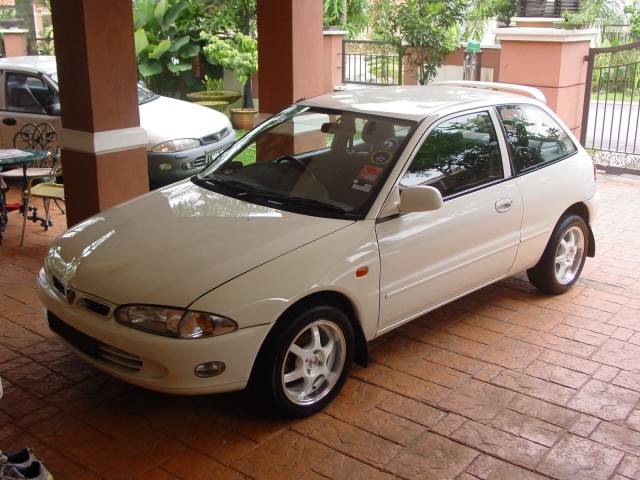
Before pictures of the car, take note of the dull surface and the lack of reflection on most panels.
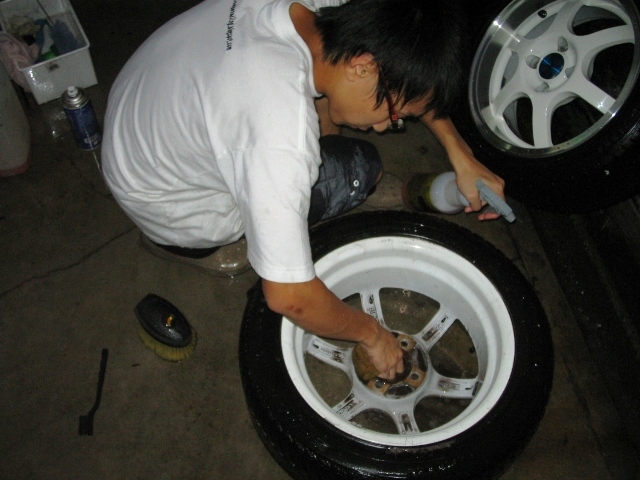
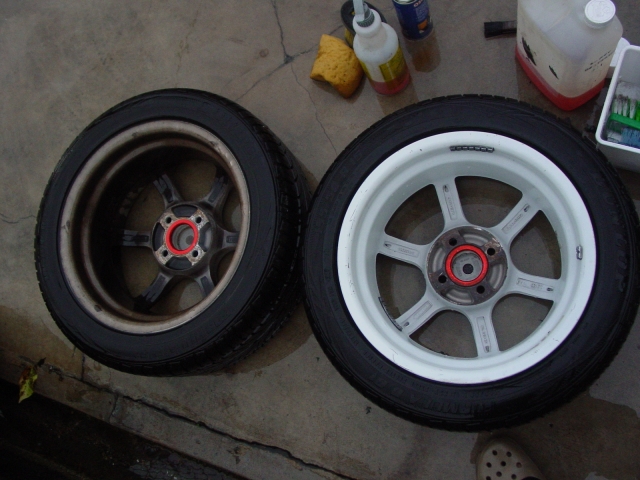
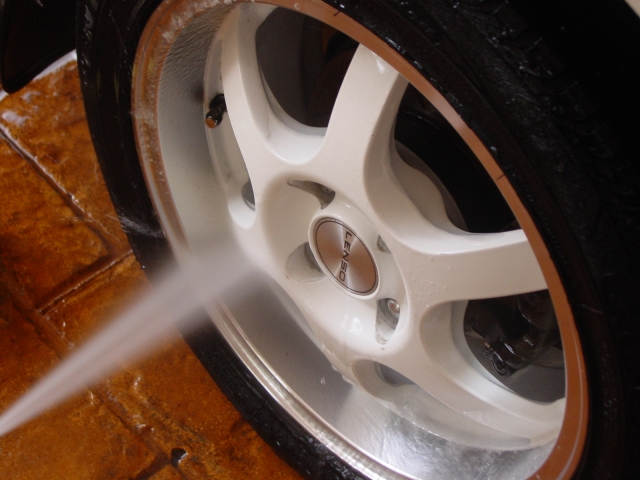
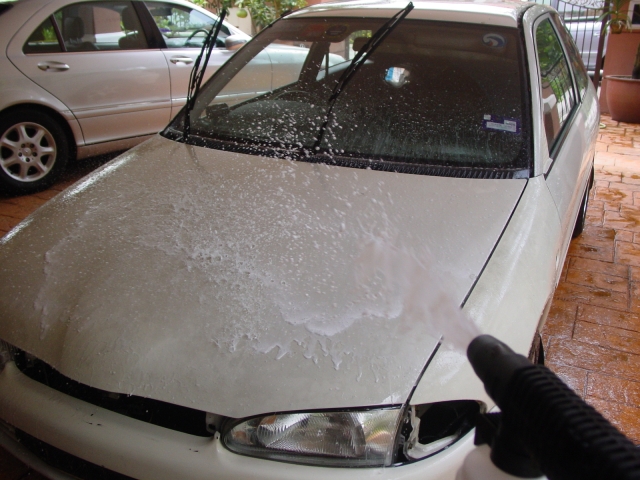
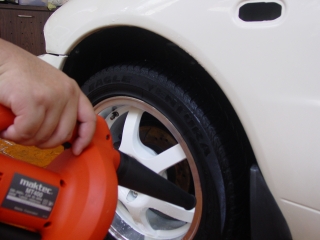
The washing process began by cleaning the wheel wells, wheel and tires, since it has been thoroughly cleaned that day, only light cleaning was needed. Meguiar’s All-Purpose Cleaner(4:1) on the wheel wells, Meguiar’s Super Degreaser(4:1) on tires, and Meguiar’s Wheel Brightener(10:1) on wheels. The car is then soaked with diluted Meguiar’s Hyper Wash to soften the dirt.
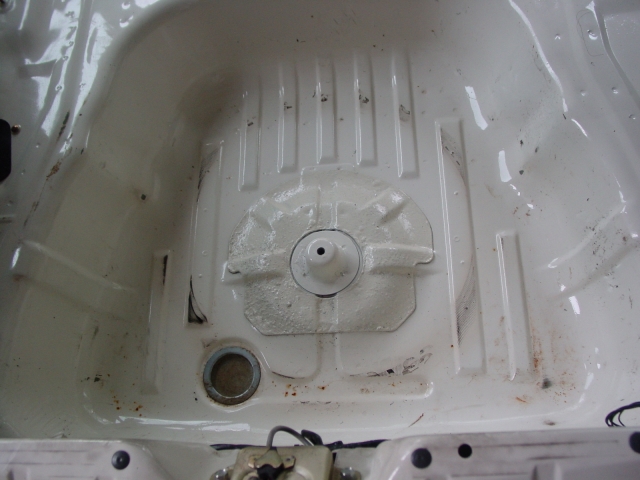
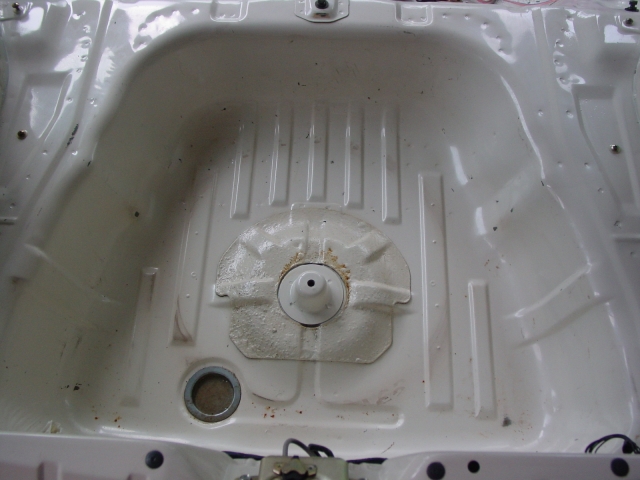
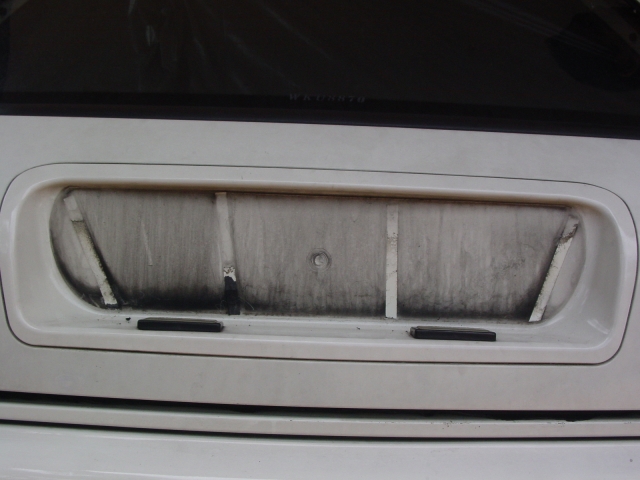
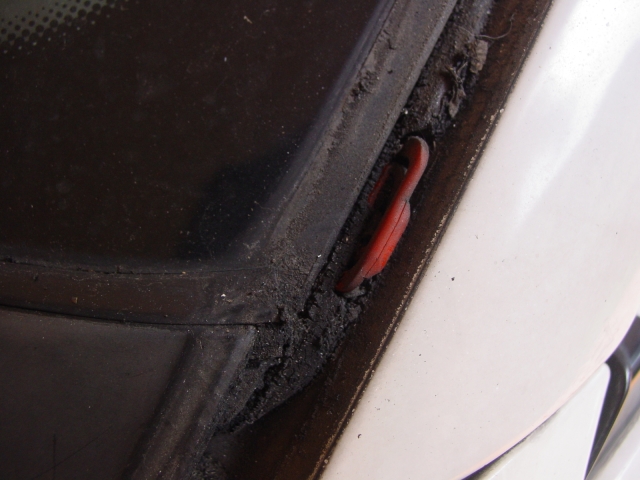
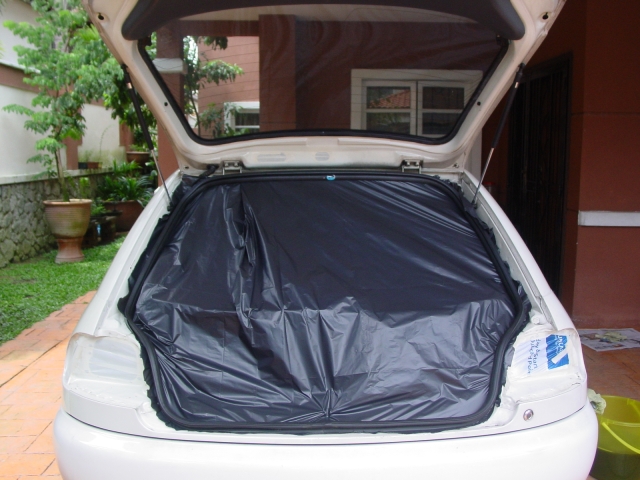
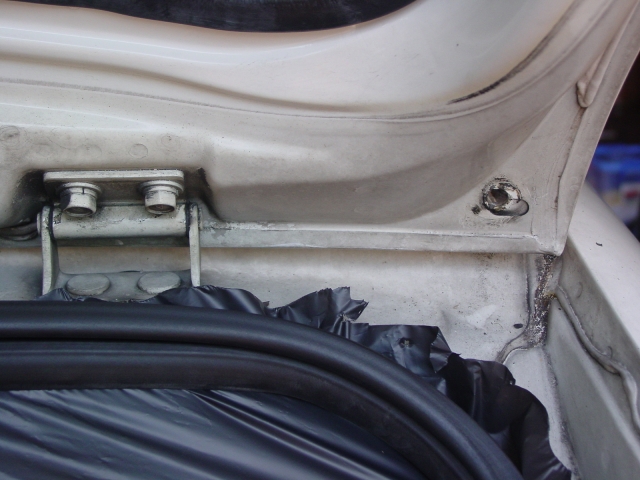
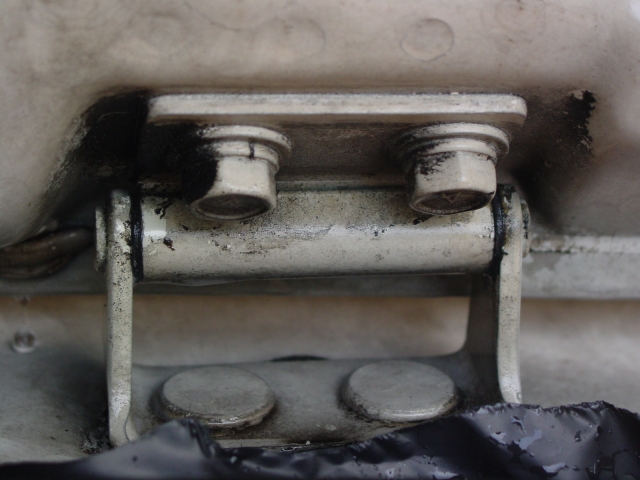
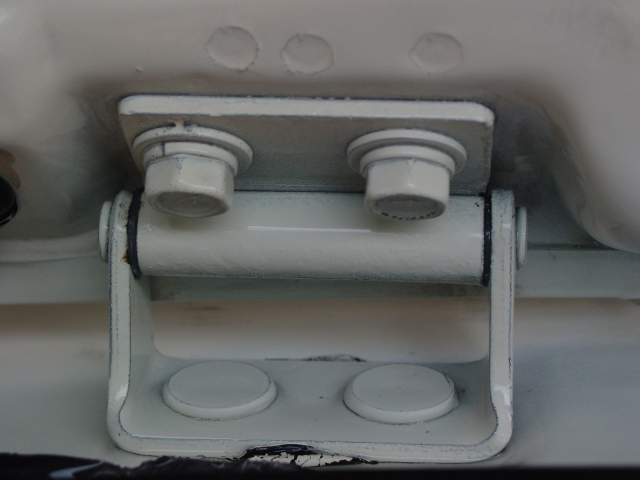
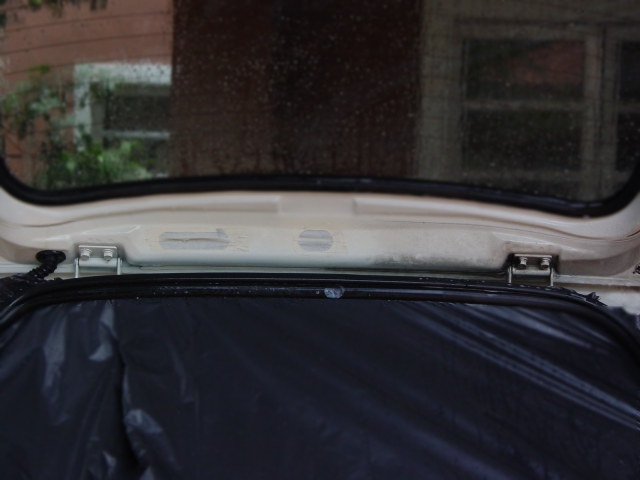
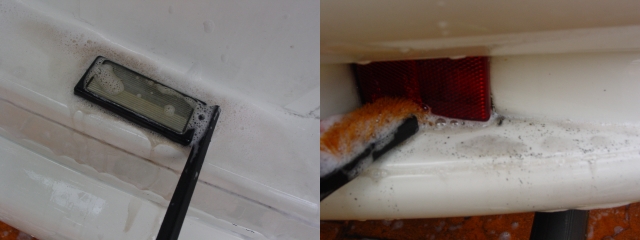
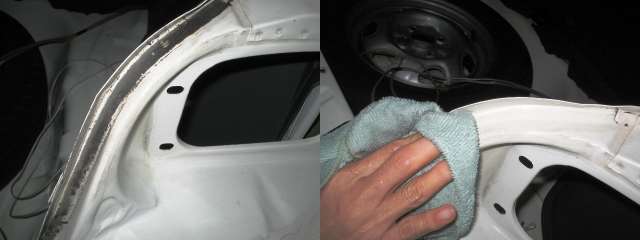
While the car is being soaked, the boot jamb and hinges are cleaned with Meguiar’s Super Degreaser(4:1)

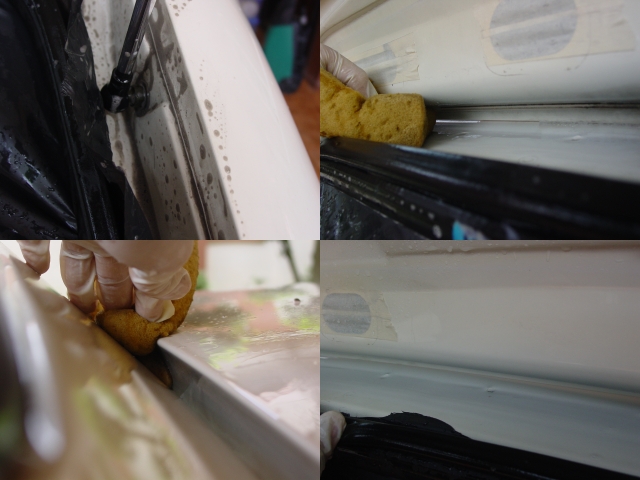
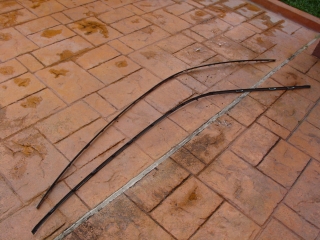
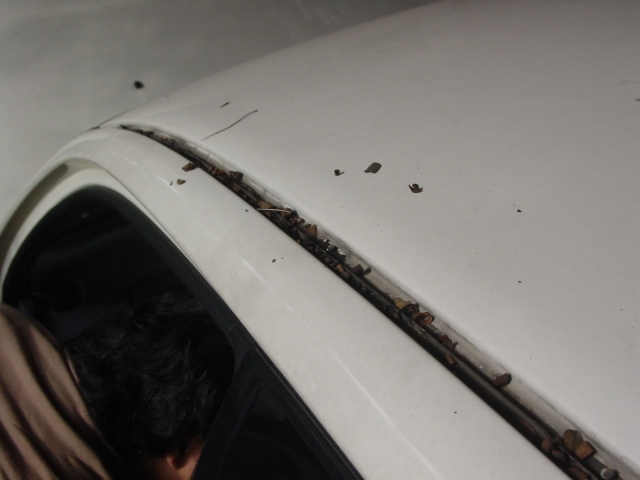
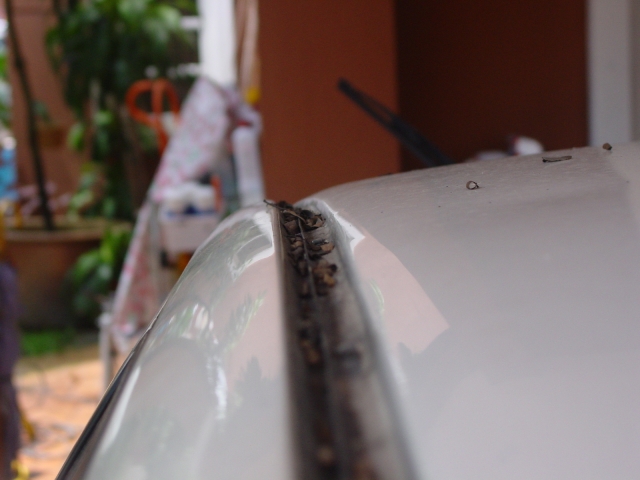
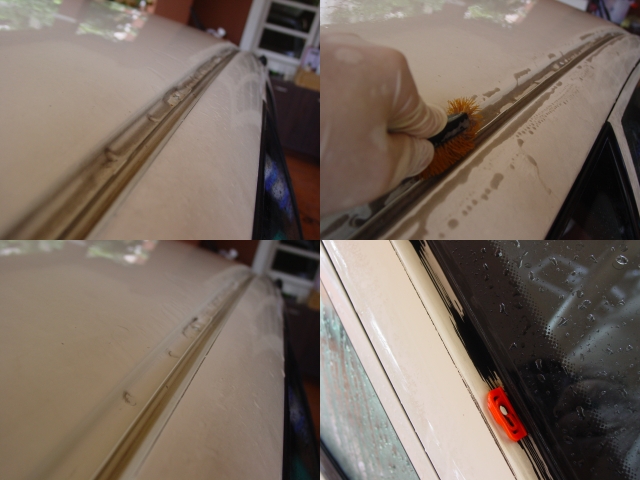
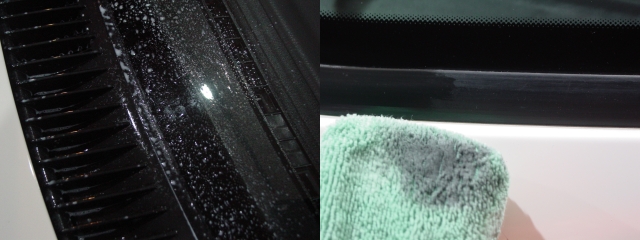
The roof gutter area first rinsed at high pressure, this removed the majority of the gunk on it, and scrubbed with Meguiar’s Super Degreaser(4:1). Tight areas were also scrubbed with Super Degreaser before washing.
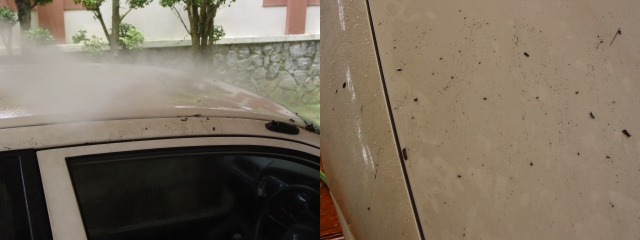
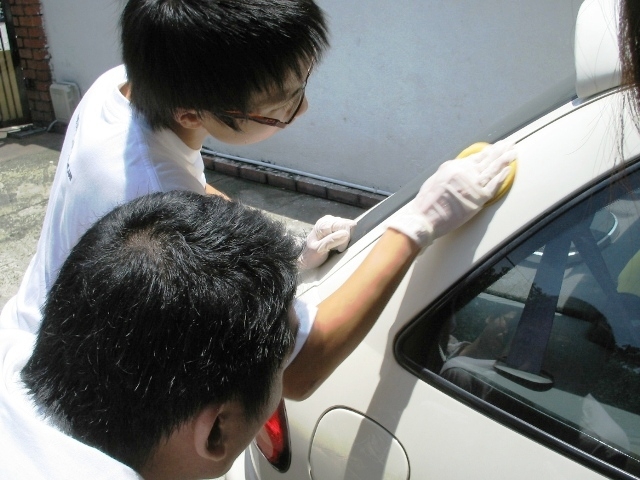
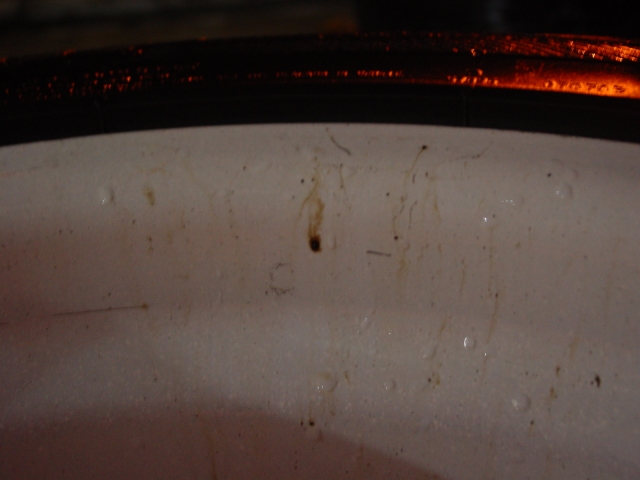
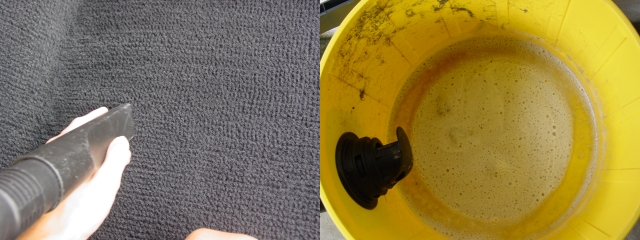
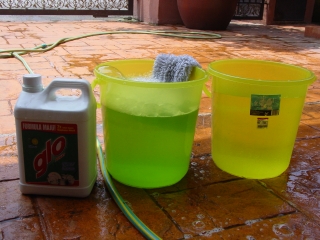
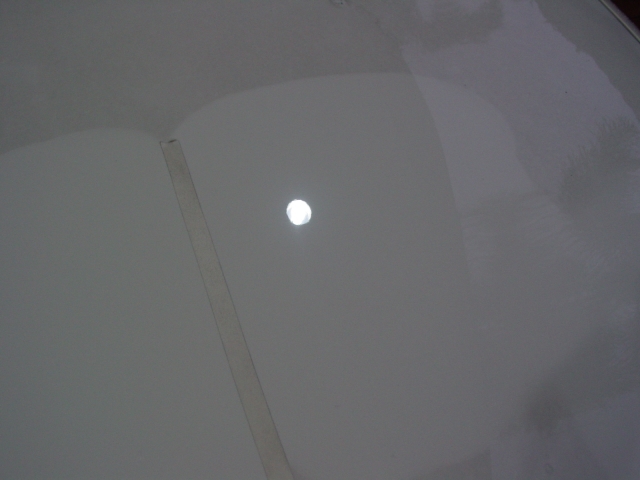
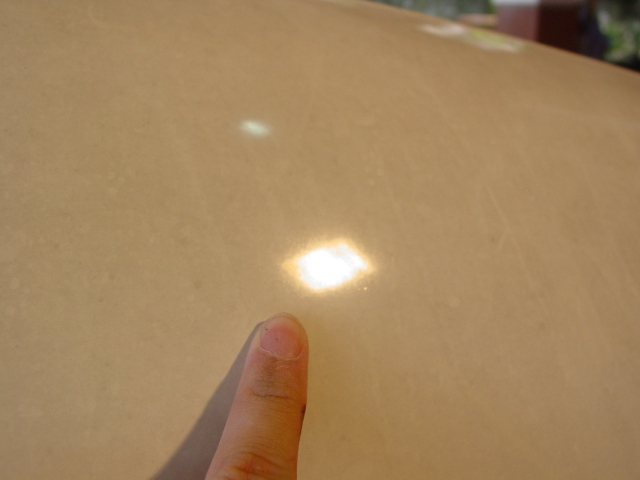
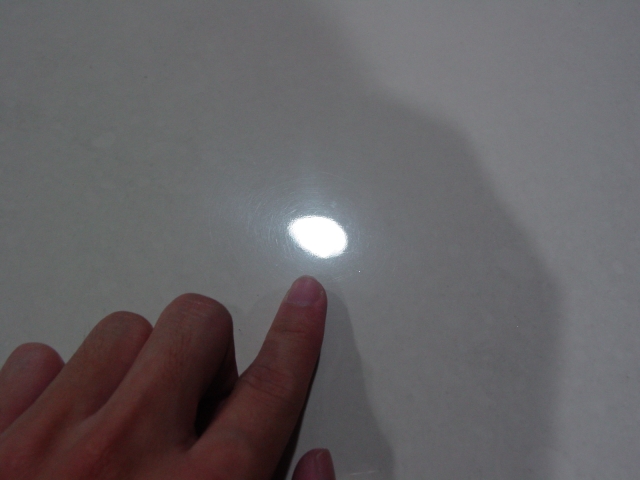
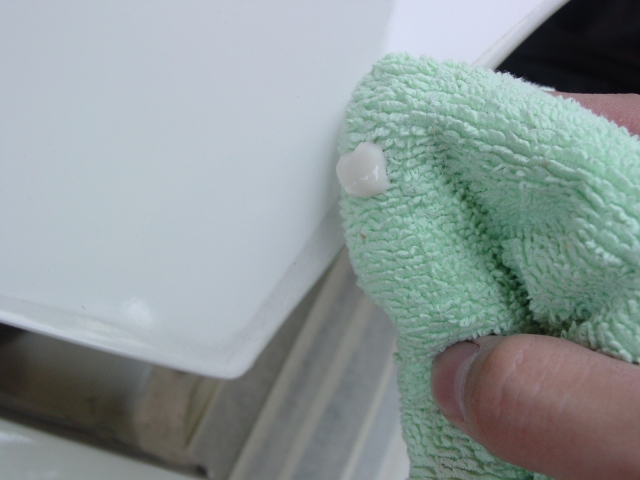
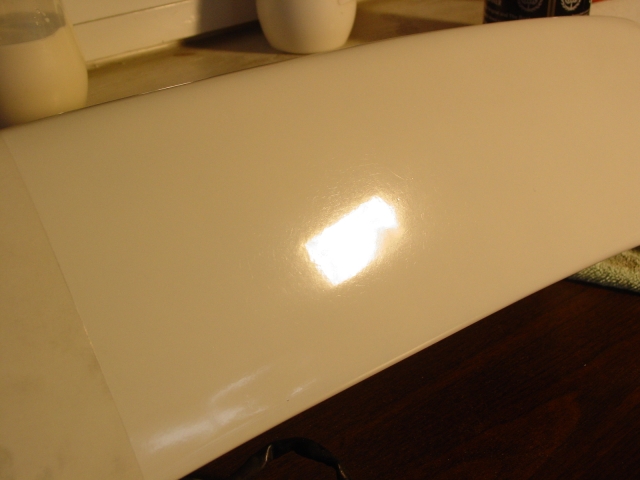
My friend slk was here during the cleaning process and we both decided to try to use dishwashing soap to wash the car. The purpose was to remove as much dirt as possible to prevent dirt from clogging up the wool pad during compounding. But as you can see from the picture below, even a strong washing solution cannot help much to remove bonded dirt, unless you are using a strong degreaser on the paint.
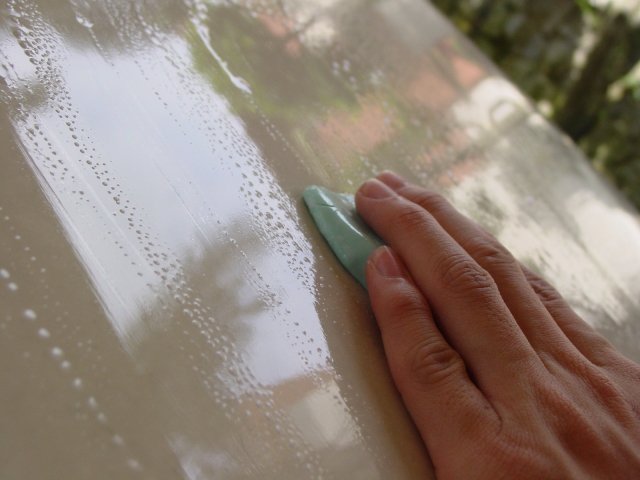
Tar was removed with Osren’s Tar Remover and then whole car clayed with Perma Glass No.2 Clay and using diluted Meguiar’s Shampoo Plus as a lubricant.

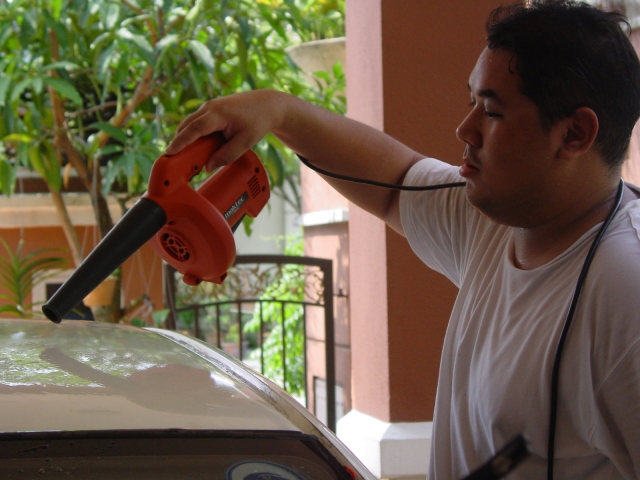
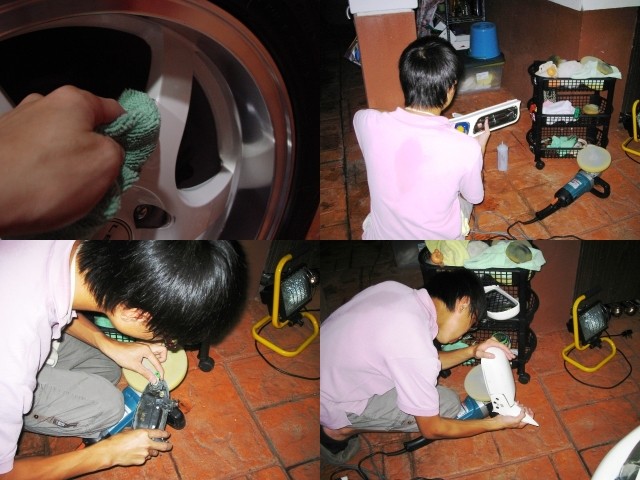
After claying, we rinsed the car and slk brought out his new toy to play. The power of the blower humbled the blow function of my wet/dry vac. :P
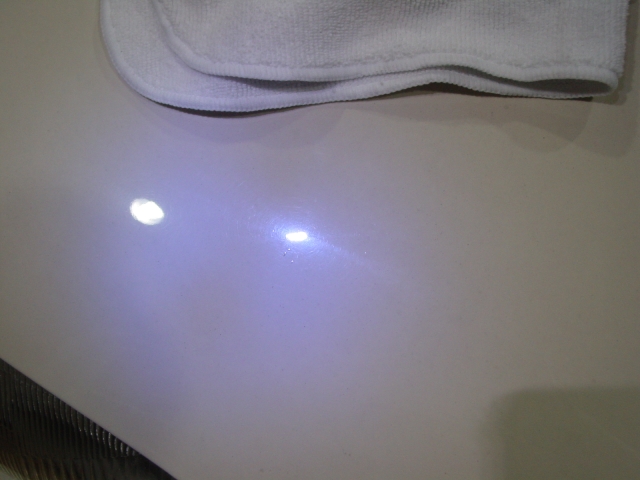
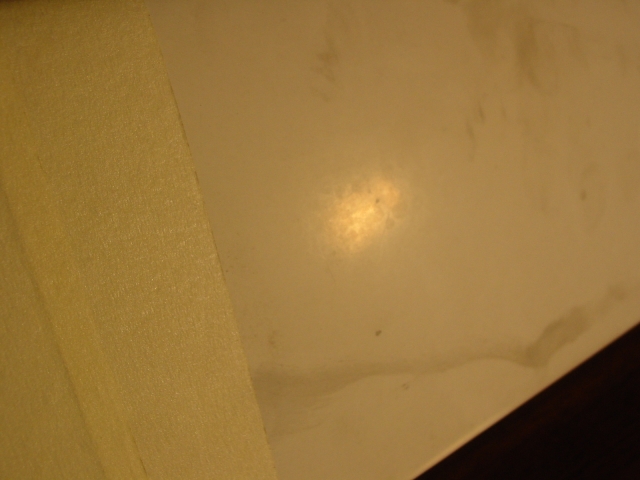
Three test spots were done on the hood.
First combination
Meguiar’s #85 Diamond Cut Compound / OEM non-twisted wool / 1500rpms
Followed by
Meguiar’s #83 Dual-Action Cleaner/Polish / Meguiar’s W-8006 Polishing Pad / 1200rpms
Followed by
Menzerna 106FF Final Finish / Meguiar’s W-9006 Finishing Pad / 900rpms
Second combination
Meguiar’s #85 Diamond Cut Compound / OEM non-twisted wool / 1500rpms
Followed by
Meguiar’s #83 Dual-Action Cleaner/Polish / Meguiar’s W-8006 Polishing Pad / 1200rpms
Third combination
Meguiar’s #85 Diamond Cut Compound / OEM non-twisted wool / 1500rpms
Followed by
Menzerna 106FF Final Finish / Meguiar’s W-9006 Finishing Pad / 900rpms
We wiped down the panel after each combination with M6000 to remove any oils that might fill.
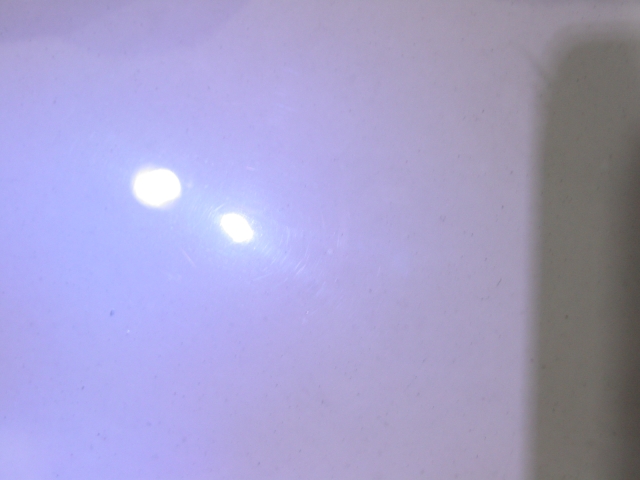
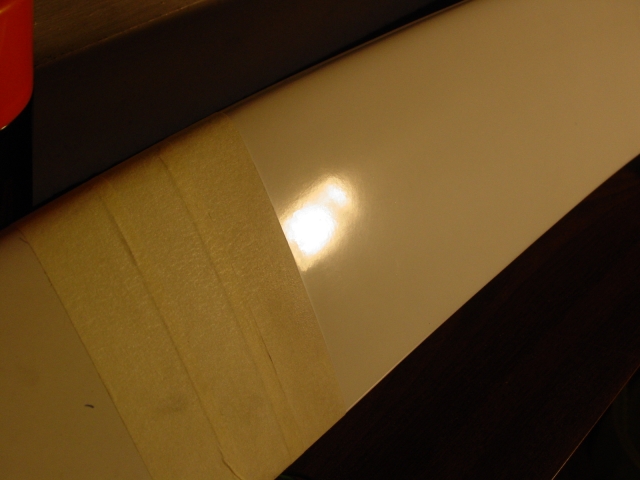
Without a doubt, the first combination looks the best and two hits of compound removed 98% of the defects with a few RDS remaining. The second combination left buffer marks and needed a finishing polish. The third combination however surprised me a little because from M85 to 106FF,skipping the M83 step in the middle, looks as good as the first combination, with DACP in the middle.
My thoughts are that the non-twisted wool pad is not very aggressive and 106FF has more cut then say, M82 Swirl Free Polish(in my humble opinion), therefore 106ff was enough to remove the wool buffing marks and left a finish ready for protection.
However I didn’t want to risk skipping the M83 DACP step, so the first combination(full three steps) were used for all the panels except the front bumper.
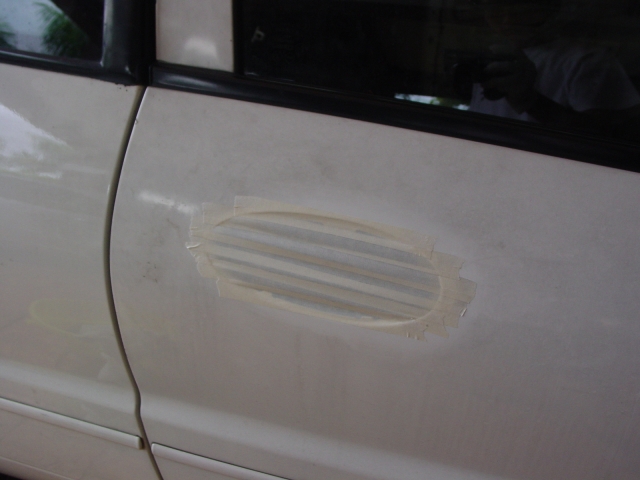
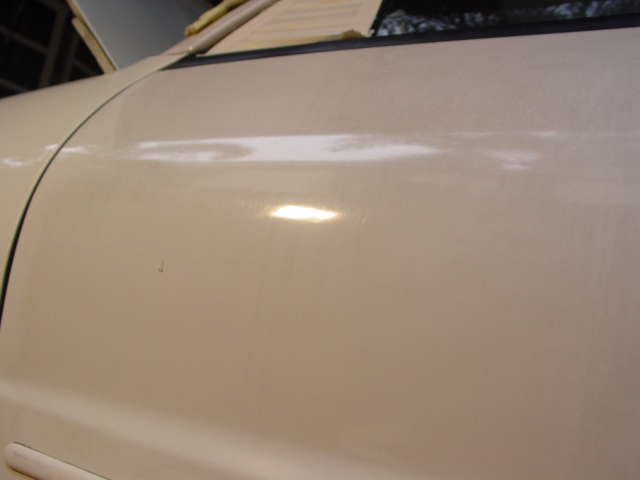
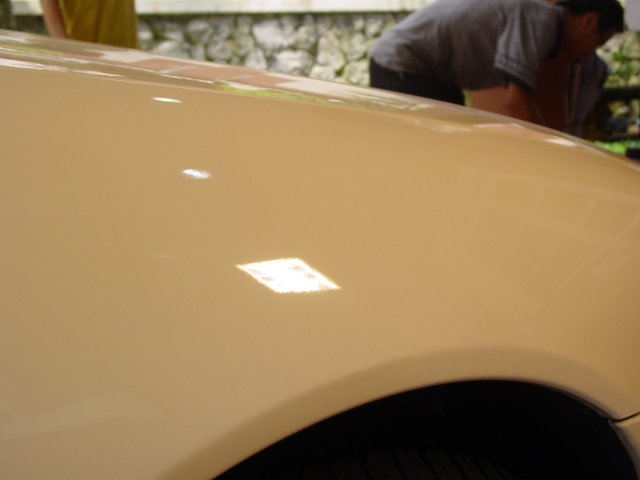
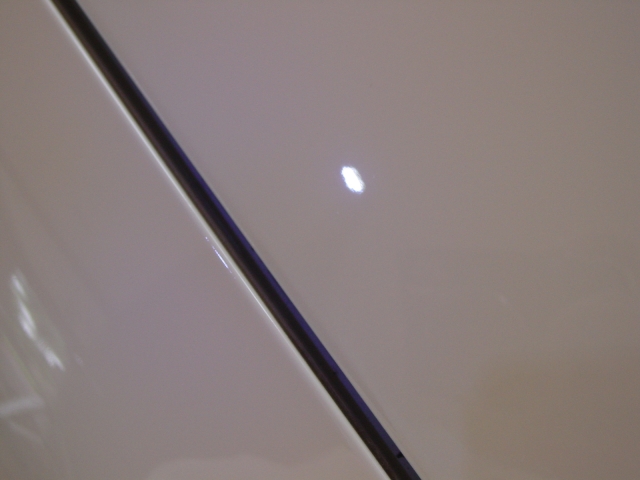
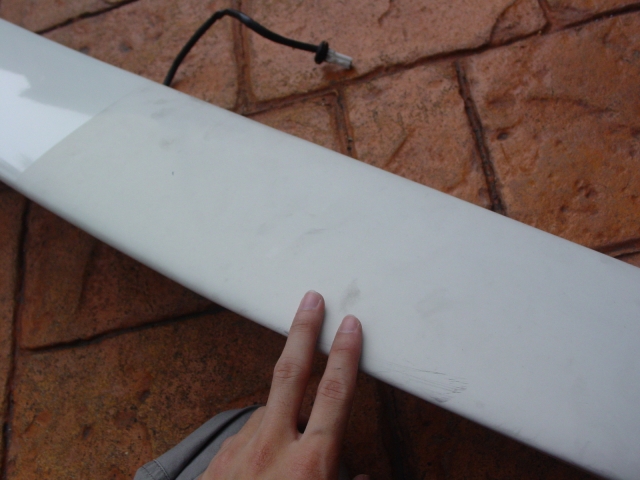
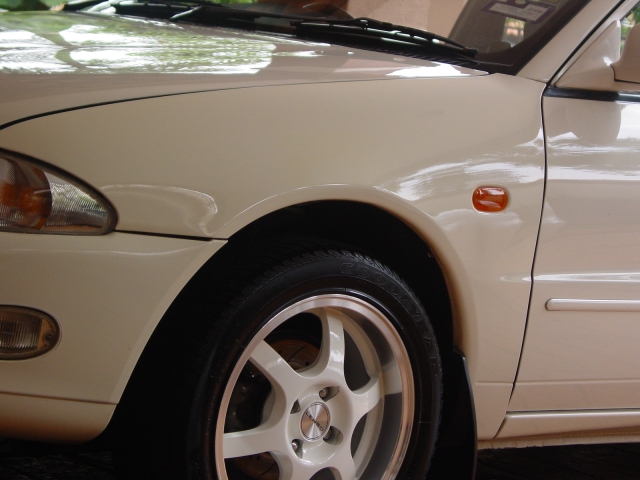
The scratch on passenger side(PS) fender has been reduced although the deeper ones still remain.
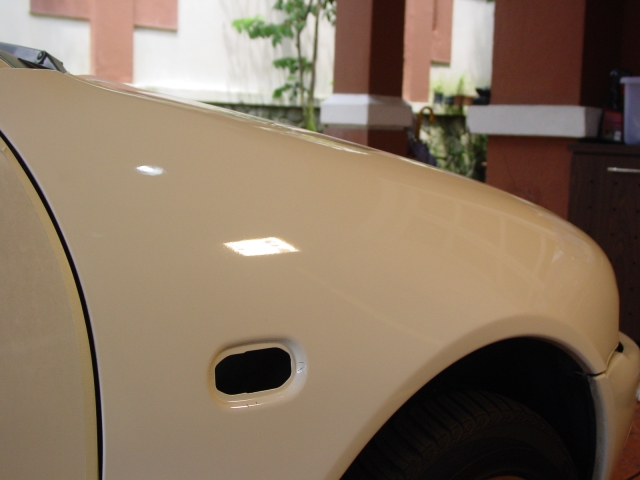
After three steps.
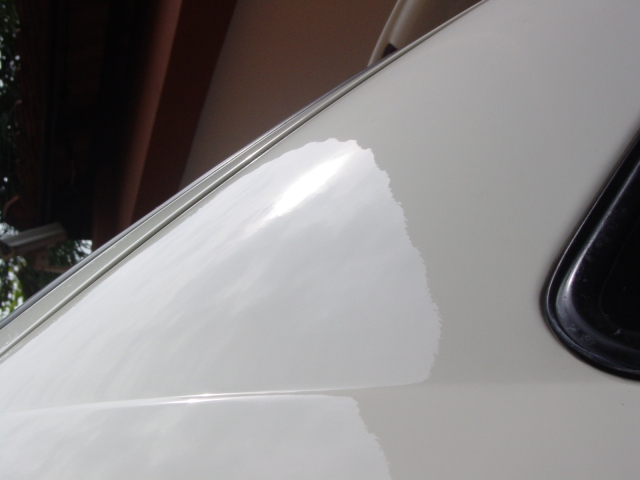
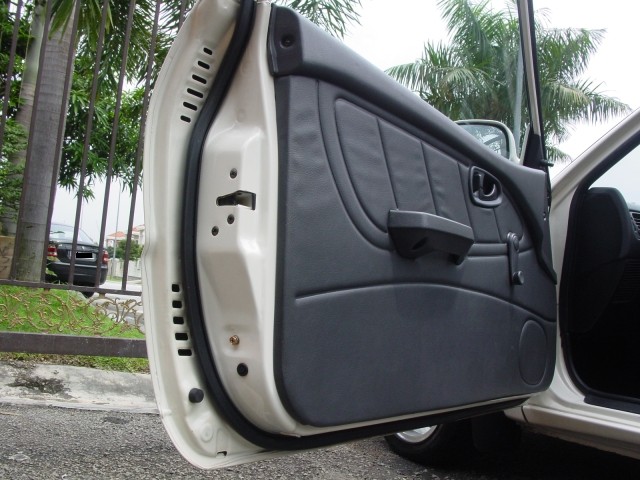
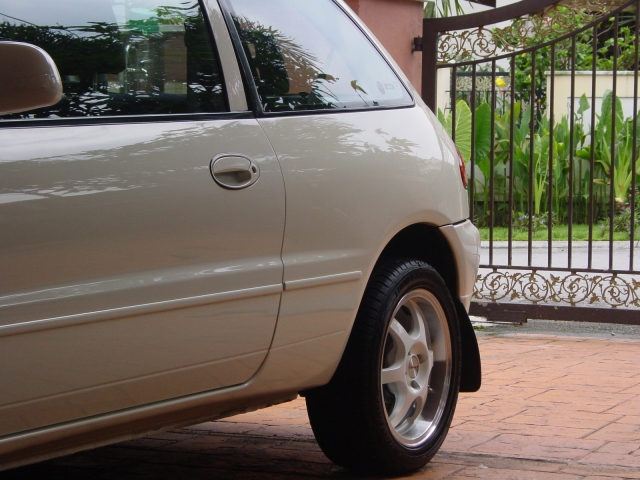
Comparison between PS door and PS fender
PS door before.
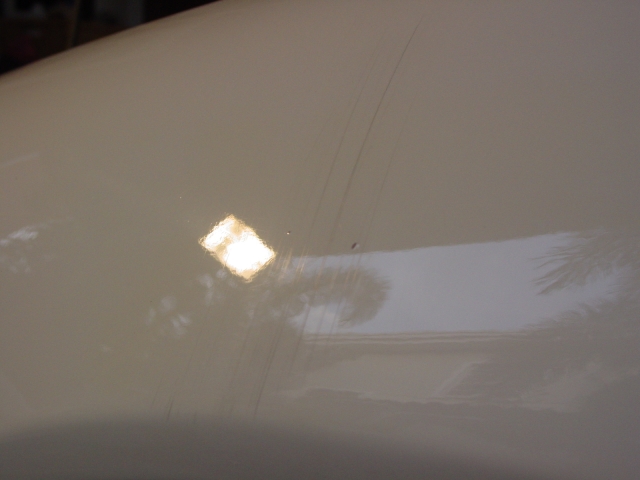
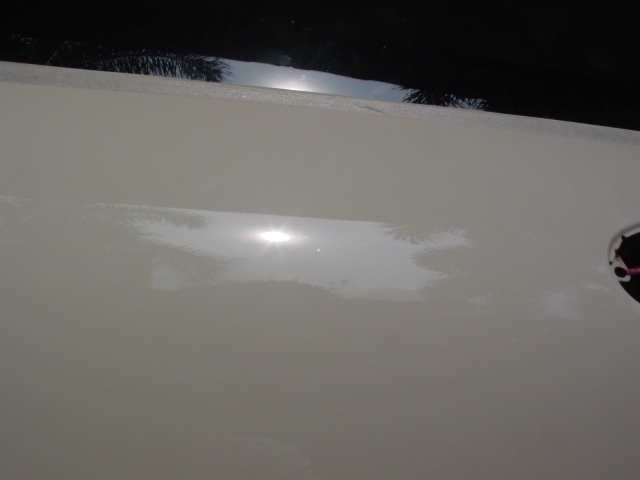
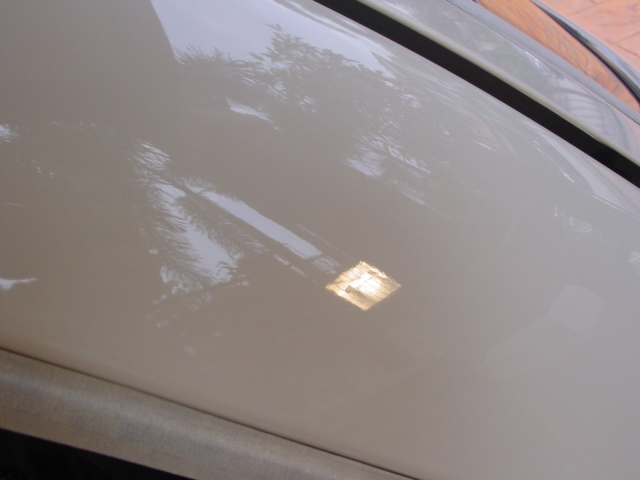
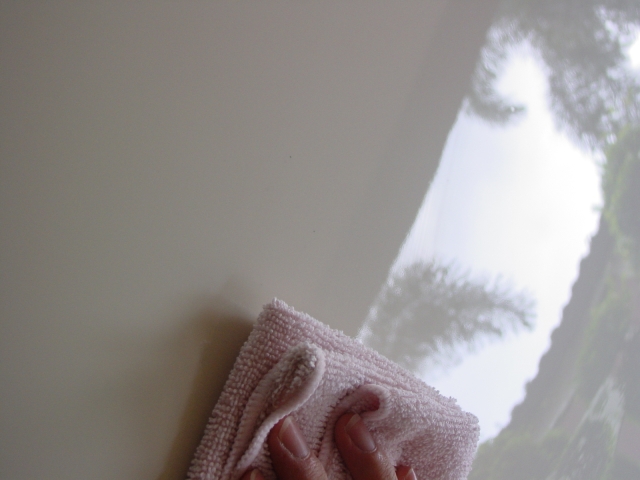
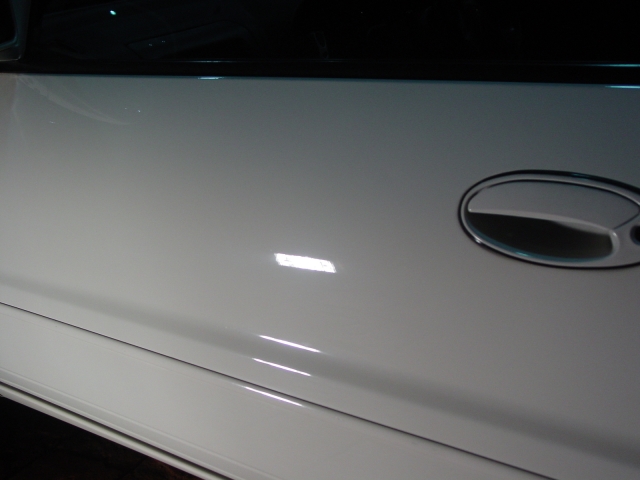
PS door after (these sun shots were taken the next morning, after a M6000 wipedown, with no wax)
It was getting late and I didn’t want to disturb the neighbours with the buffing sounds so I stopped.

End of Day 3
Day 4
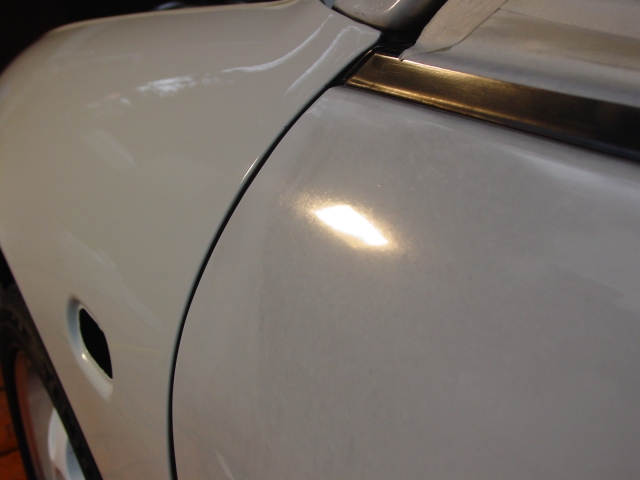
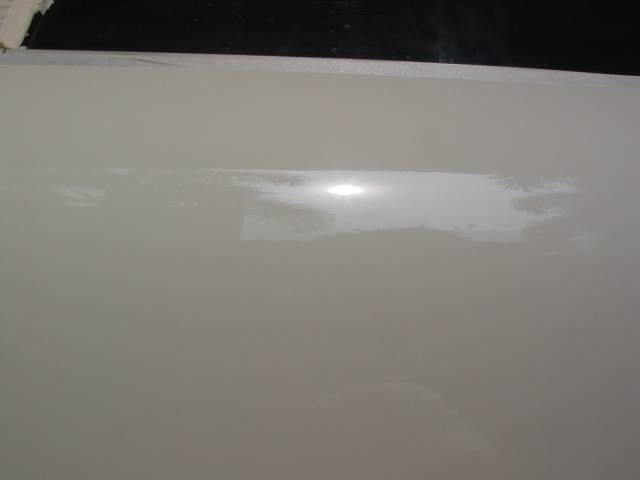
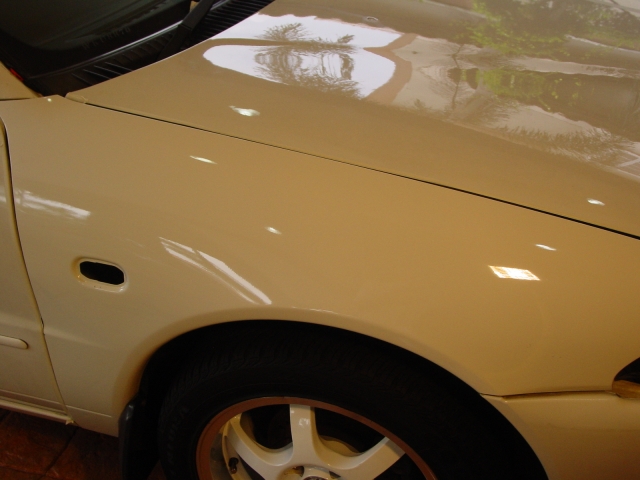
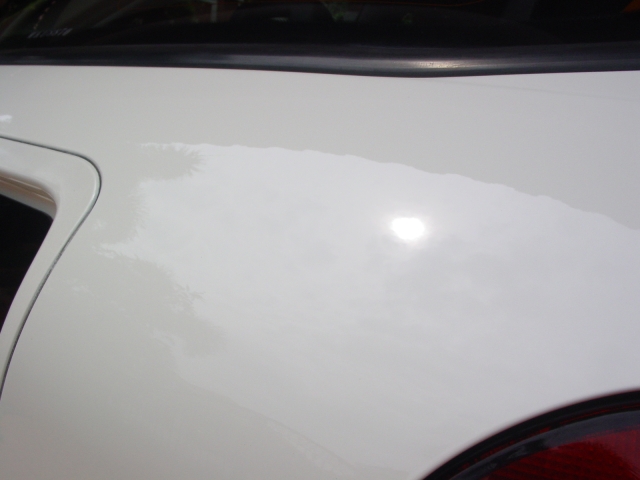
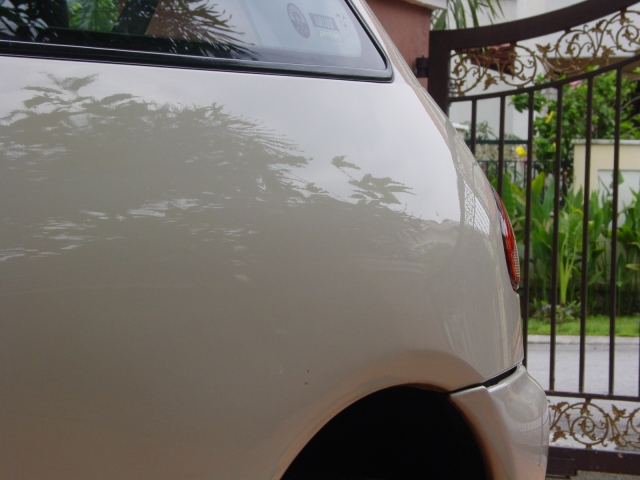
Before and after of PS rear quarter
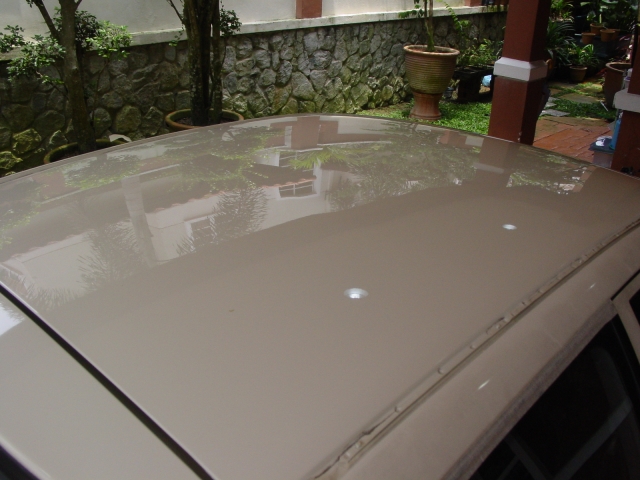
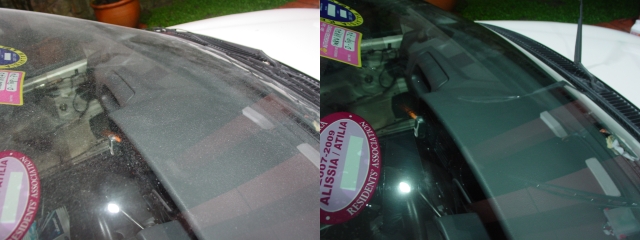
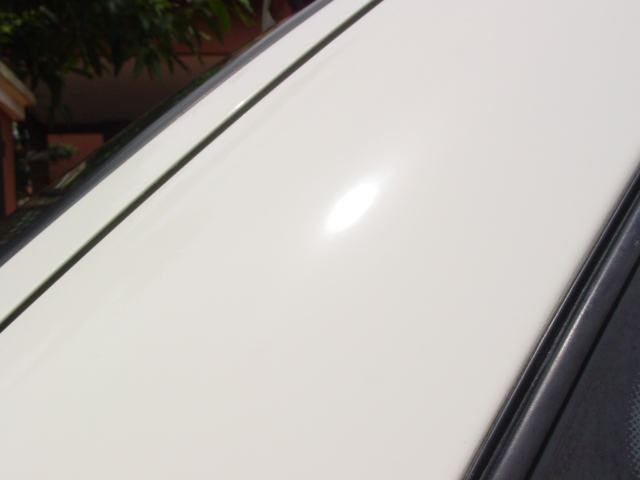
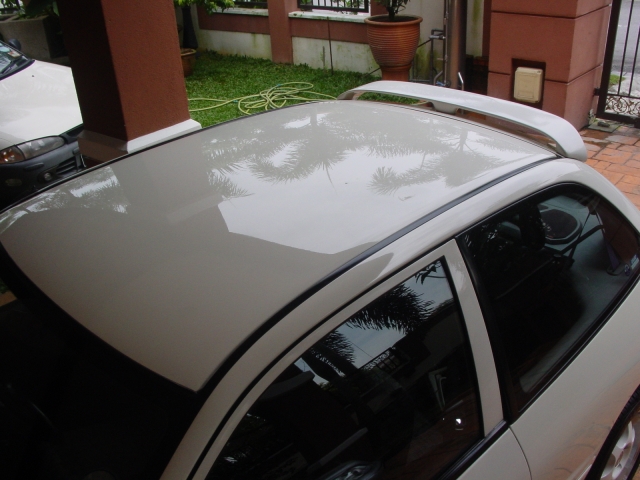
Roof before, sorry it is out of focus, the condition is the same as the PS rear quarter.

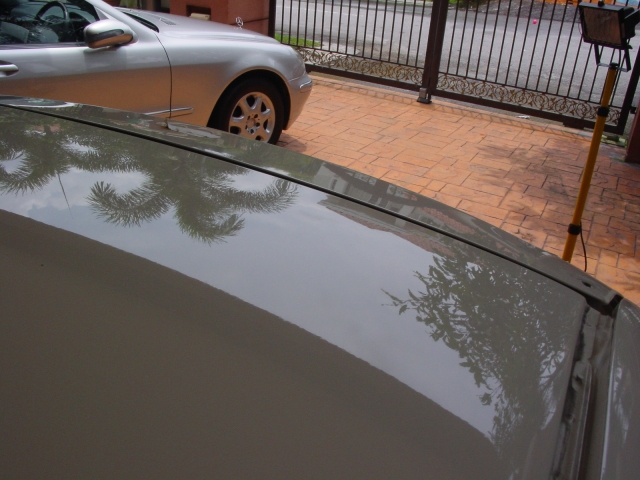
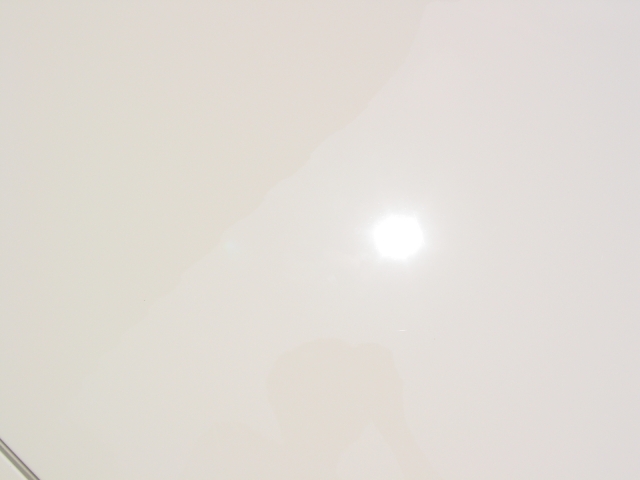
Roof after
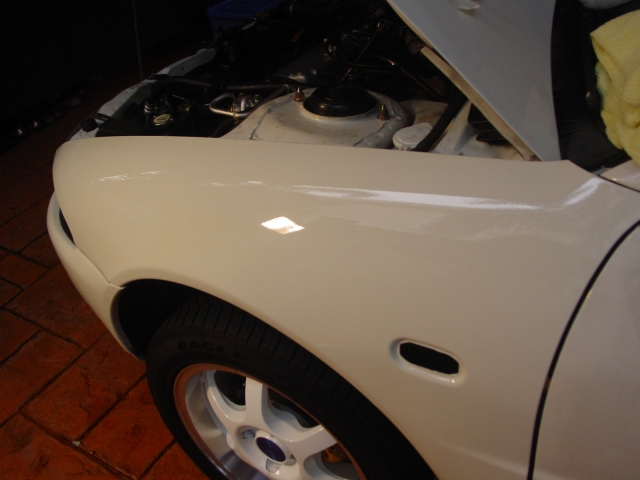
Driver’s side (DS) fender before
DS fender after
DS door before

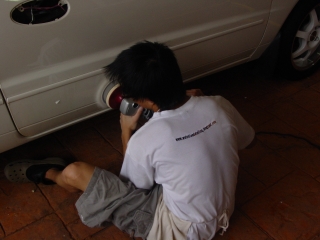
Compounding
DS door after
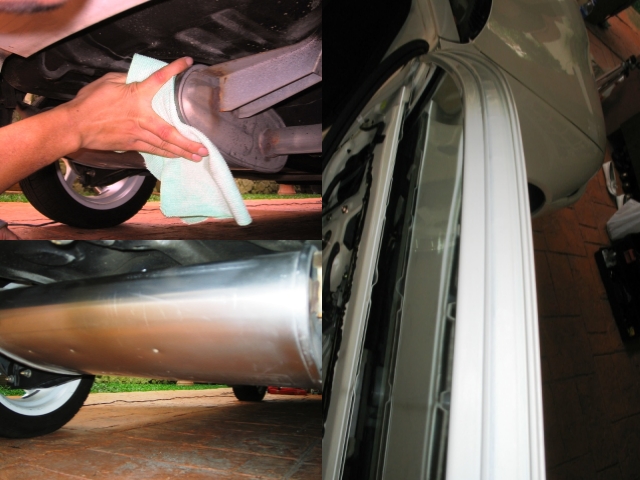
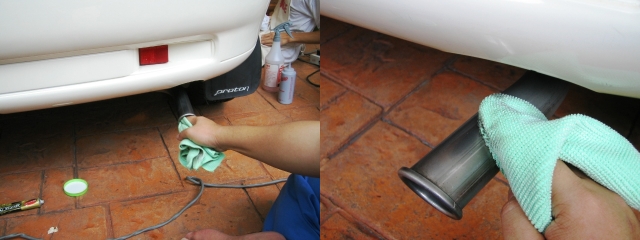
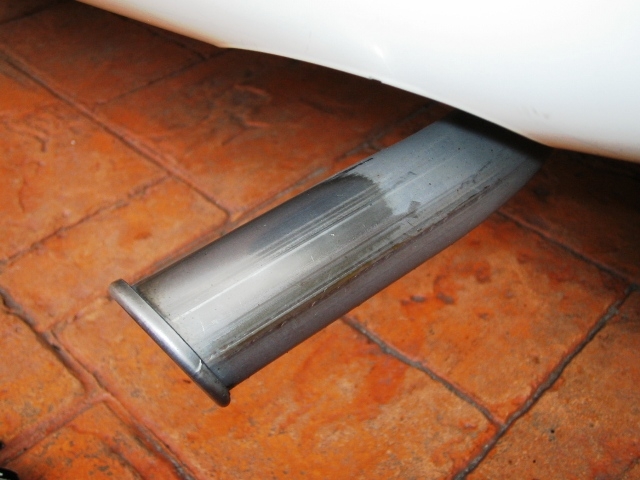
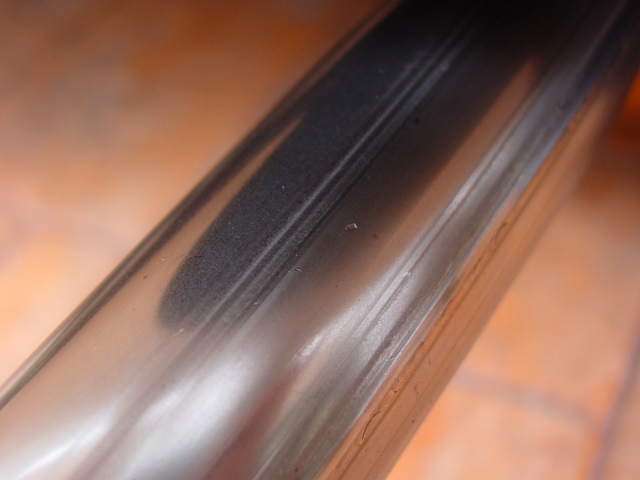
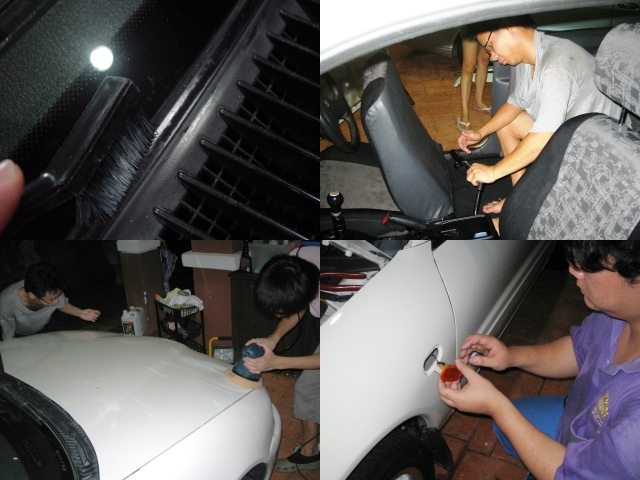
As I continued machining the paint, HIM was here and helped me to detail other parts like cleaning the doors, polishing the exhaust and cleaning the seats(THANK YOU!).
End of day 4
The hood has not been done yet, saving the best for last, hehe…
Day 5
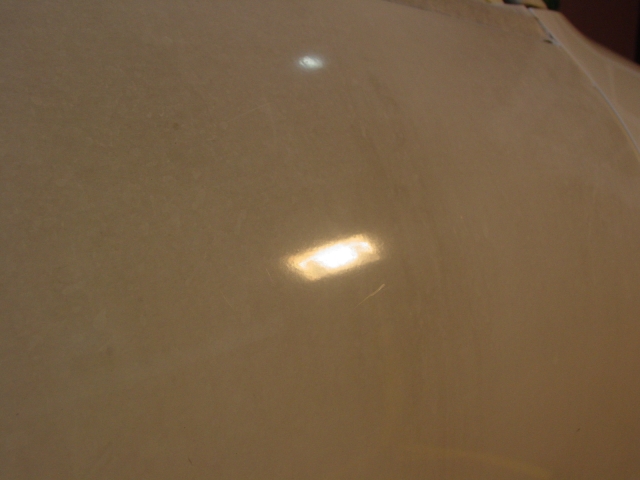
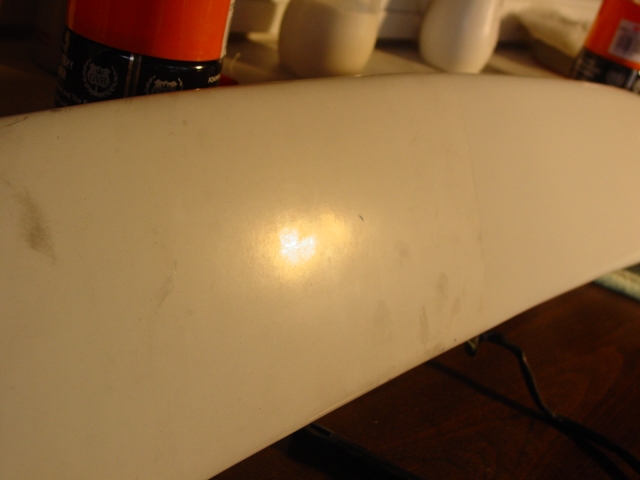
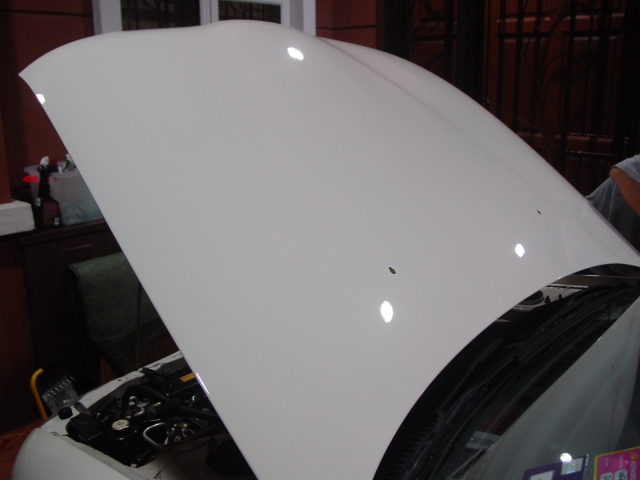
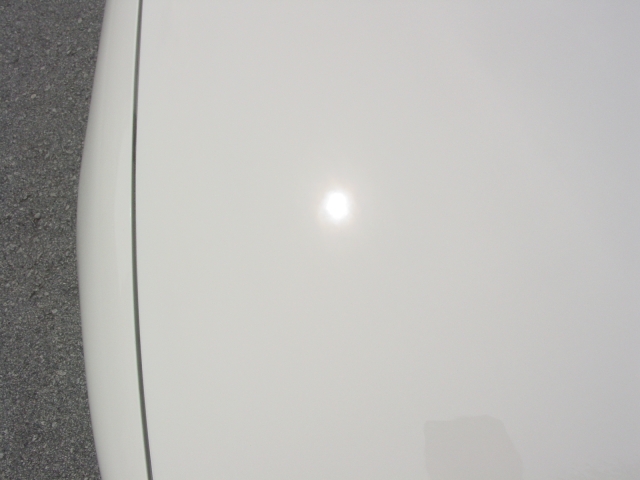
Hood before,

Video: Compounding the hood with M85 and a wool pad.
After doing the three steps, whole panel is wiped down with M6000.
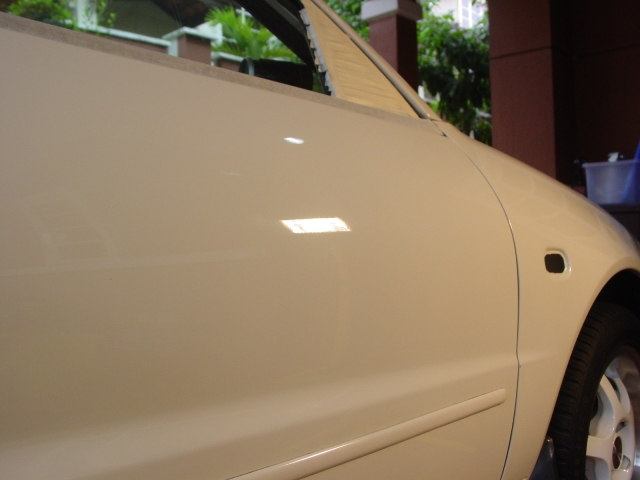
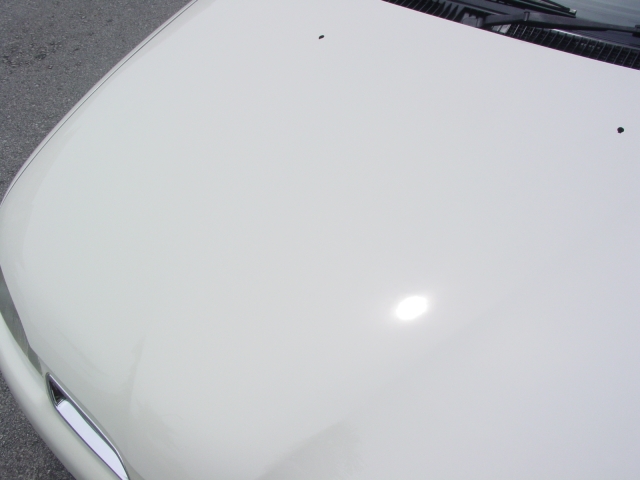
Hood after
No wax
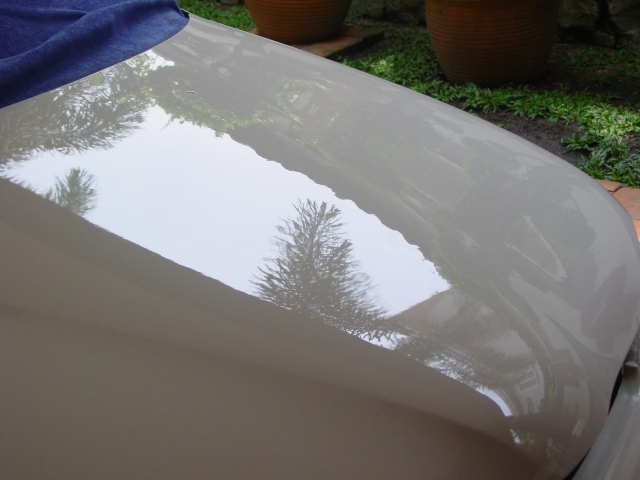
No wax
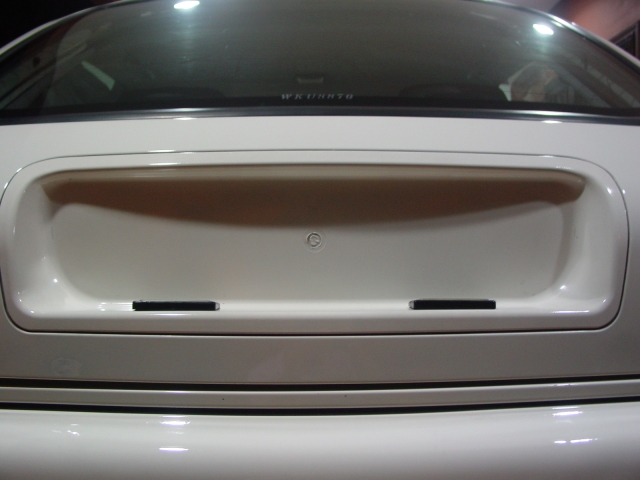
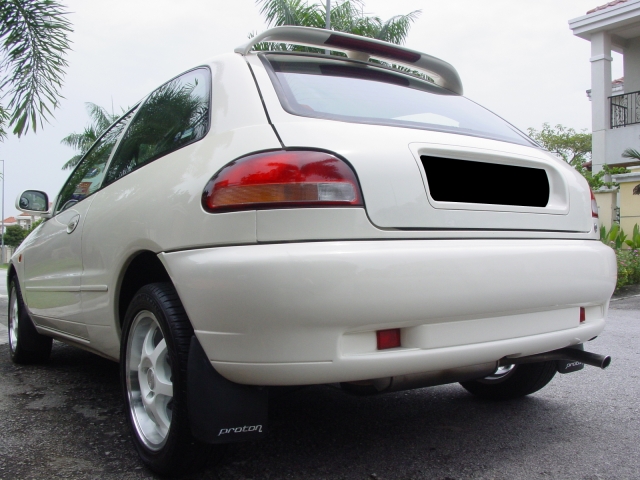
Boot reflection before and after compounding
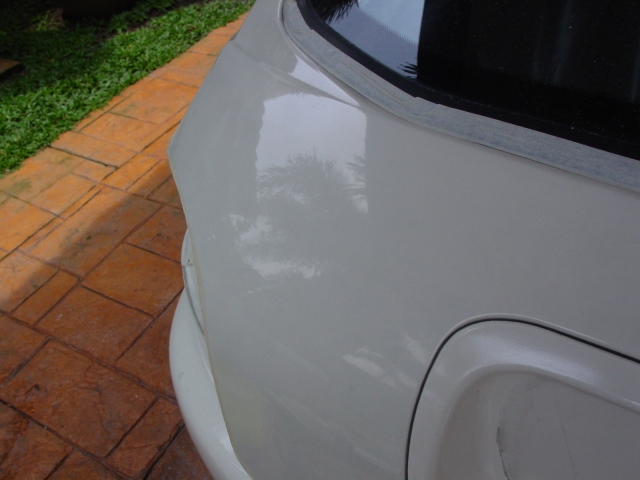
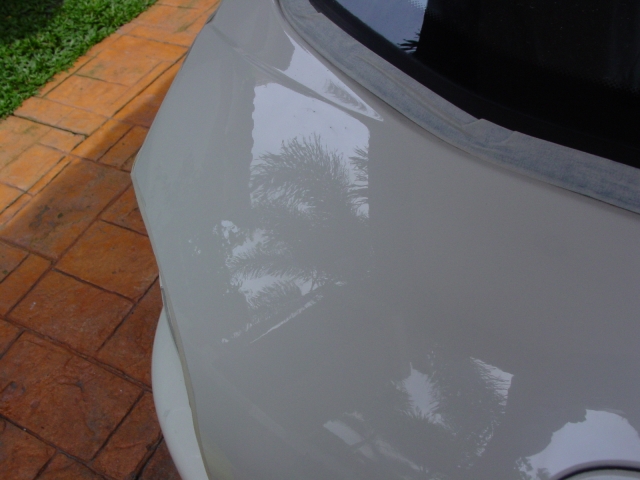
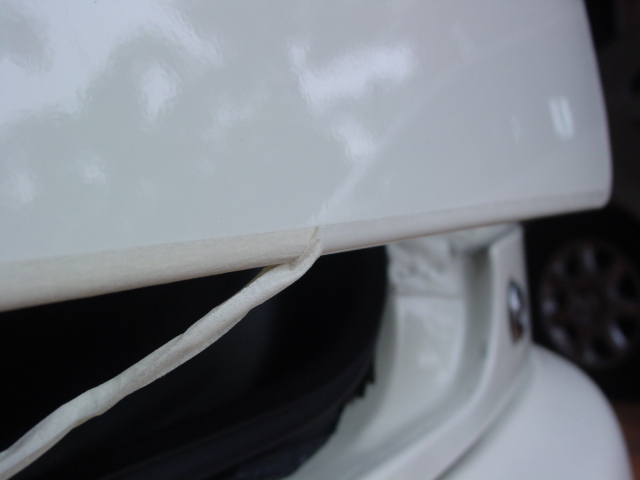
As with other panels, the edges are first taped before compounding, after compounding, tape is removed, the leftover tape residue clean up with M83 DACP by hand. While machining with M83 the edges are also polished to remove marring caused by M83 by hand.
Rear bumper also done with the three step, sorry no pictures of it.
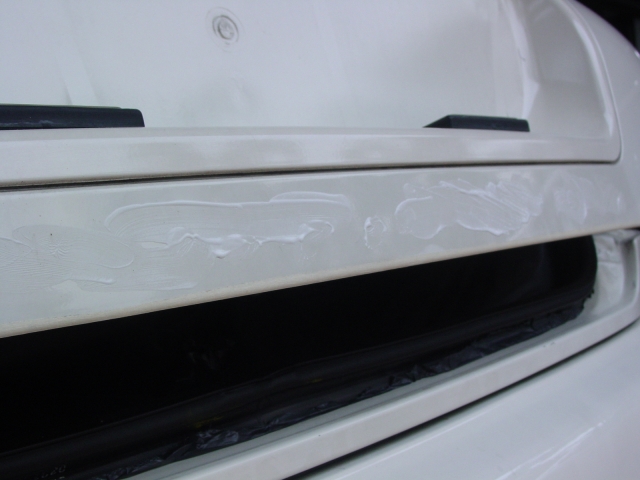
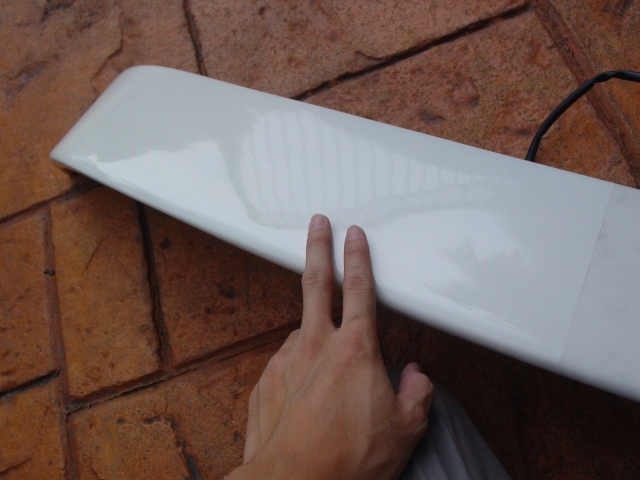
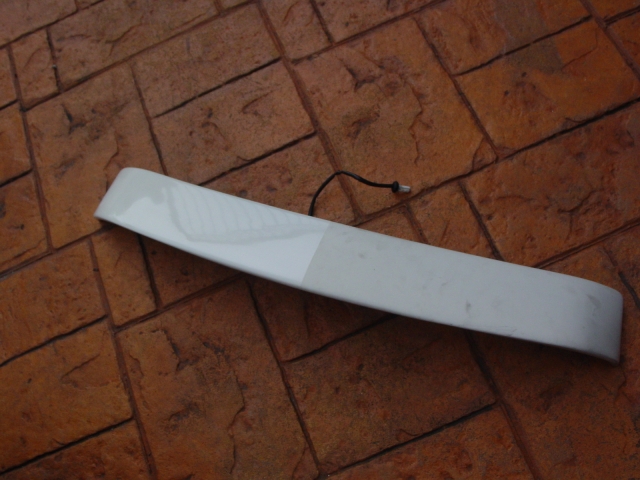
Then it was time to polish the spoiler.
First Combination
Meguiar’s #83 Dual-Action Cleaner/Polish / Detailogy Orange One-Step Cutting Pad / 1200 rpms
This combination didn’t give enough cut to cut through the thick oxidation and the nature of the paint was different from the metal panels. Also the spoiler is plastic so it heats up and retains the heat longer compared to metal panels and the
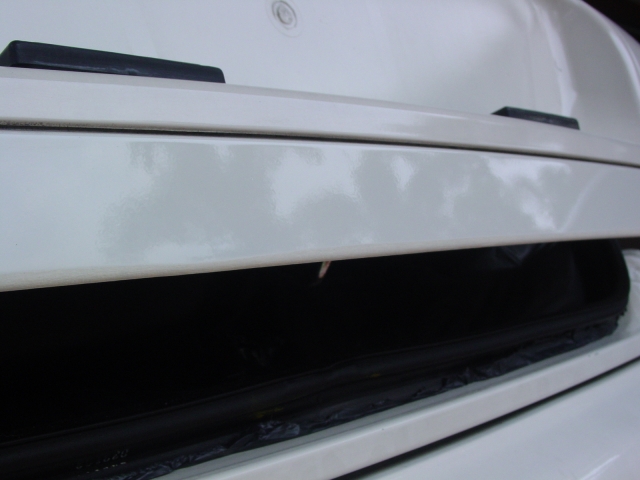
It’s far from a defect free finish, but multiple hits of the compound and wool pad gave diminishing results after about 2 hits. So I stopped at the 4th hit with the compound. It still doesn’t look good under the halogens, but looked many times better under natural lighting.
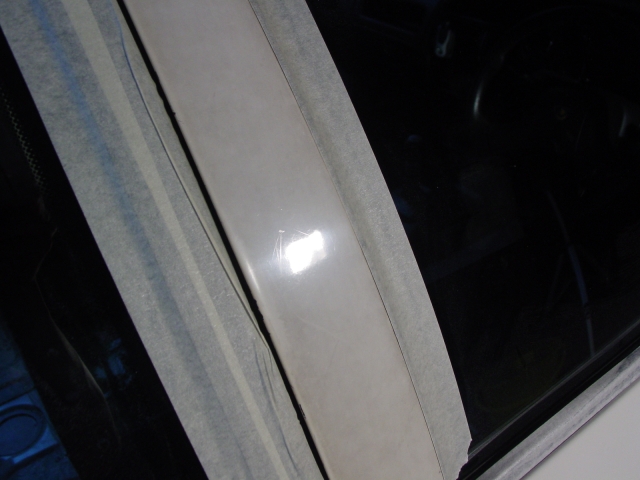
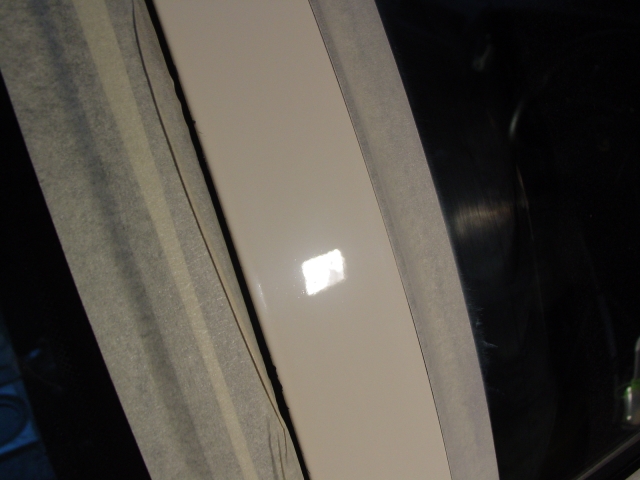
B-pillars done with Combination 3(M85/wool -> 106ff/finishing pad)
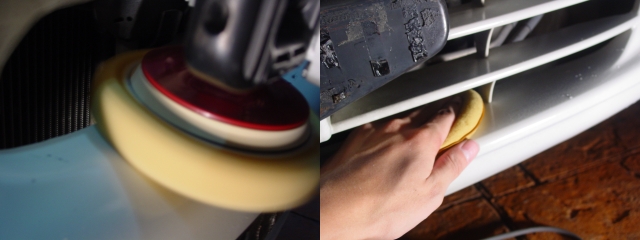
After machine polishing all the large panels, intricate areas were hand polished with Optimum Polish by hand. Front bumper machine polished with 106FF and a W-8006 polishing pad.
With the majority of the painted surfaces polished, polishing dust wiped down from the glass and paint with a damp microfibre cloth. HIM came to install back the removed items, they also helped me to clean the boot seal area which was missed during the washing stage. The whole car is sealed with Meguiar’s #21 Synthetic Sealant via ROB with a W-9006 Finishing Pad
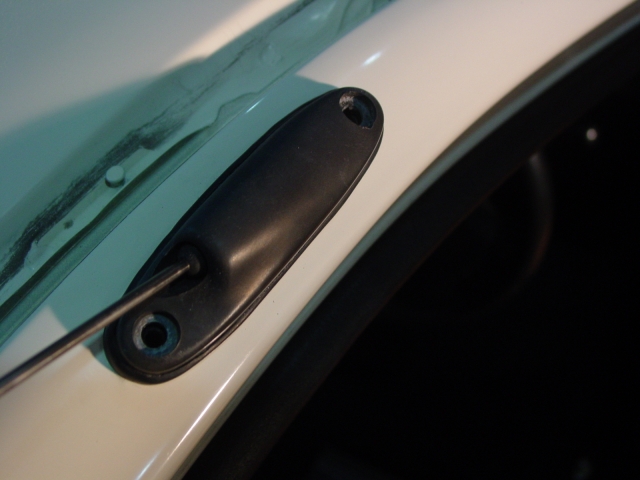
Side mirrors and door handles polished with 106FF/W-8006 polishing pad at 900 rpms before being installed back.
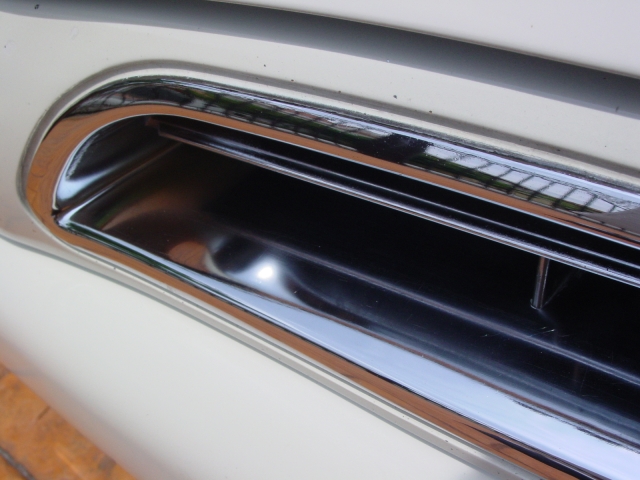
Chrome lips polished with Meguiar’s NXT All Metal Polysh, white insert polished with Autoglym Super Resin Polish and sealed with Meguiar’s #21 Synthetic Sealant.
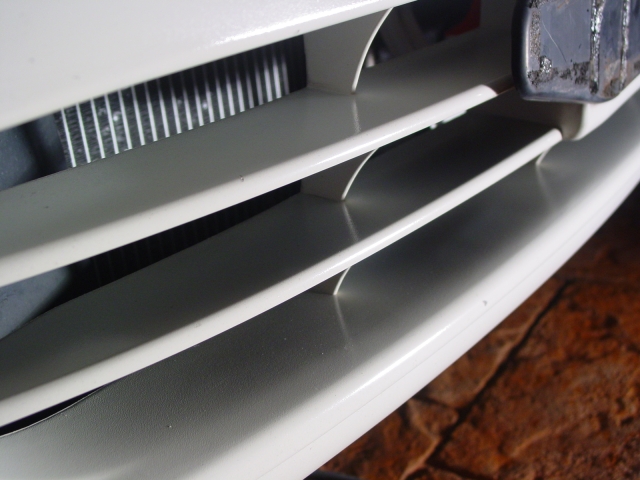
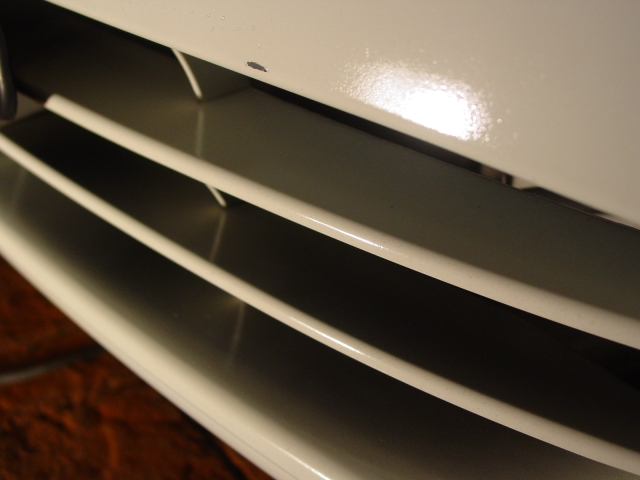
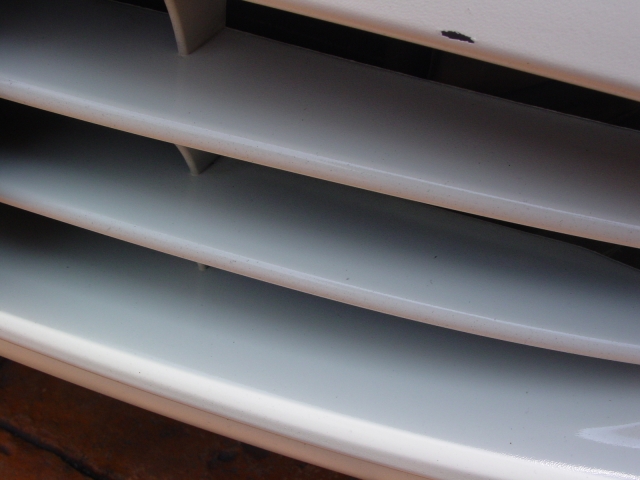
Painted part of the radiator grill polished with Optimum Polish by hand and chrome part with NXT All Metal Polysh.
By now, the applied sealant has passed the swipe test and is buffed off.
Video: Walkaround after buffing off M21
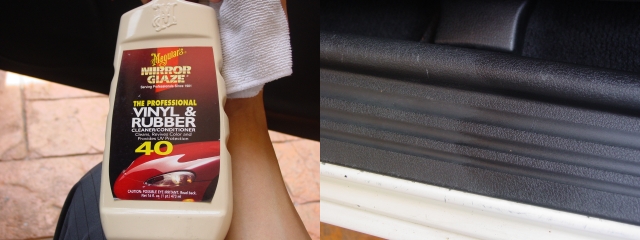
Meguiar’s #40 Rubber/Vinyl Cleaner and Conditioner applied to exterior rubber seals. Meguiar’s Hyper Dressing(2:1) sprayed onto the front windscreen trim and left overnight. Hyper Dressing sprayed onto the engine bay, painted surfaces waxed with M21 Synthetic Sealant. Buff of excess dressing in the engine bay.

Remember it used to look like this,
End of Day 5
The sealant is left to cure overnight
Day 6 (Final)
In the morning, interior panels were dressed with M40 and carpets vacuumed.
Dressing that were accidentally spread onto the painted panels were wiped off with Meguiar’s Last Touch spray detailer.
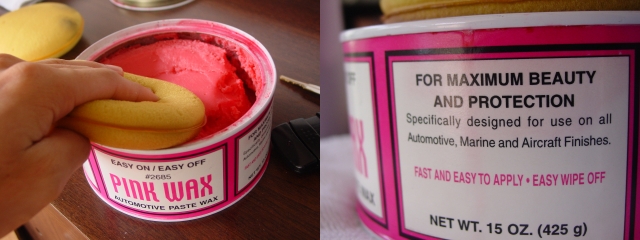
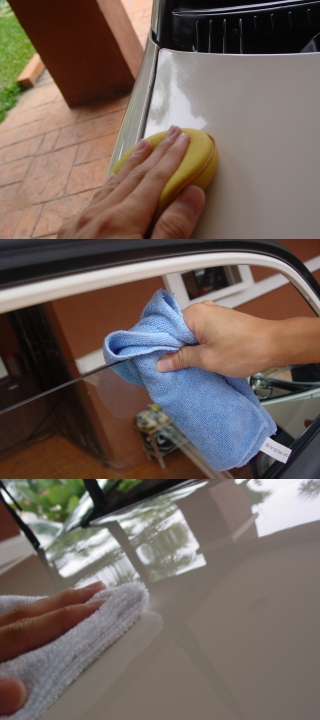
And then the car is waxed with Finish Kare 1’s Pink Wax by hand, while waiting for it to dry, interior glass cleaned with Meguiar’s Glass Cleaner Concentrate and the Pink Wax buffed off with a soft Hyperkleen microfibre cloth.
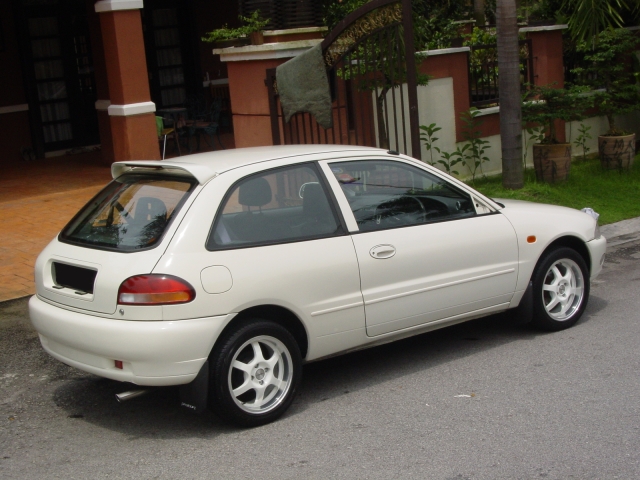
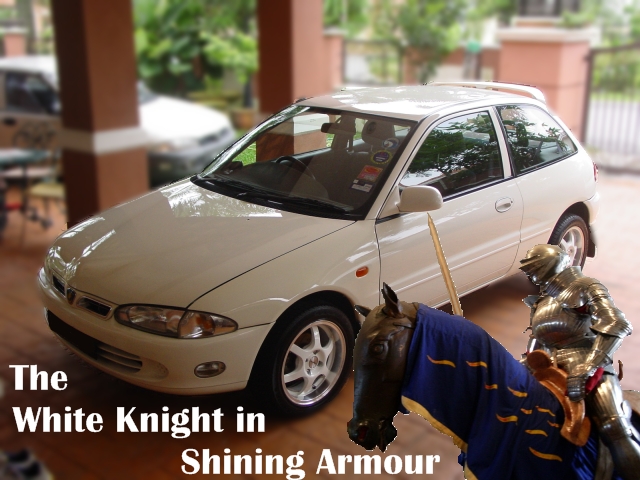
And now, may I present you, the white knight in shining armour!!!
*for those who don’t know, Satria is the malay term for knight, and the car is white, hence white knight. For shining armour, well that’s pretty self-explanatory, =P *
First some sun shots to show the true finish followed by indoor shots to show the gloss.


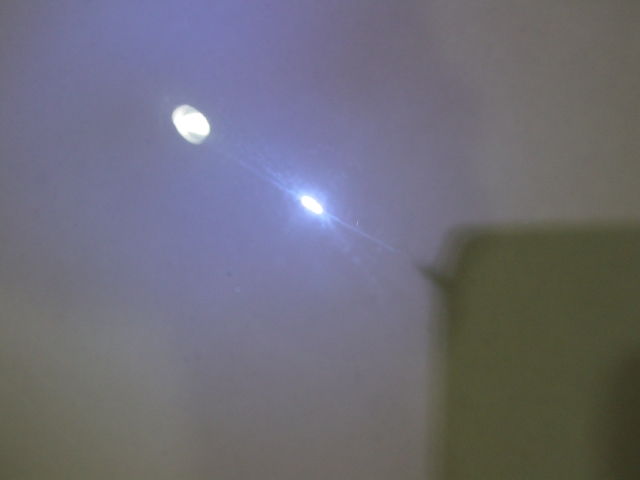
Some beading shots of FK1 Pink Wax
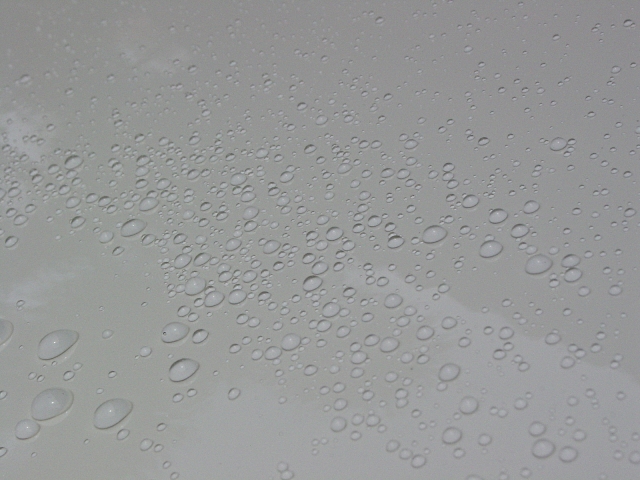
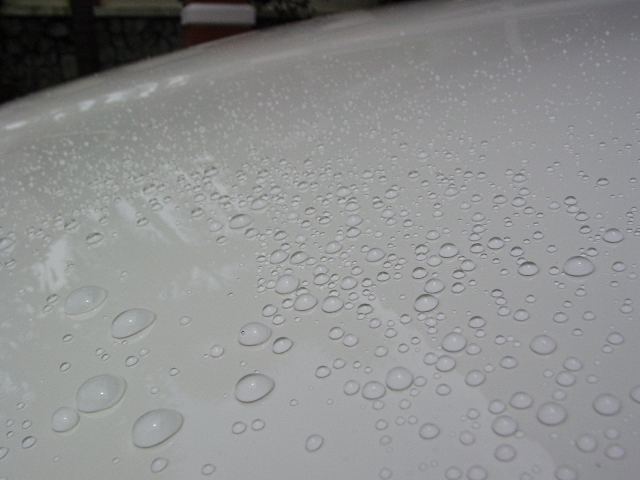
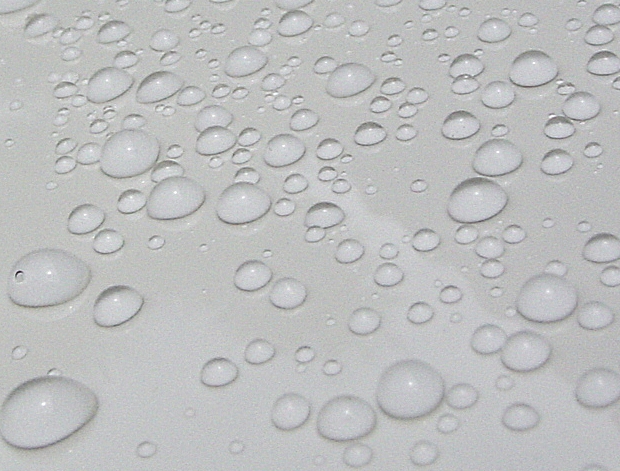
Video: Water Repellency
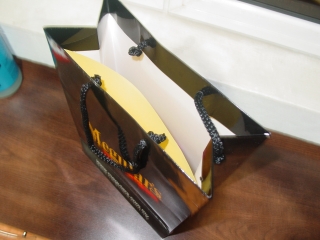
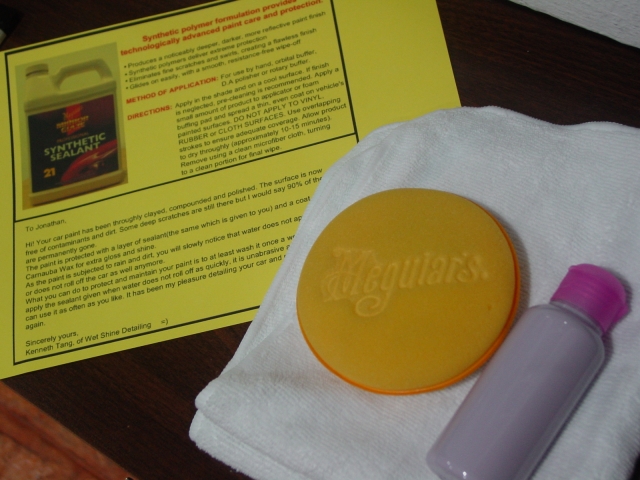
That’s the end of a very long but well worth it detail. I gave the owner a gift that hopefully will help to maintain the finish achieve. A 100ml bottle of M21, a Hyperkleen microfibre cloth and a Meguiar’s foam applicator pad, usage directions and a message to the owner. With regular washes and top up of the M21, the car should continue to look like this for a long time.
Some thanks to:
The Hexa Infinite Marketing team for the opportunity to detail such a car in such a manner, and for the help cleaning many parts so I can focus on machine polishing. With each car, comes better experience, and this car is no exception. Many things I have learned while detailing it, like controlling the buffer better, tilt the pad for initial cut and place the pad flat to continue buffing(learned this from Meguiar’s
My friend slk for helping me out during the cleaning and initial polishing stage. Thanks buddy!
My dad for having to park his car under the rain and sun while the Satria gets all the pampering.
And YOU!! For reading that long write-up, and for visiting
Thank You!
As always, feel free to comment or ask in the comments page below.
Kenneth Tang, Wet Shine Detailing.
P.S More pictures of the overhauling process HERE.
If you are looking to get your car overhauled by someone who takes no shortcuts, Simon Loh of HIM can be contacted directly at 012-305 2761.
Read more!