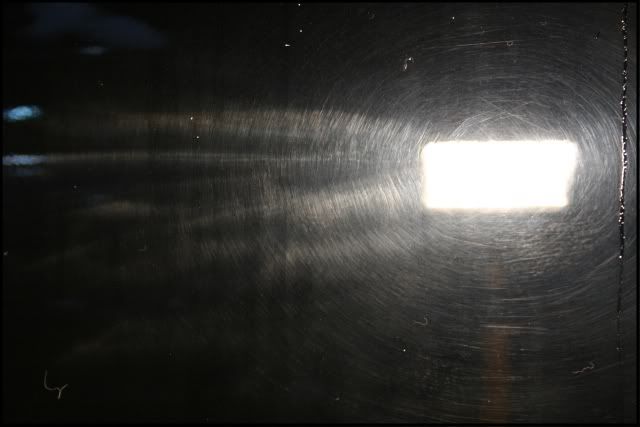
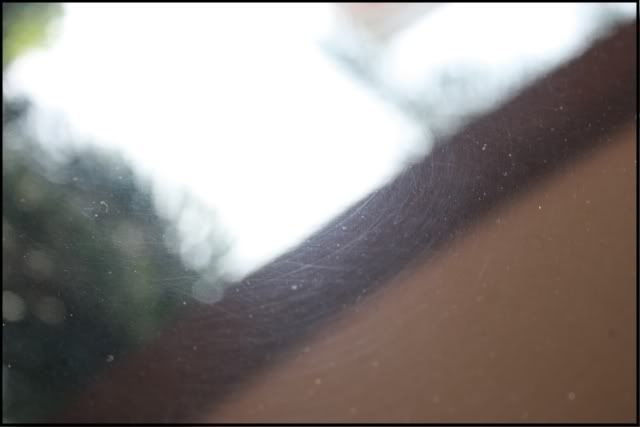
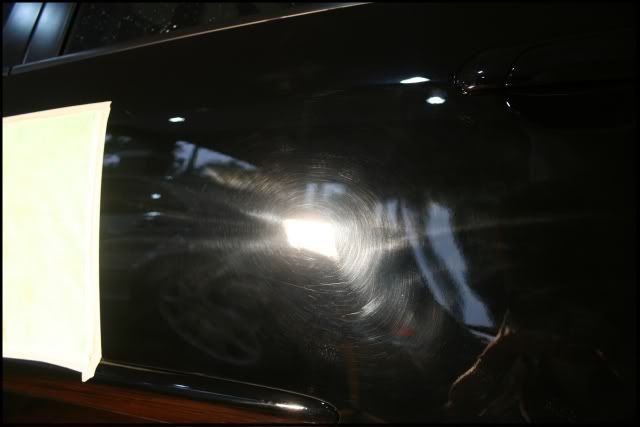
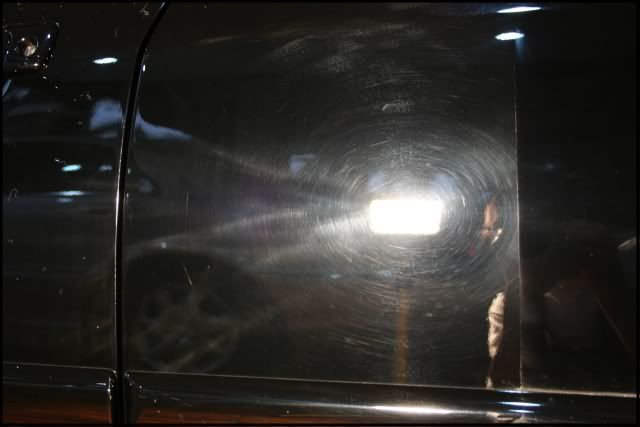
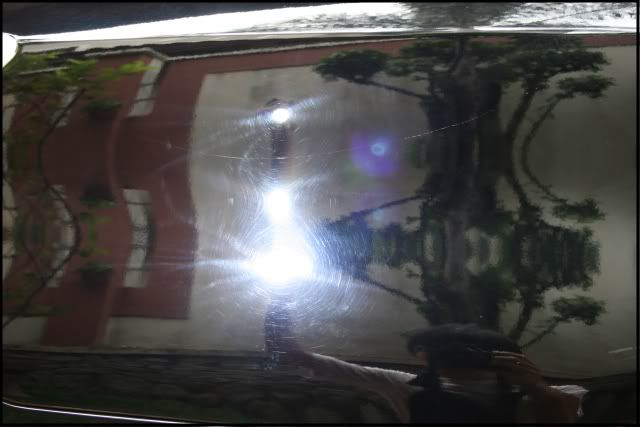
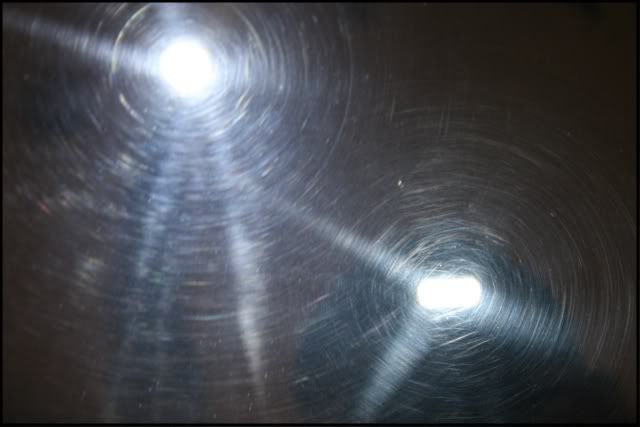
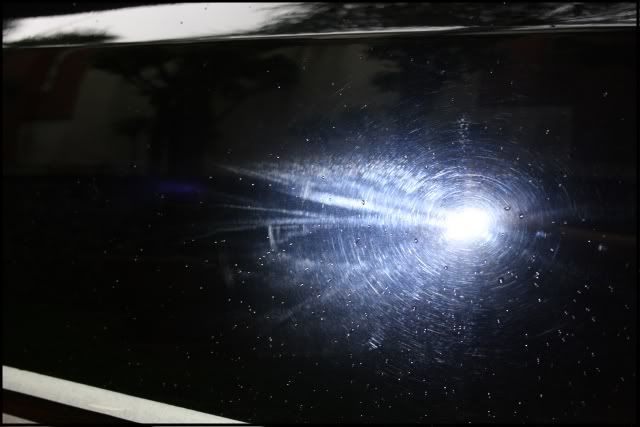
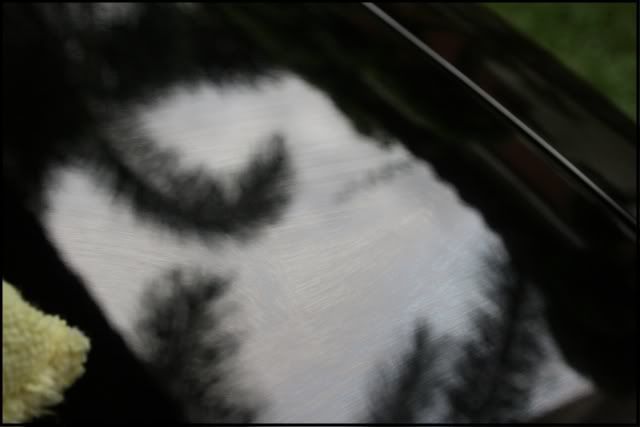
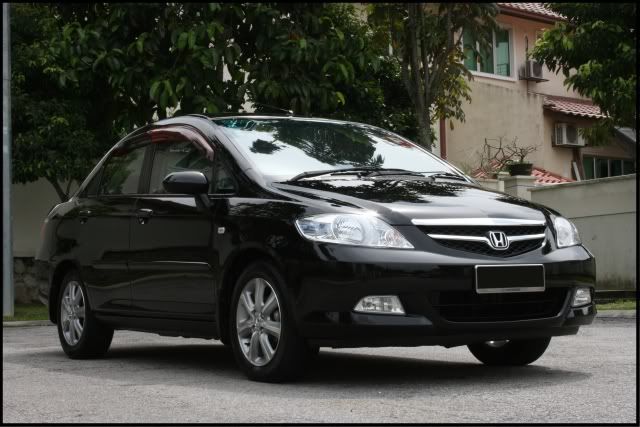
A full exterior paint correction detail on an ’06 Honda City in nighthawk black. The buffer marks from the body shop were horrendous and the paint hardness wasn't making it easy to correct either.
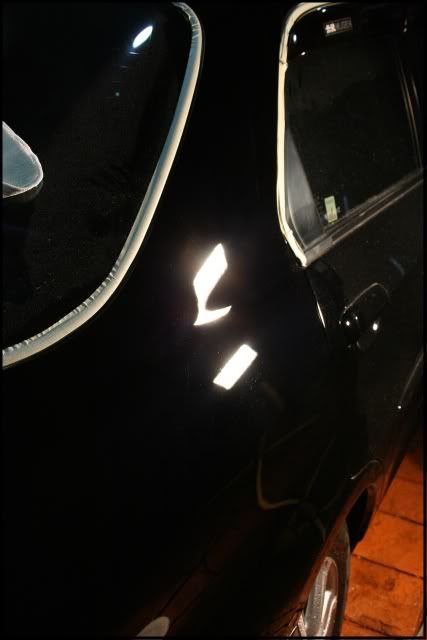
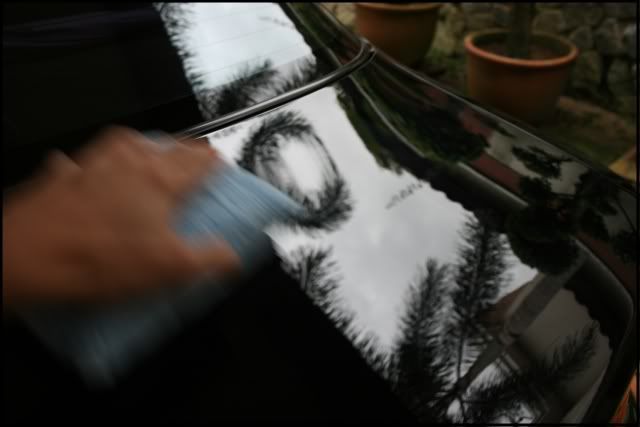
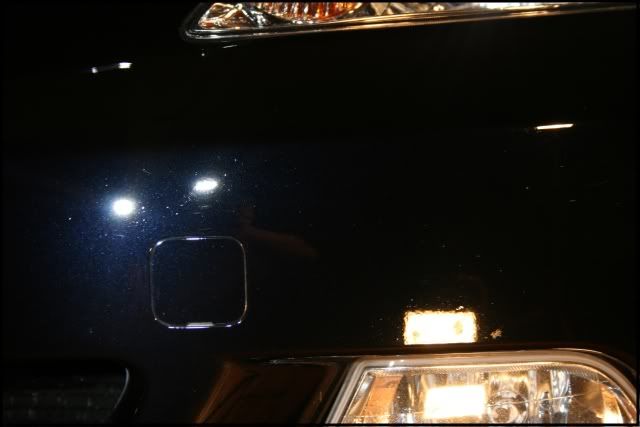
Read the full post to see how the paint that began with this,
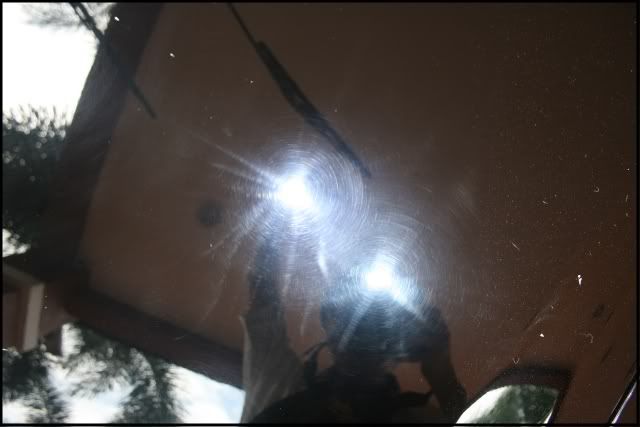
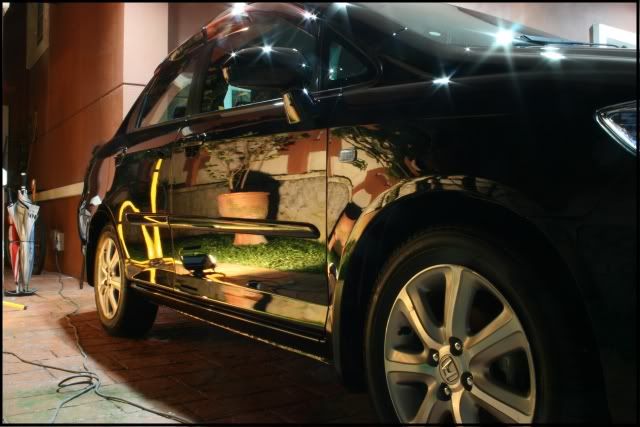
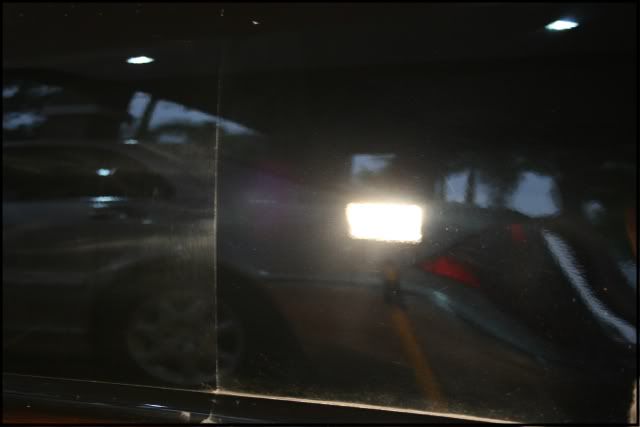
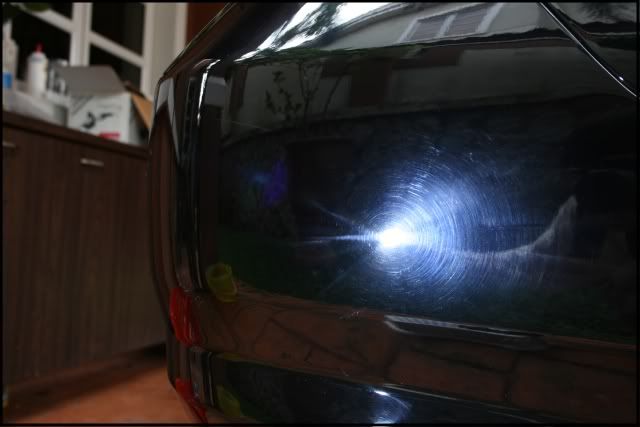
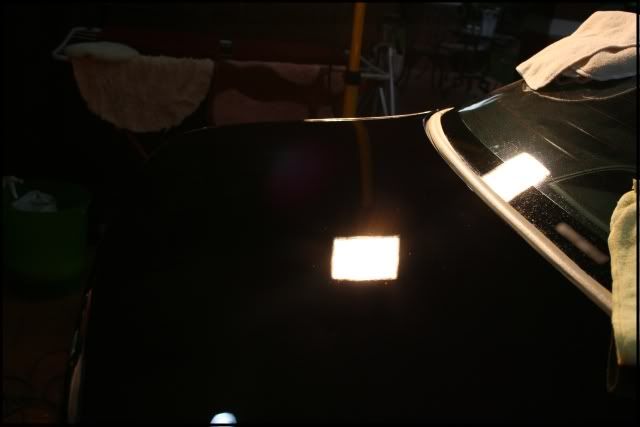
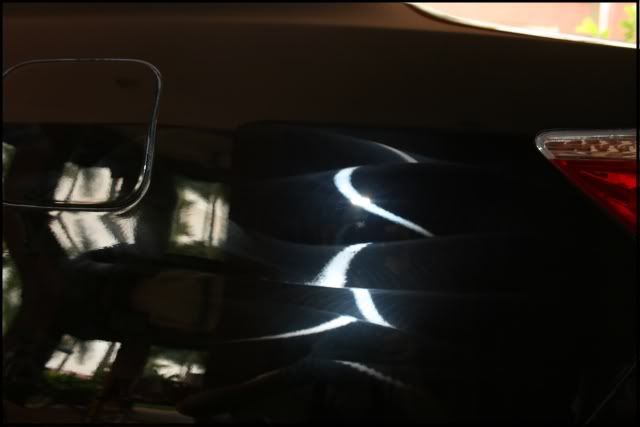
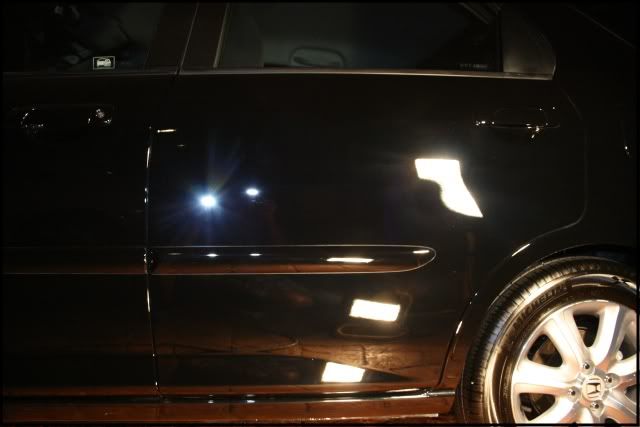
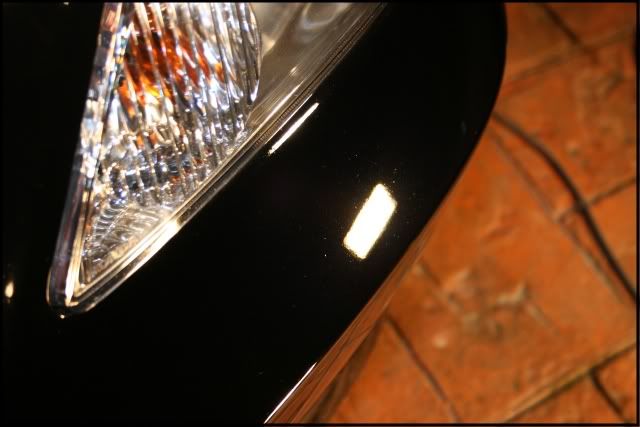
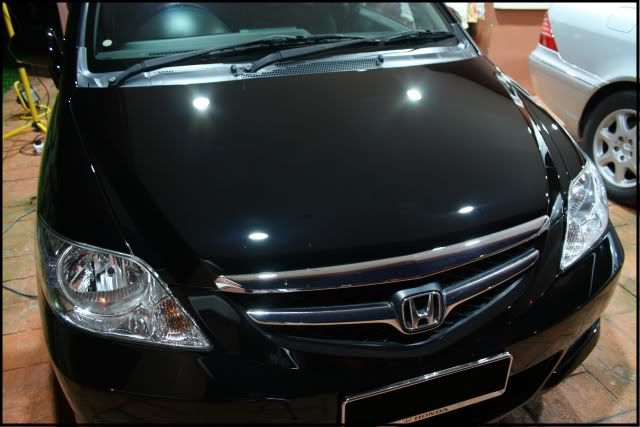
ended with this!
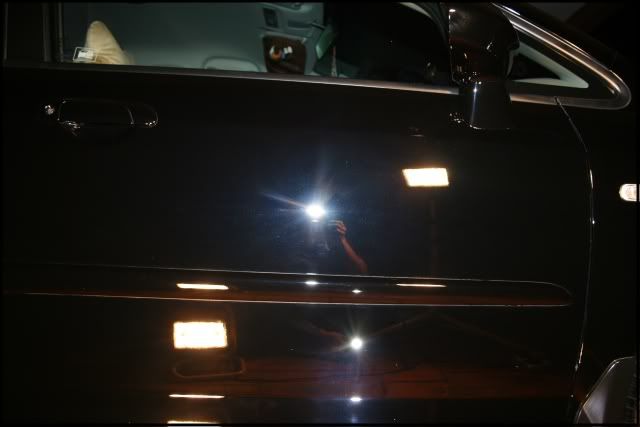
Hey guys, so this is a detail for an ’06 Honda City in nighthawk black. It has been in an accident and resprayed in a few areas and there were some colour mismatches as well as other minor damage in other areas. So the whole car was resprayed and Honda kindly provided free buffer marks service.
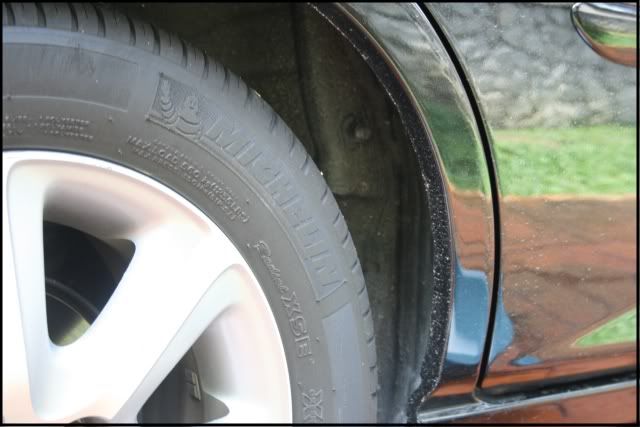
The car wasn’t too dirty to begin with.

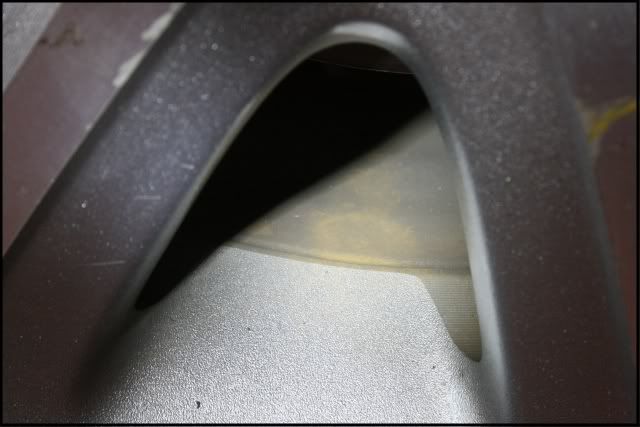
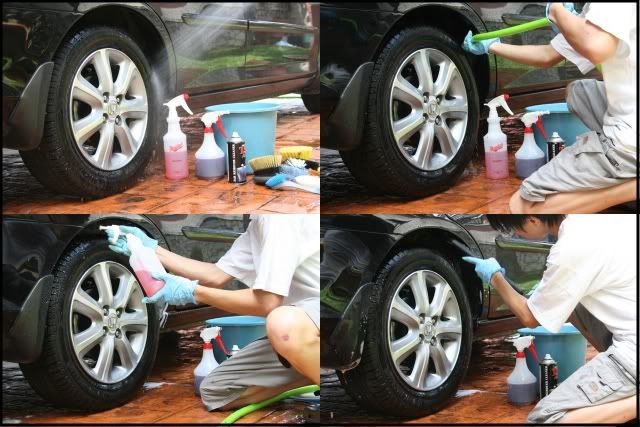
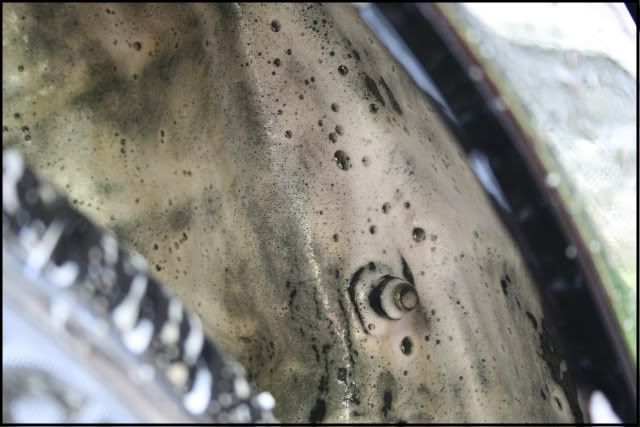
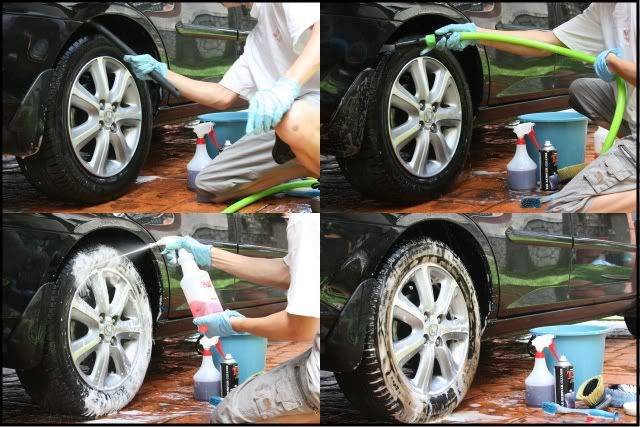
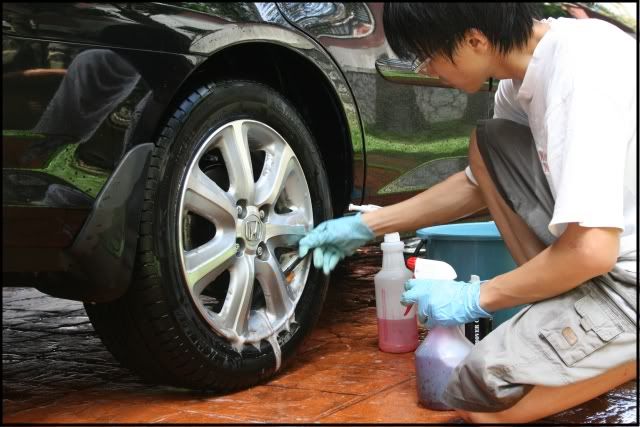
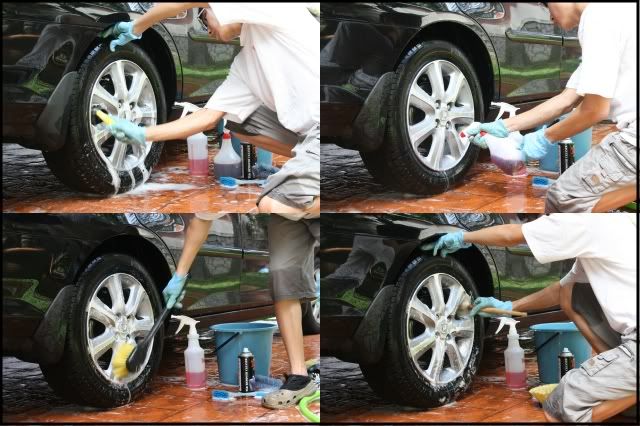
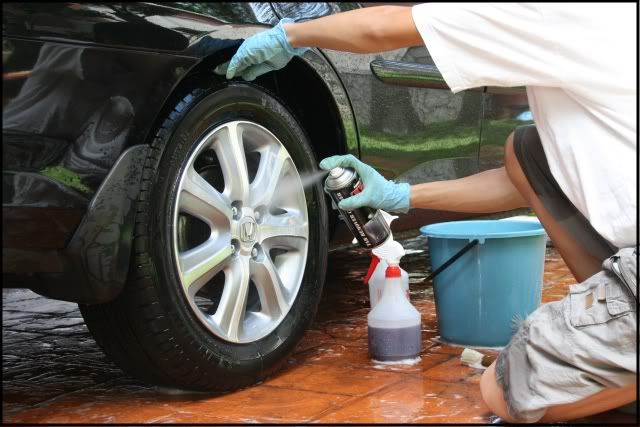
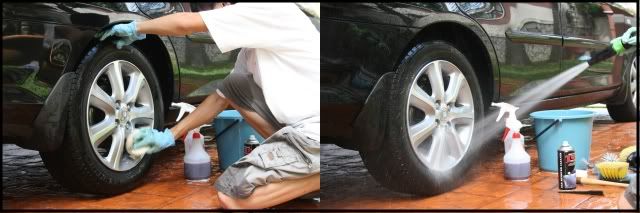
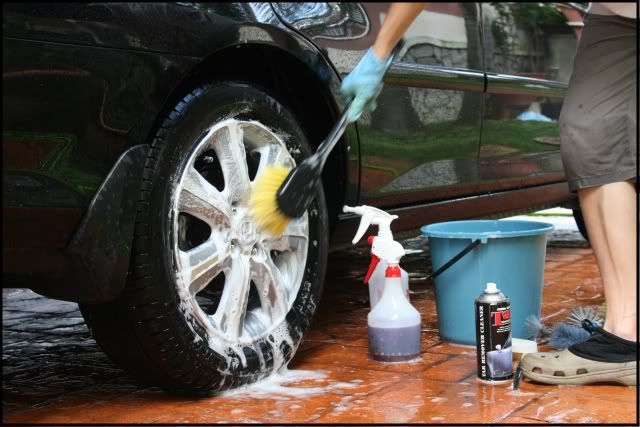
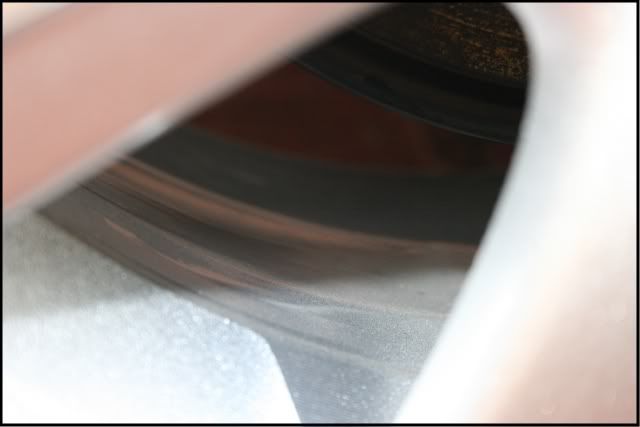
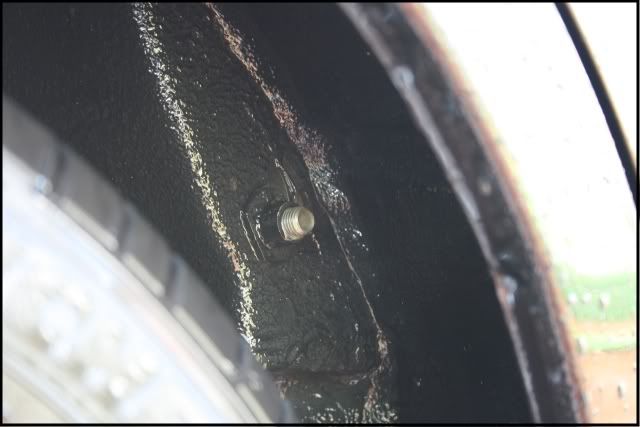
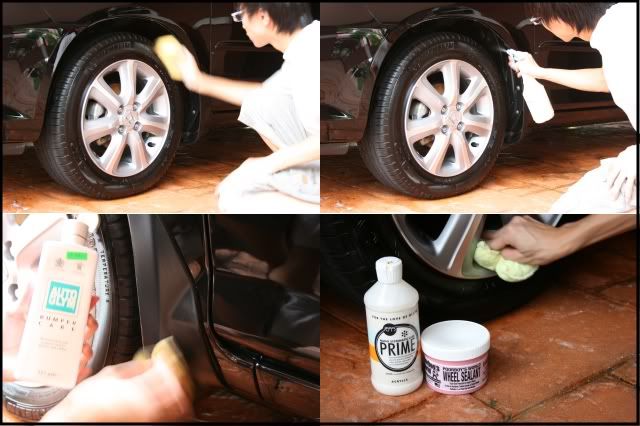
Process for cleaning the wheels were Meguiar’s Super Degreaser(cut 4:1) on the tires and wheel wells and Meguiar’s Wheel Brightener(cut 4:1) on the wheels. Tar spots on the face of the wheel removed with Perma Glass Tar Remover.
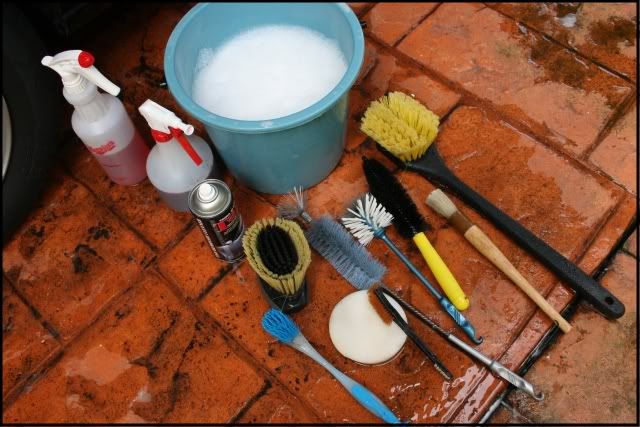

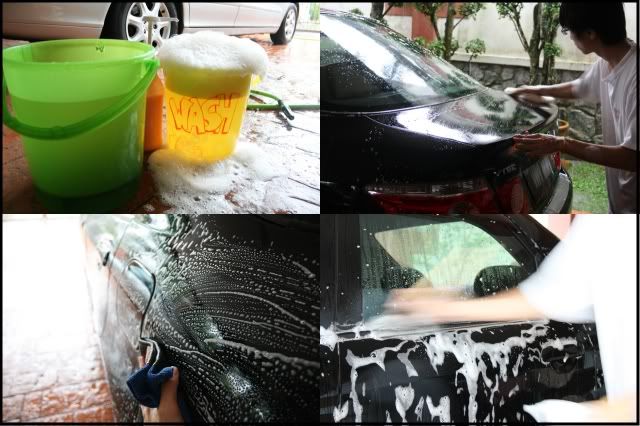
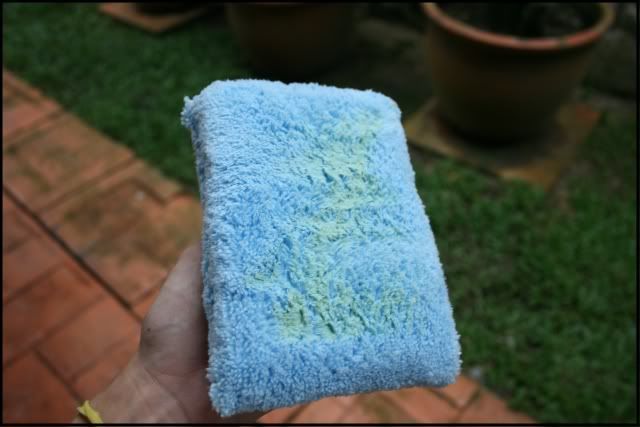
Car’s body is washed with Osren Bubble and Wax shampoo, surface smoothened with Osren Magic Clay Cloth and exterior rubber cleaned with Osren Multi Clean. The paint is then de-waxed with Osren Multi Clean.
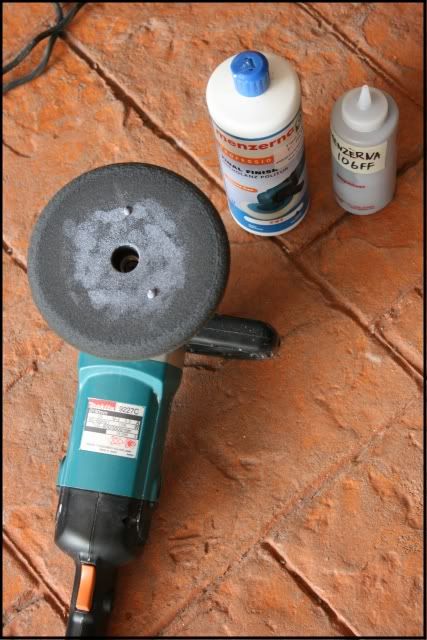
Then a test spot was performed on the passenger rear door. First step would be Meguiar’s #105 Ultra-Cut Compound via Lake Country 4-ply twisted wool @ 1500-2100rpms and followed by Meguiar’s #205 Ultra-Finishing Polish via Lake Country Kompressor white pad @ 900-1200rpms. Due to the hardness of the paint, M205 was not enough to completely remove the wool buffer marks from the first step.
So three polishing stages will have to be needed, which were:
1. Meguiar’s #105 Ultra-Cut Compound via Lake Country 4-ply twisted wool @ 1500-2100 rpm
2. Meguiar’s #105 Ultra-Cut Compound via Lake Country Kompressor white pad @ 1200-1500 rpm
3. Menzerna 106FF Final Finish via Lake Country flat black pad @ 600-900 rpm
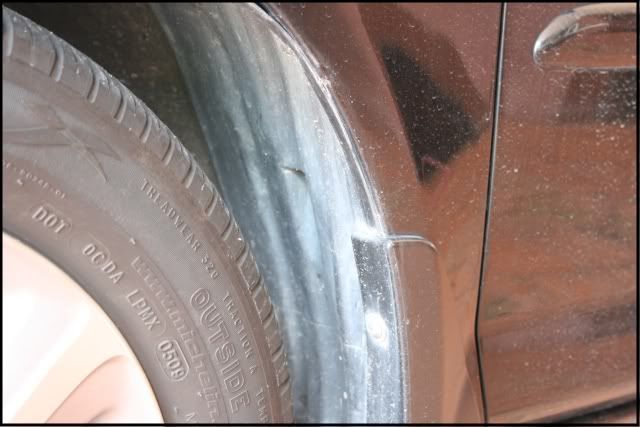
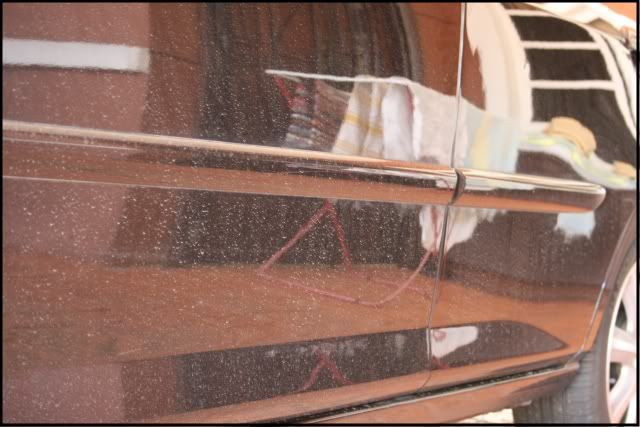
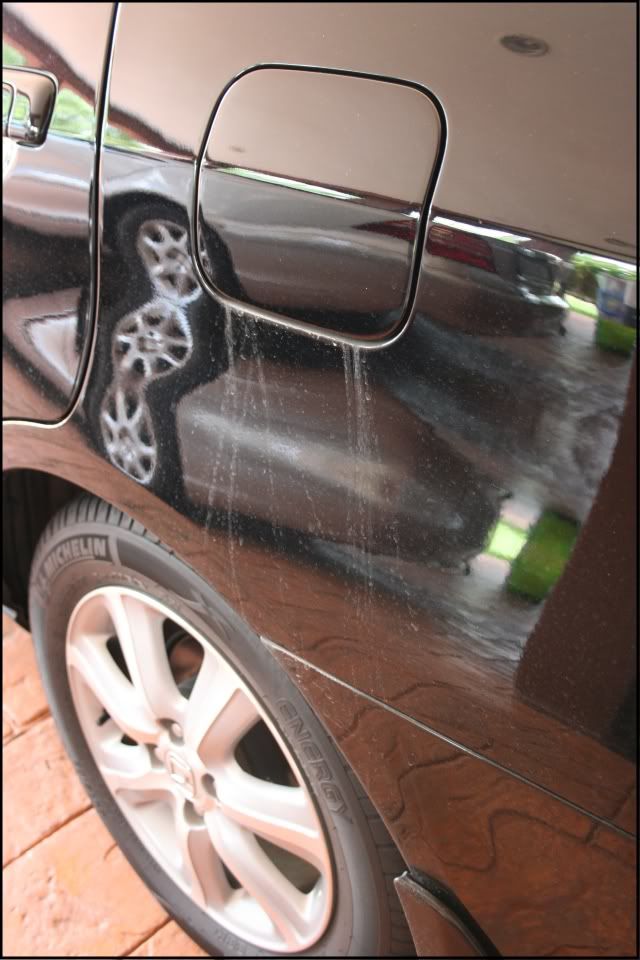
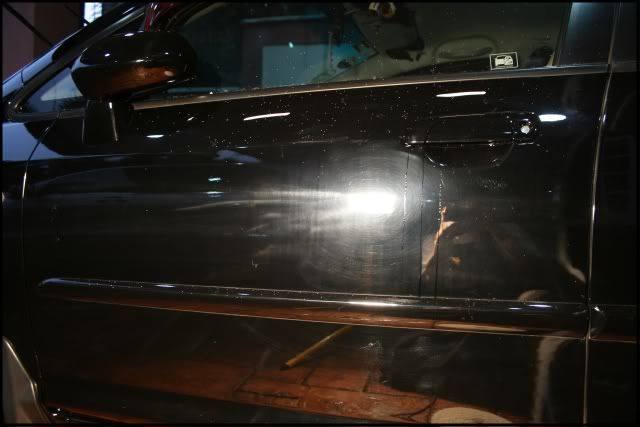
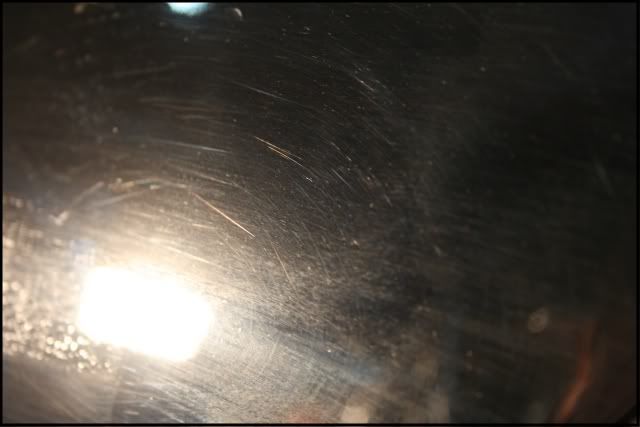
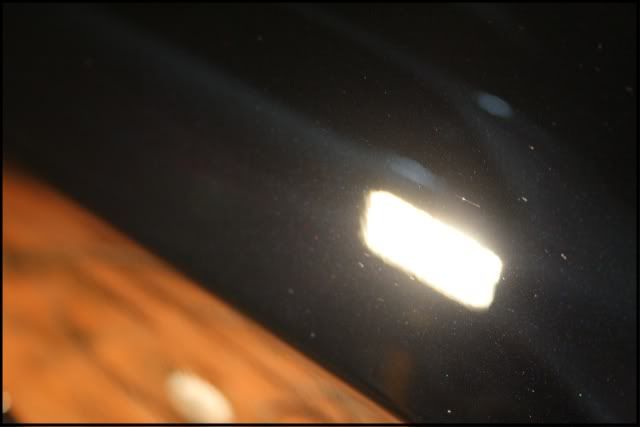
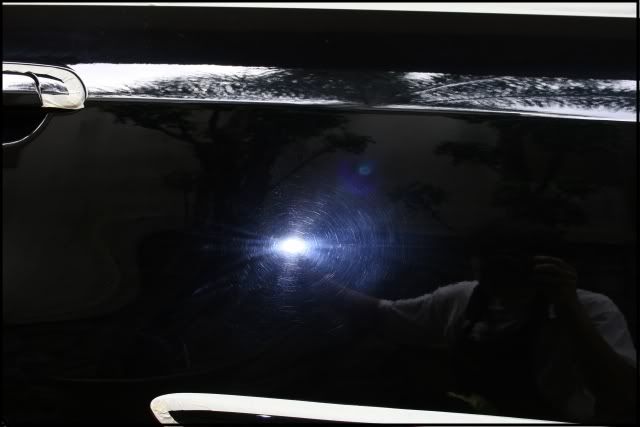
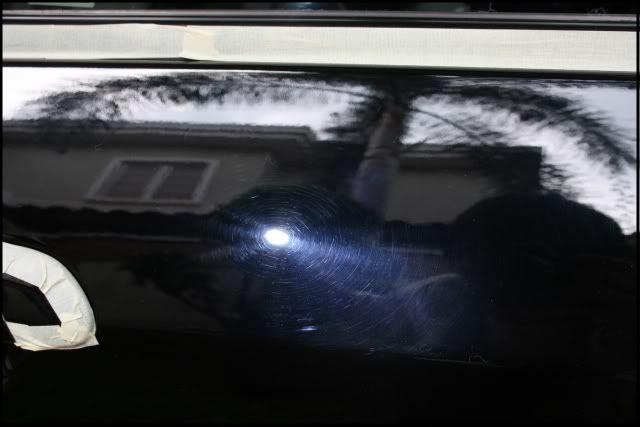
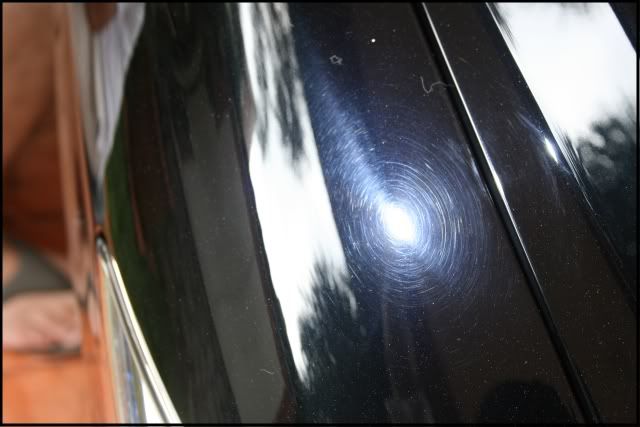
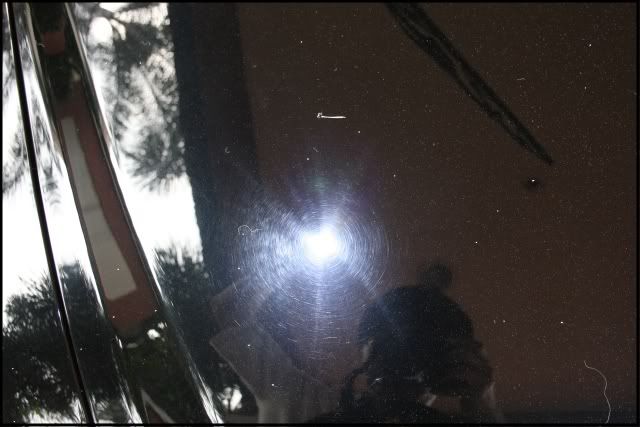
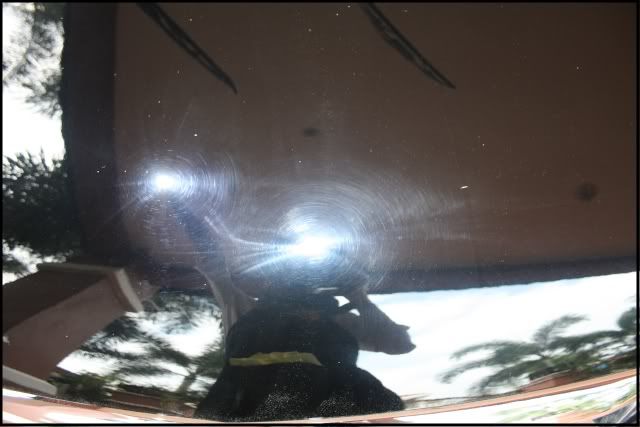
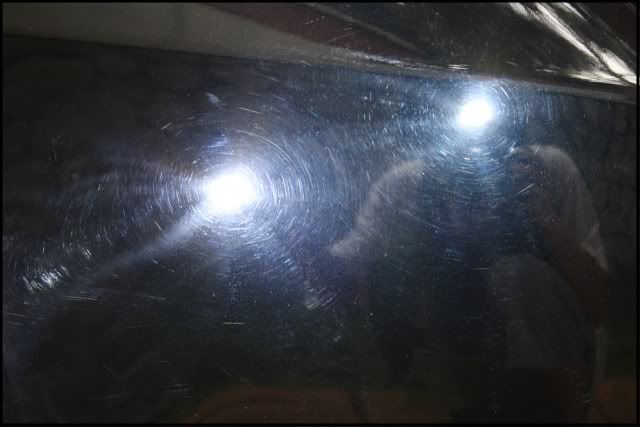
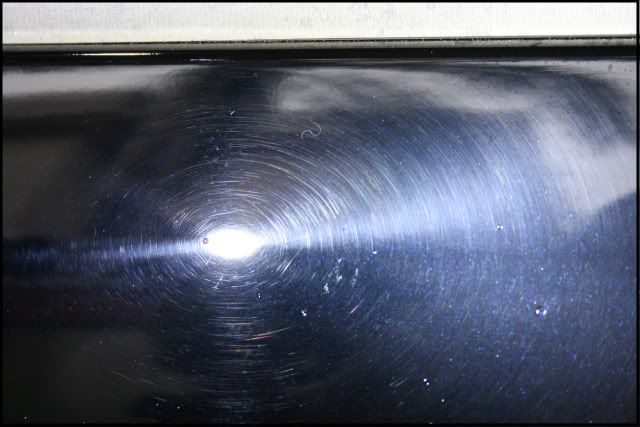
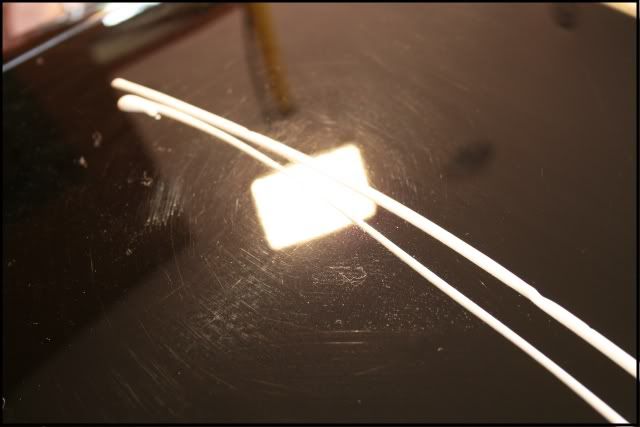
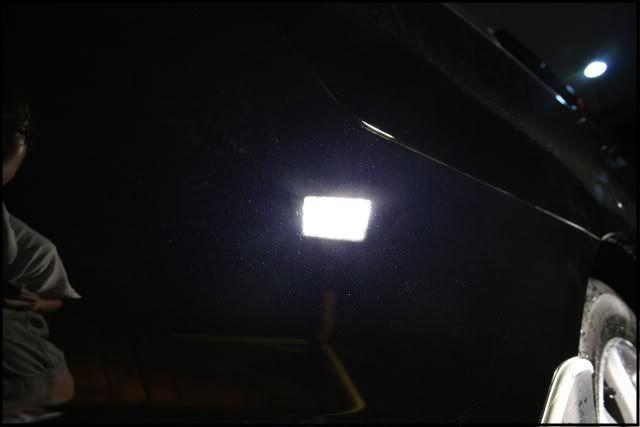
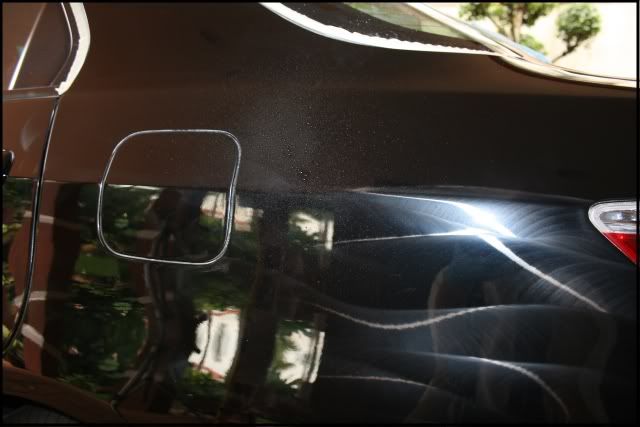
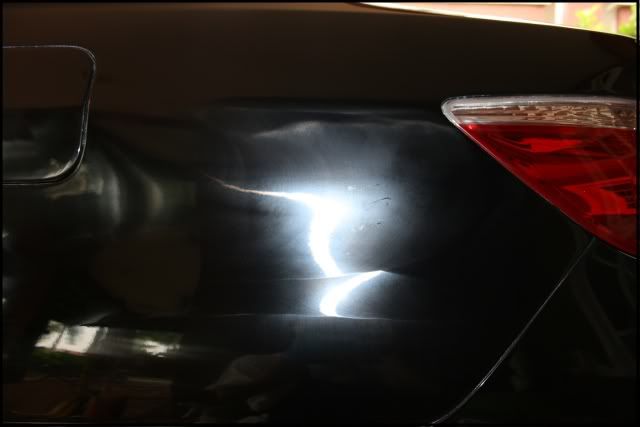
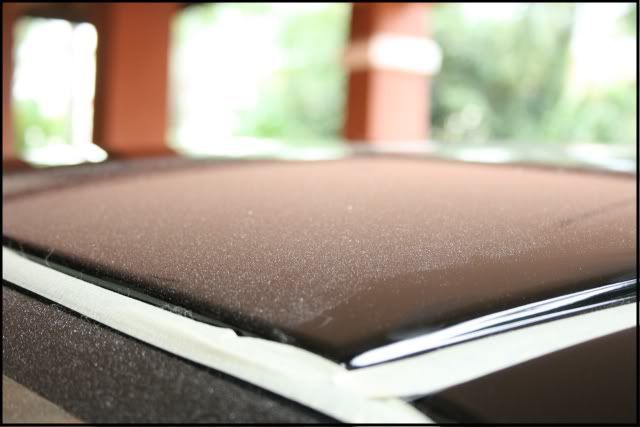
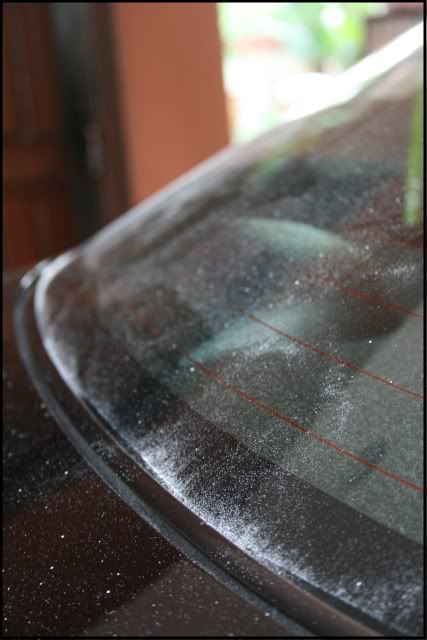
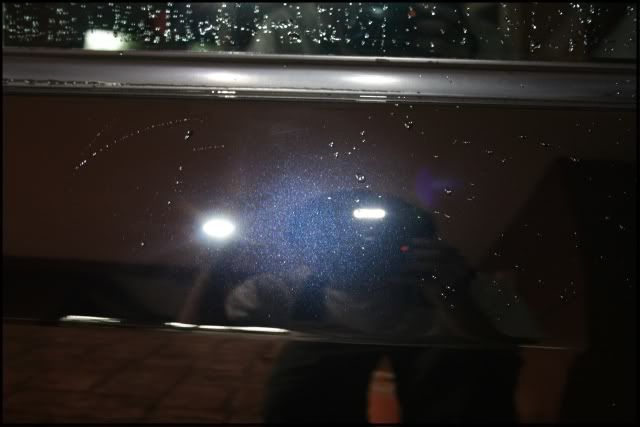
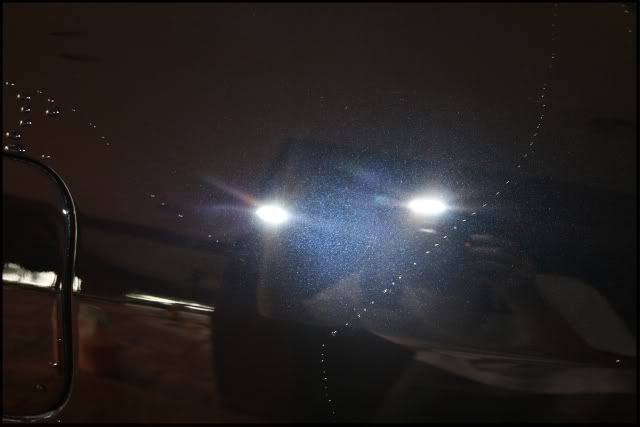
Some before pictures,

After M105/wool and M105/Kompressor white
After M105/wool only,
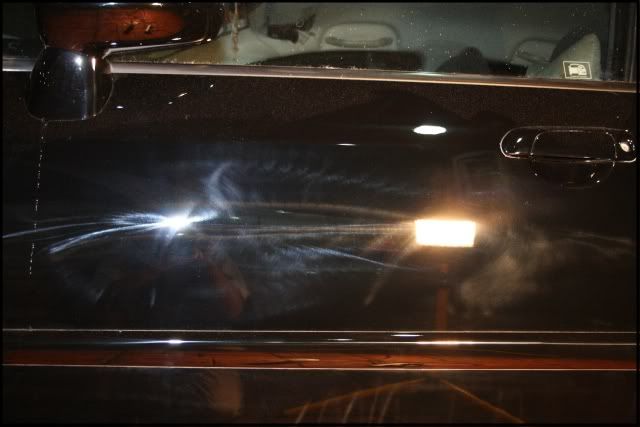
More ‘before’ shots,

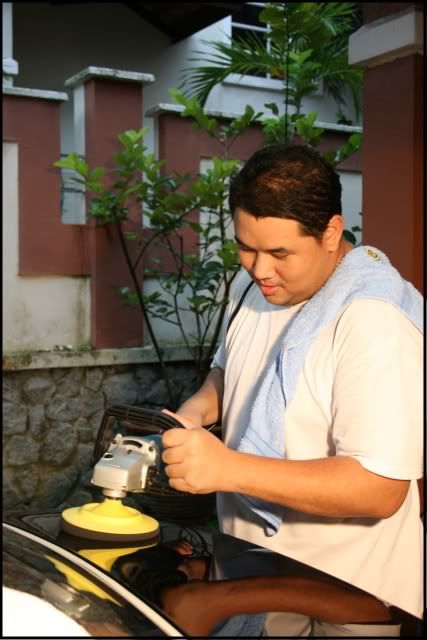
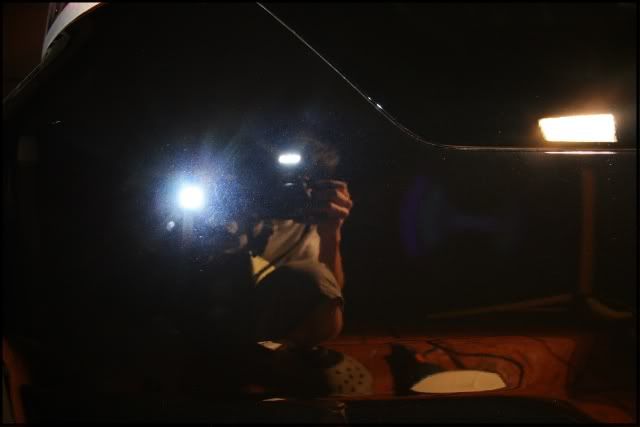
Joe a.k.a. Slk dropped by to lend a helping hand (THANKS bro!)
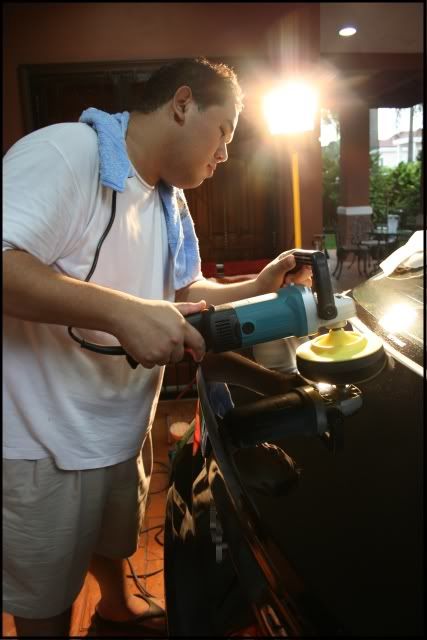
The rear boot gave us some difficulties, M205 were leaving very light holos(could be my wrong technique) and Meguiar’s SwirlX used with an ROB(Random Orbital Buffer) remove holos but left the finish slightly cloudy. So we settled on Menzerna 106FF on an LC flat black pad.
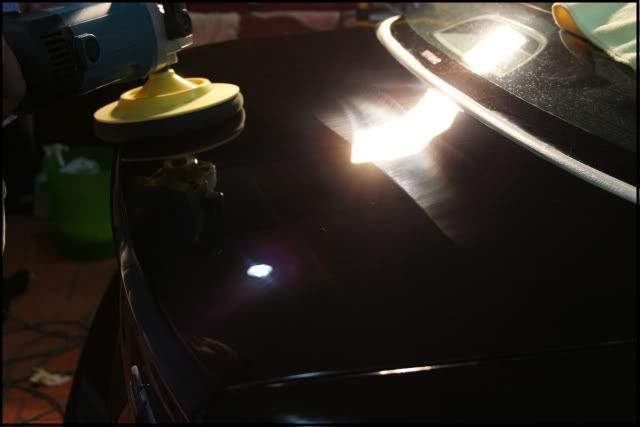
After the three polishing stages,
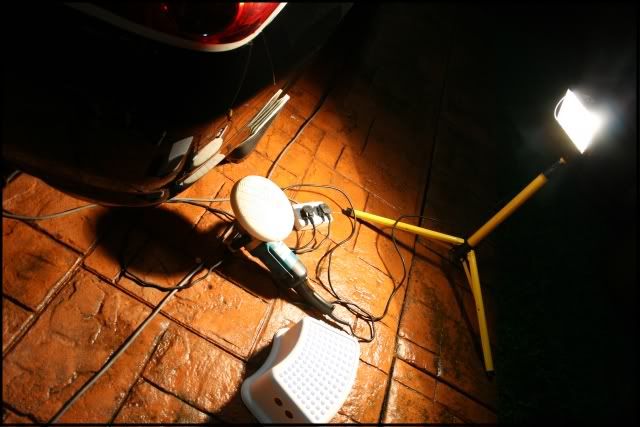
My rather wet office,
Lake Country Kompressor pad,
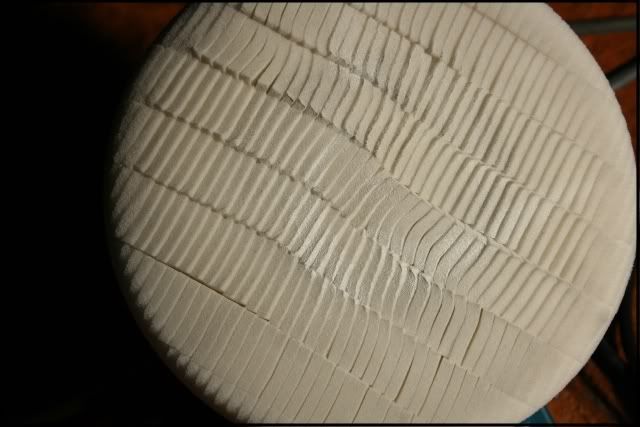
LC Kompressor white with M105 left a very decent finish with only very minor swirling.
After M105/wool,
After M105/wool and M105/LC Kompressor white
For the finishing stage, weapon of choice was Menzerna 106FF Final Finish via Lake Country flat black pad @ 600-900 rpm.
Technique was to first work it at 900-1200 rpm until it turns clear (to remove light swirling from M105), spray one light pump of water for relubrication and work at 600 rpm to remove any holograms.
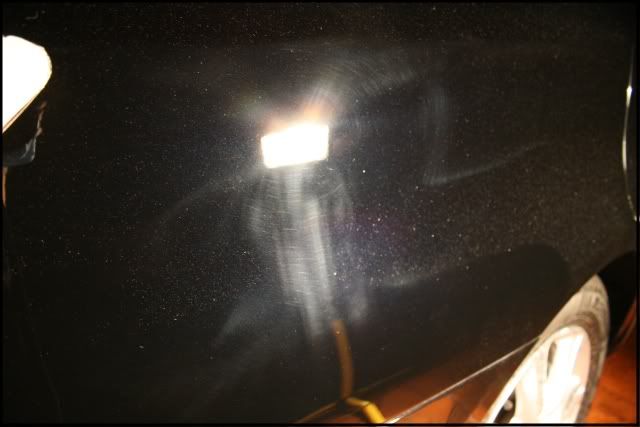
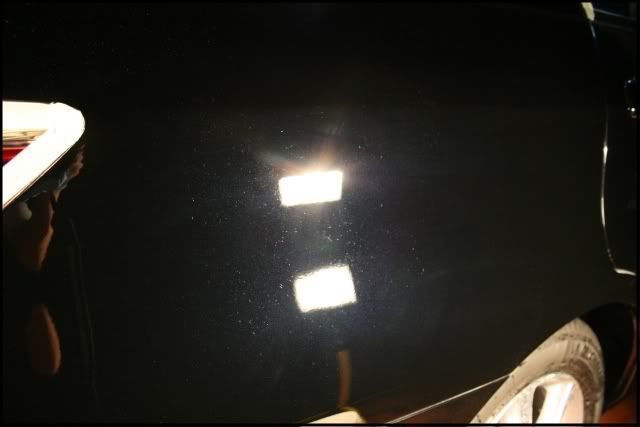
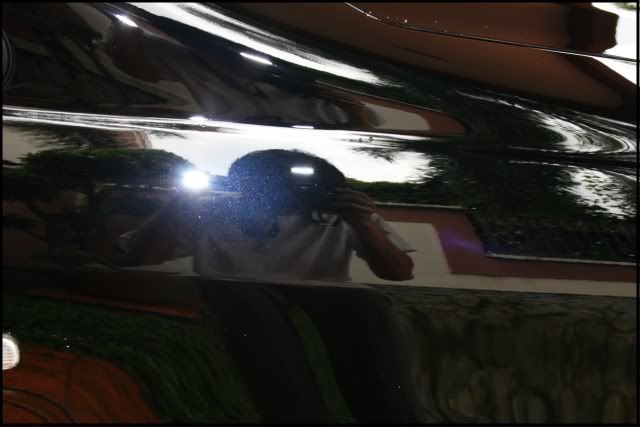
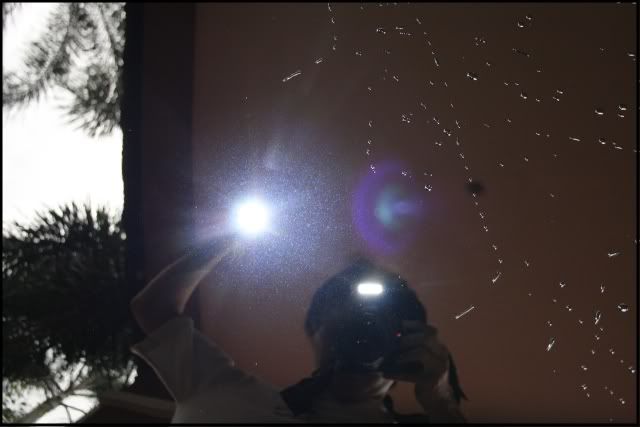
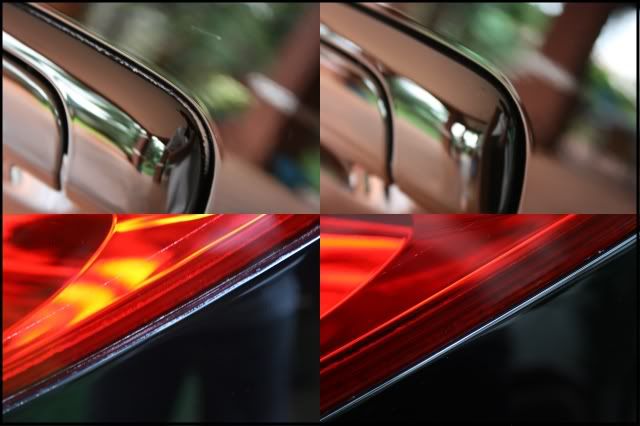
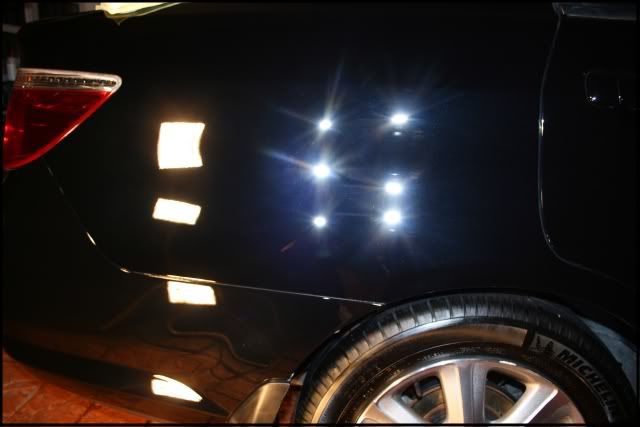
Here are two pictures. One of them is before refining with 106FF, the other is without refining, just after M105/LC Kompressor white. Can you tell the difference?
Neither can I, the first pic is after refining whereas the latter pic is before refining. That’s how fine M105 left the finish with.
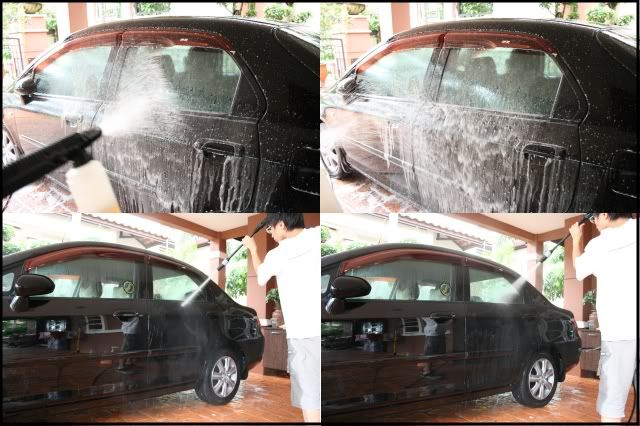
After fully refining the paint, polish dust is blasted away with the pressure washer. Firstly by soaking it with a mixture of Osren Bubble and Wax shampoo and Osren Multi Clean, this is to help remove any polishing oils and help dissolve polish buildup in the cracks and crevices. This is rinsed off and soaked again with Osren shampoo only to neutralize any APC that might not be rinsed off.

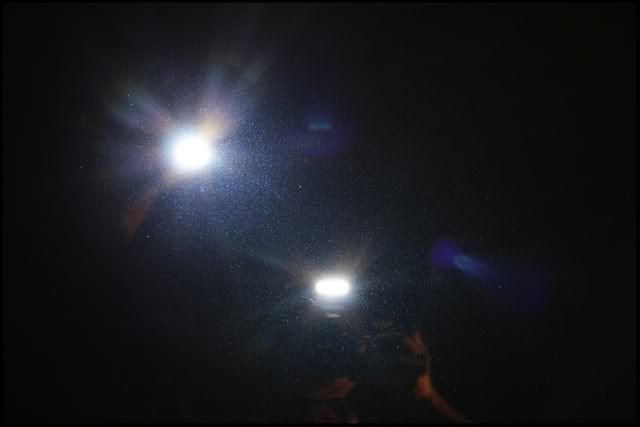
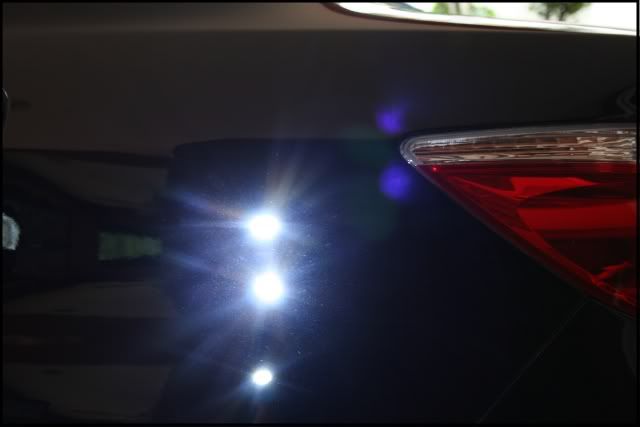
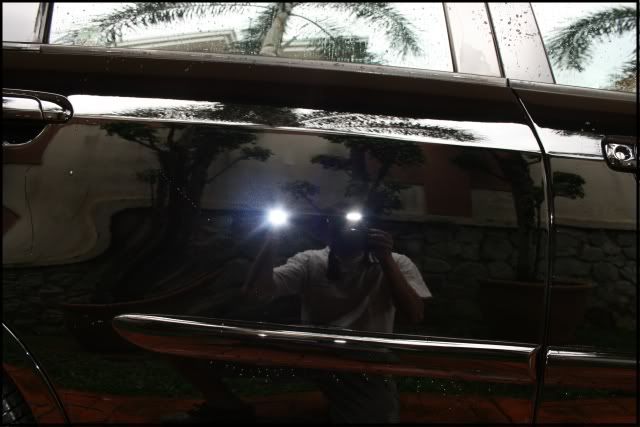
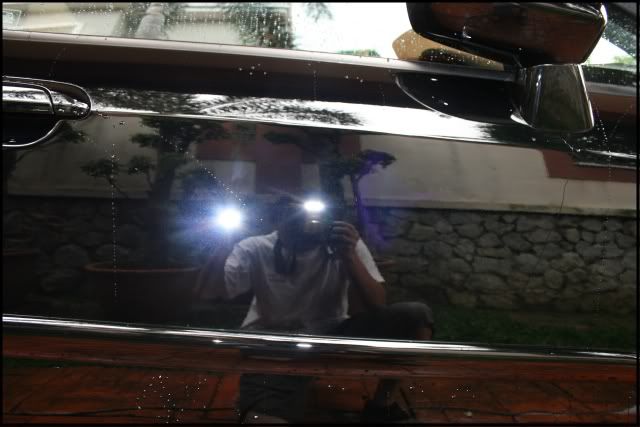
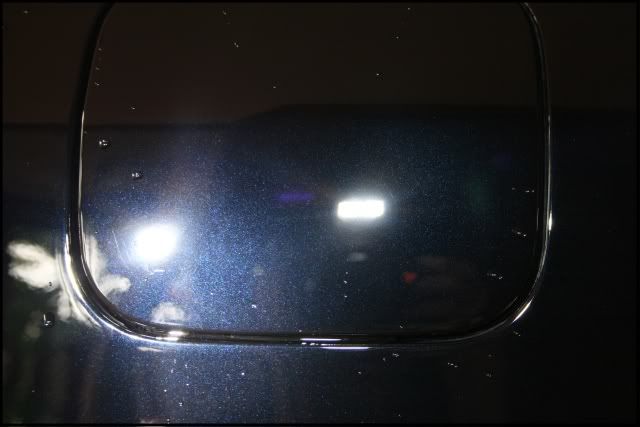
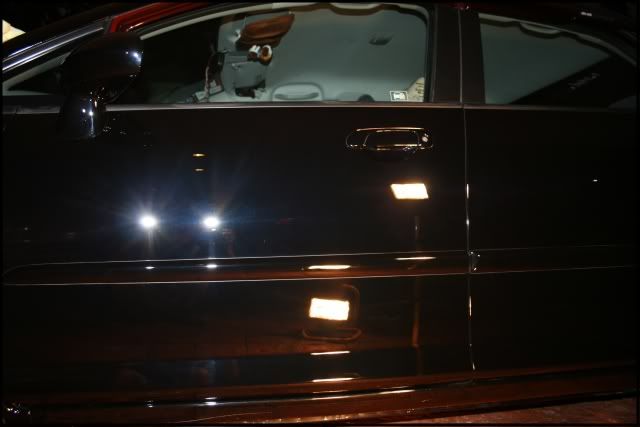
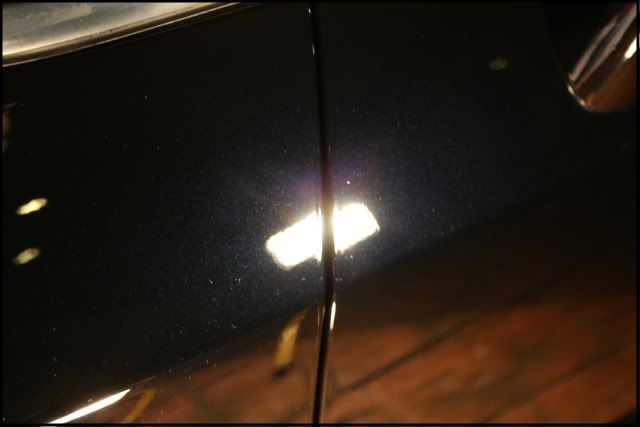
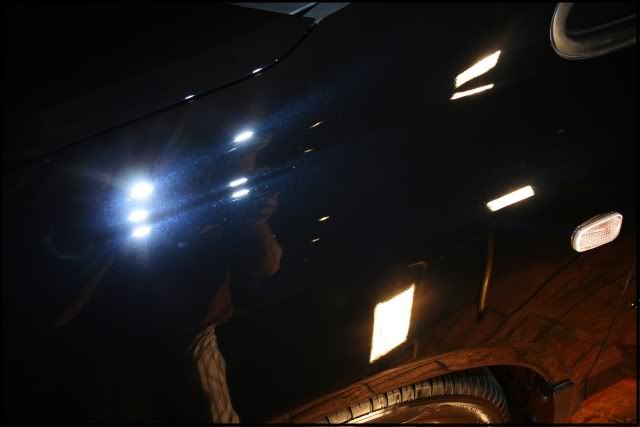
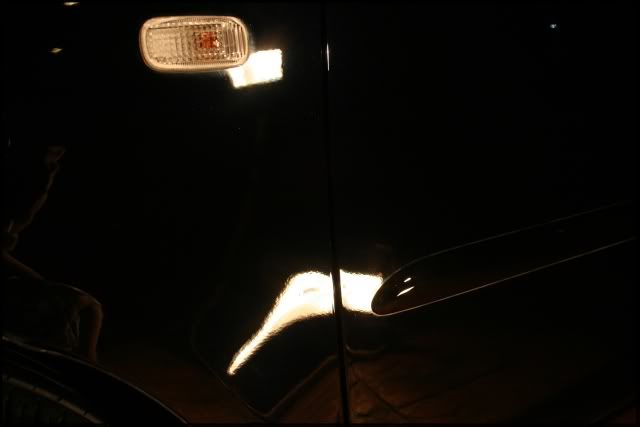
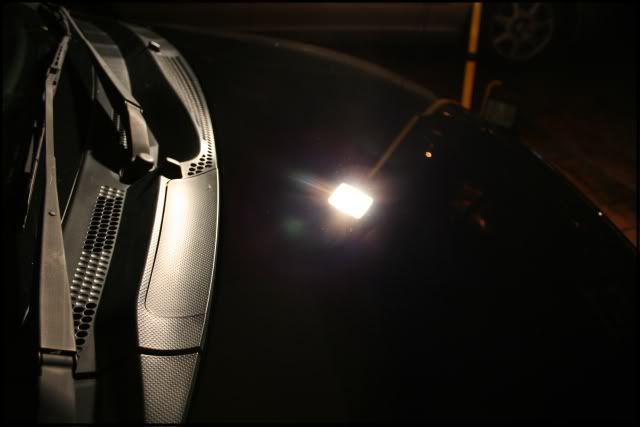
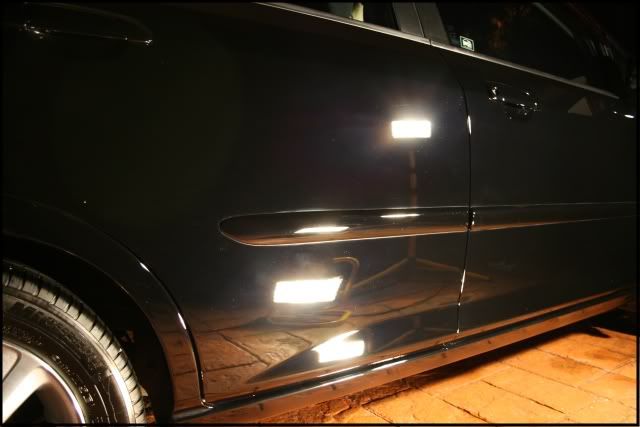
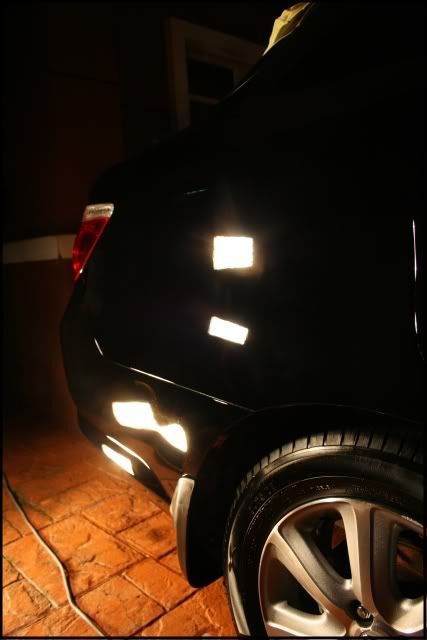
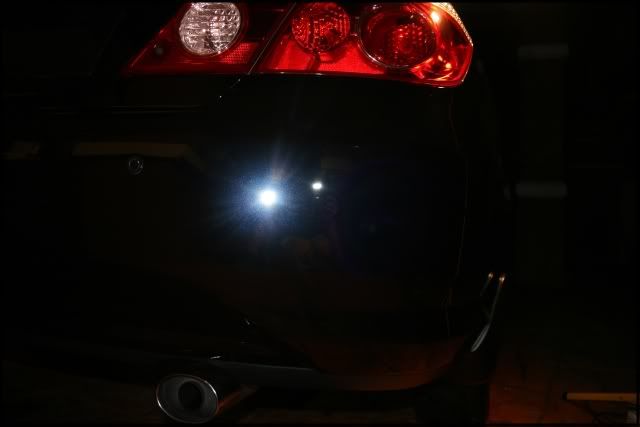
Here are some pre-LSP (Last Step Product) shots. If there are any holograms from the refining stage, they would show up now.

Then all polish residue in panel gaps were cleaned off with a MF cloth and Meguiar’s All Purpose Cleaner (cut 10:1).
The car is dried off with a Cobra Arctic White cloth and the blow function on the vacuum cleaner to blow off water from tight areas.
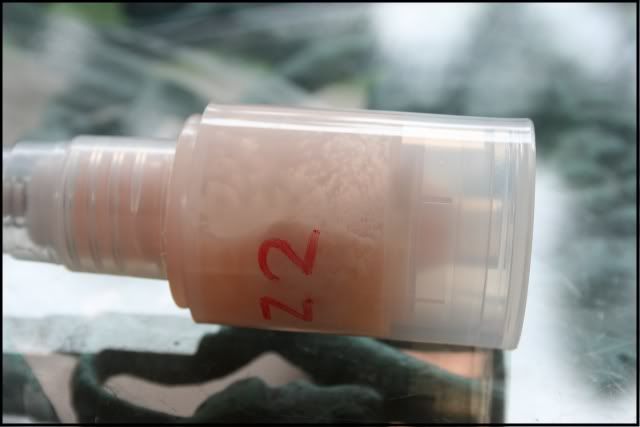
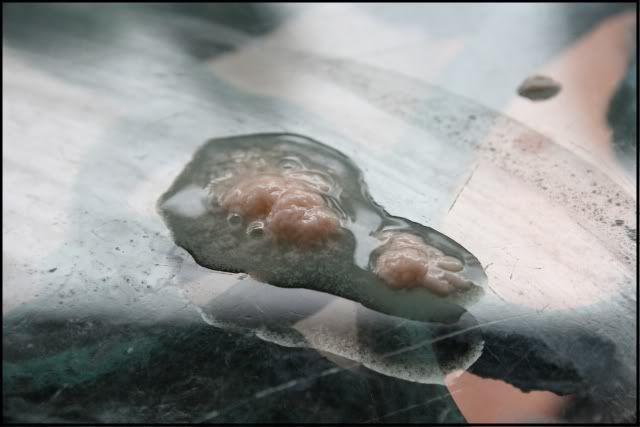
LSP time, I originally wanted to test Duragloss 105 and Zaino Z2 side by side. That would have to be postponed because my sample of Z2 separated and long vigorous shaking didn’t help. However, the Z5 sample was still okay… hmmm. (Sorry about that Brian, I will find another way to review the Z2!)
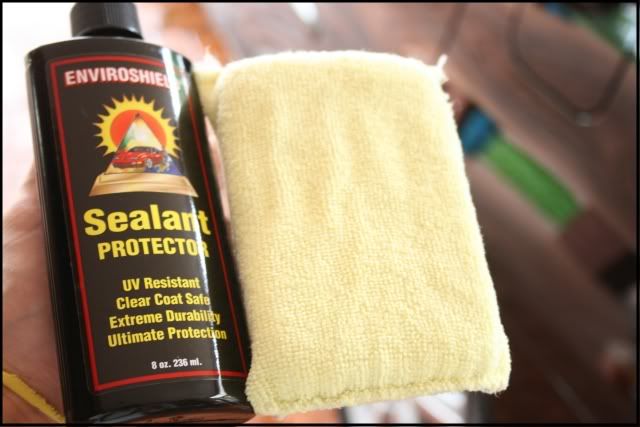
So my own choice would be to lay down a base of Enviroshield (this is akin to Opti-Seal, Z-cs, UPGP).
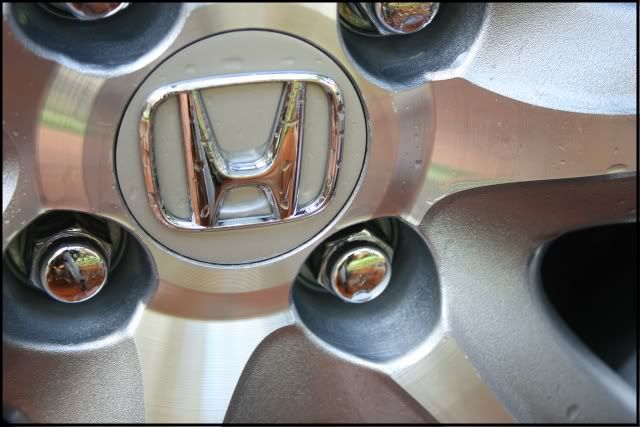
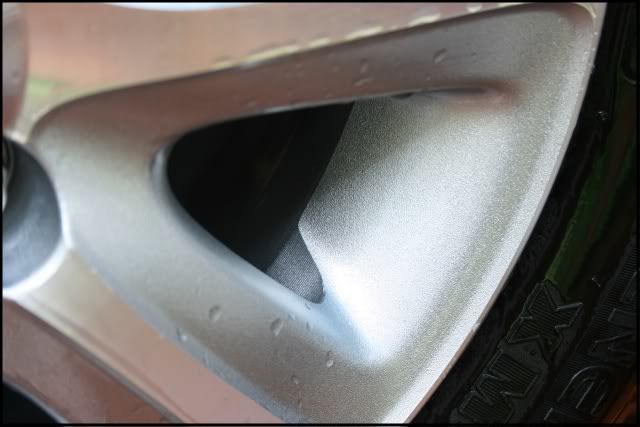
While this was curing, tires and wheel wells dressed with Osren Tire Shine. Autoglym Bumper Care applied to mudguards. Wheel face cleansed and protected with Jeff’s Werkstatt Prime Acrylic and Poorboy’s Wheel Sealant.
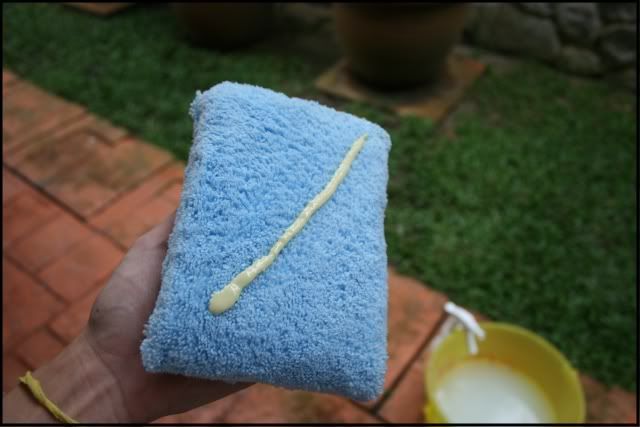
Areas where Enviroshield was applied too thick were buffed off and Duragloss #105 Total Performance Polish is applied via MF from MadDetailer.com. I followed application technique from Zainostore.com, which is to lay down a strip of product diagonally across the pad, spread them with a finger, and apply in straight lines.
After drying for about an hour, it was then buffed off and Duragloss Aquawax was used in some areas to aid removal.
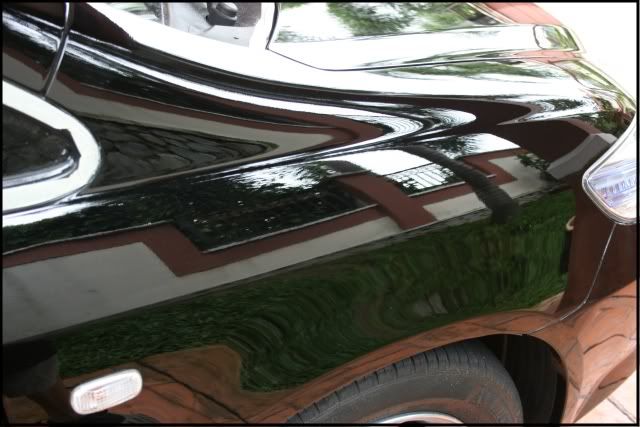
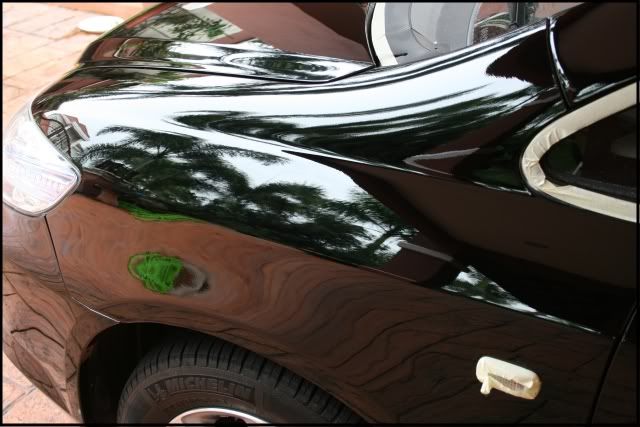
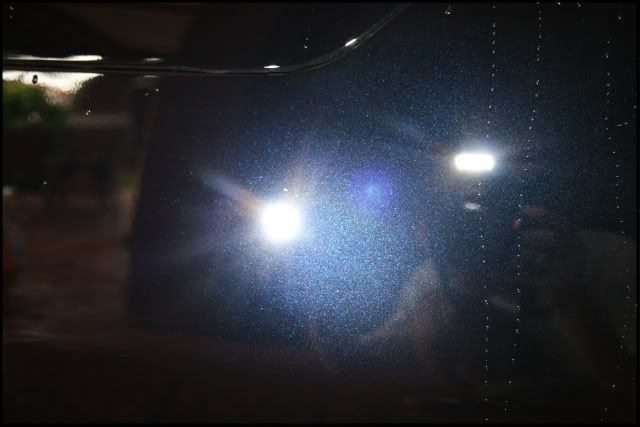
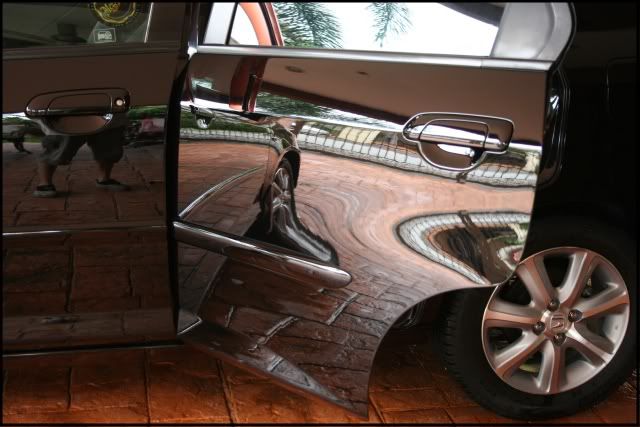
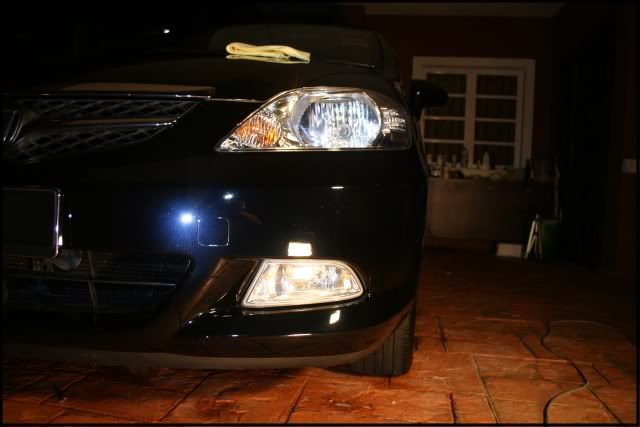
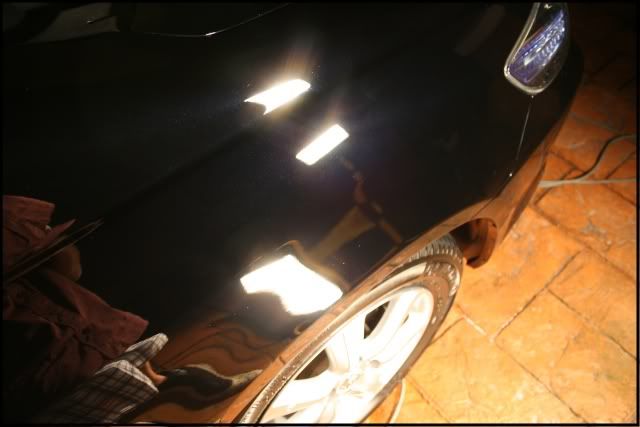
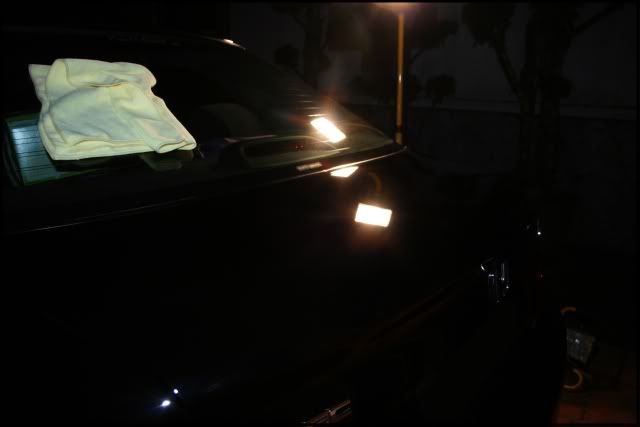
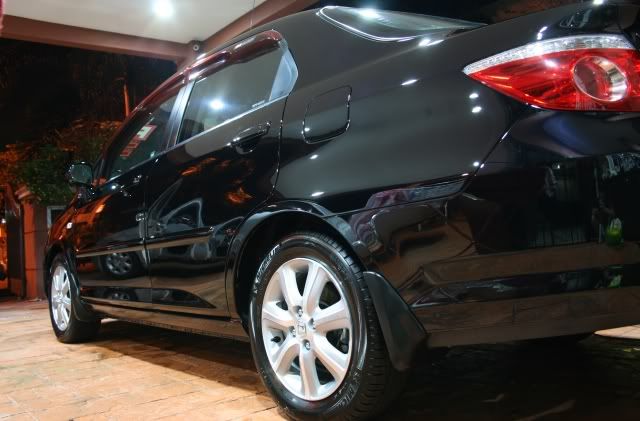
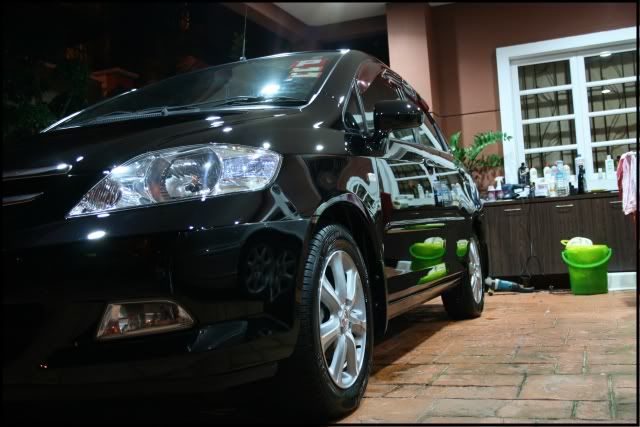
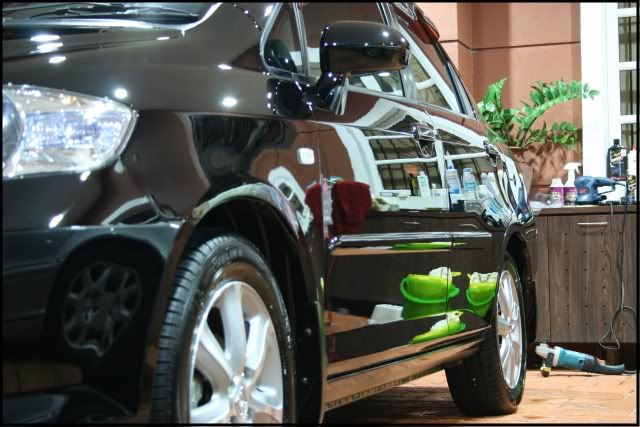
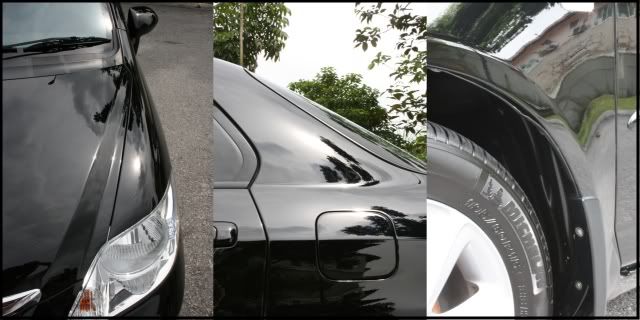
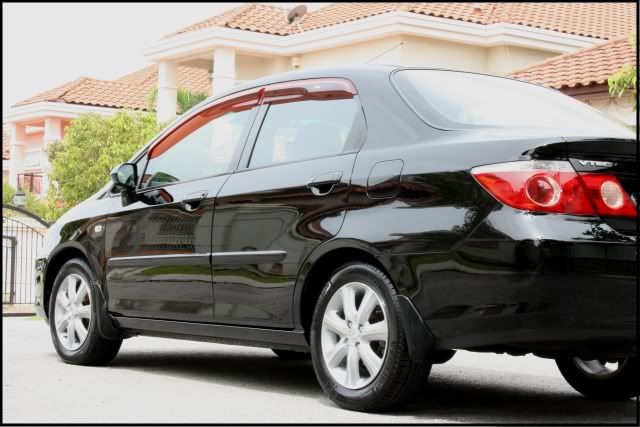
Here are some post-lsp shots. The paint wasn’t perfectly polished as there are quite a number of RDS(Random Deep Scratches) left, I would say about 92% correction. Hope you’ll enjoy the photos and thanks for looking!
Special thanks to:
Joe for the big help, not having to polish another fender and door saved my arm from breaking!
Liew from Duragloss Malaysia.
Brian from Zaino Asia Pacific for the Zaino samples.
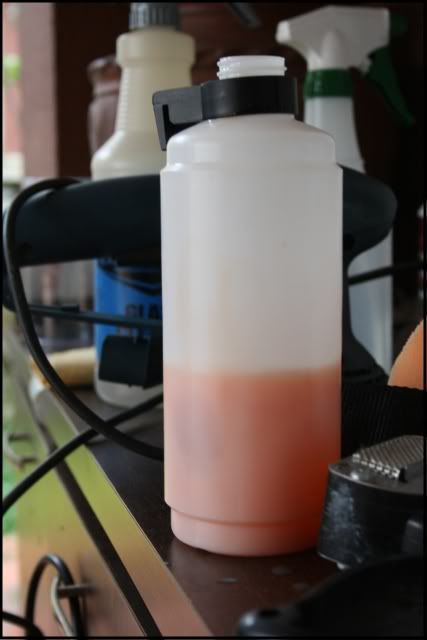
Henry from Osren for lending me the foaming head sprayer!
Remember to subscribe via E-mail for notification on new posts! Don’t worry, your E-mail will remain totally anonymous to me or anybody.
Read more!