BMW E36 3-Series Solid Black
Pre-Detail Evaluation
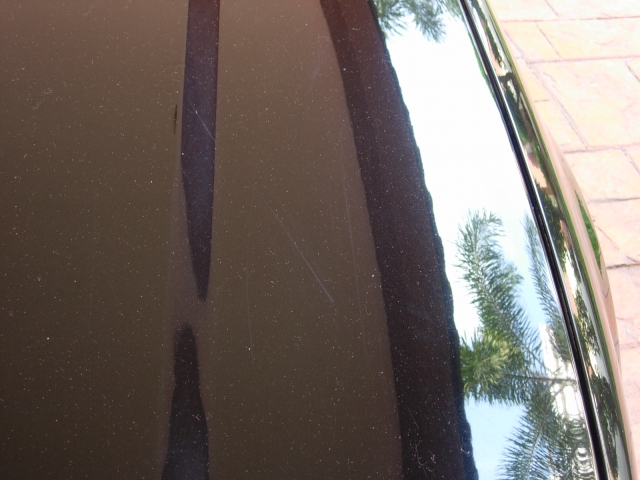
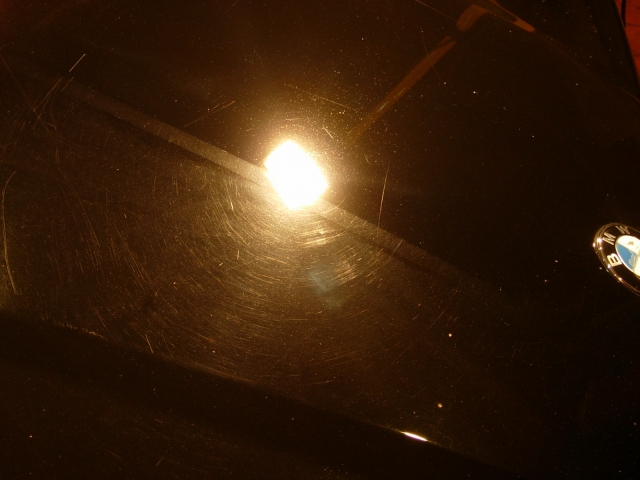
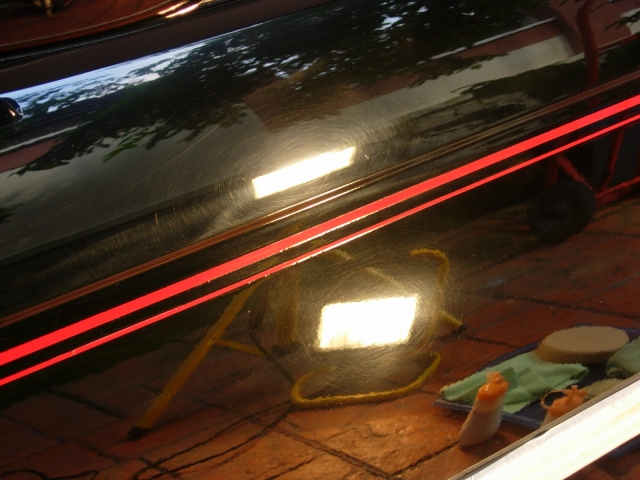
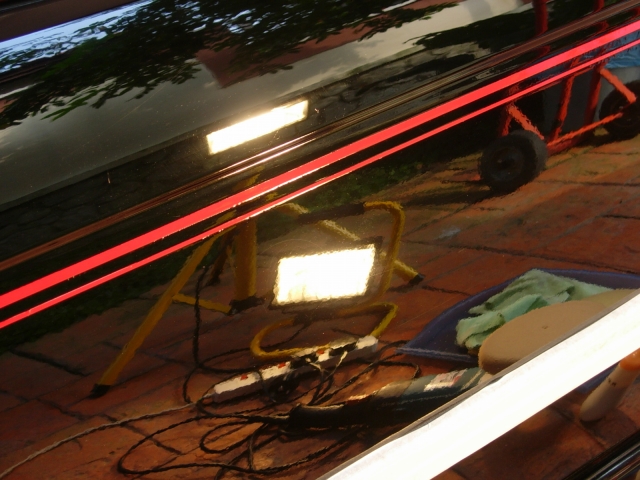
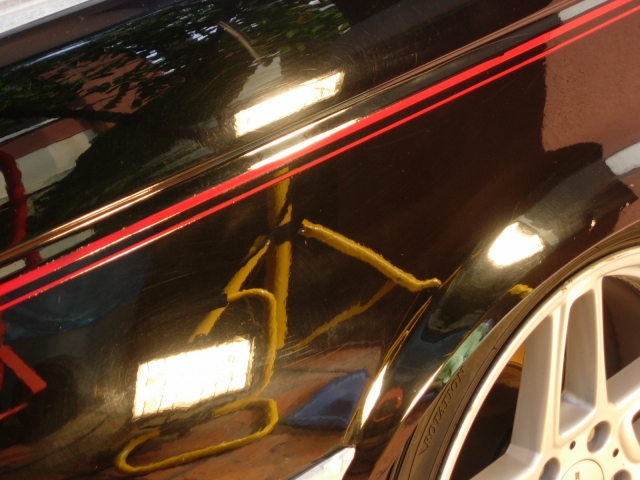
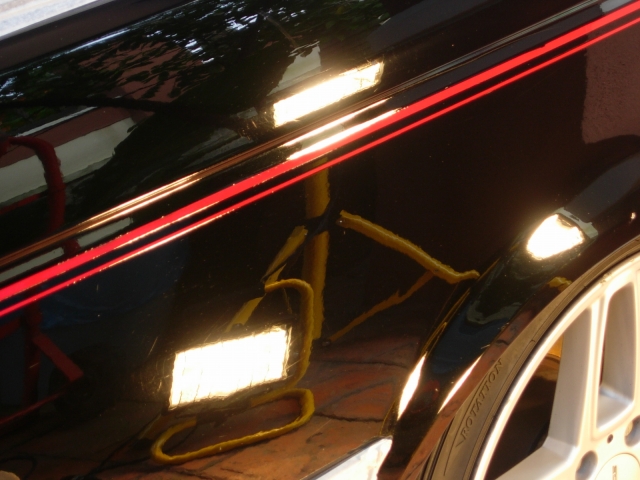
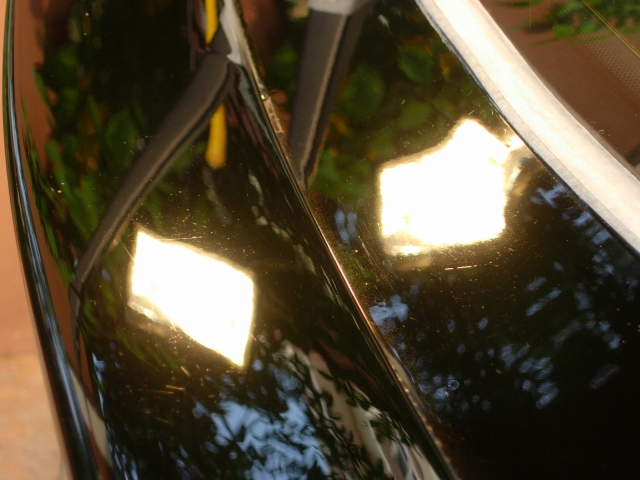
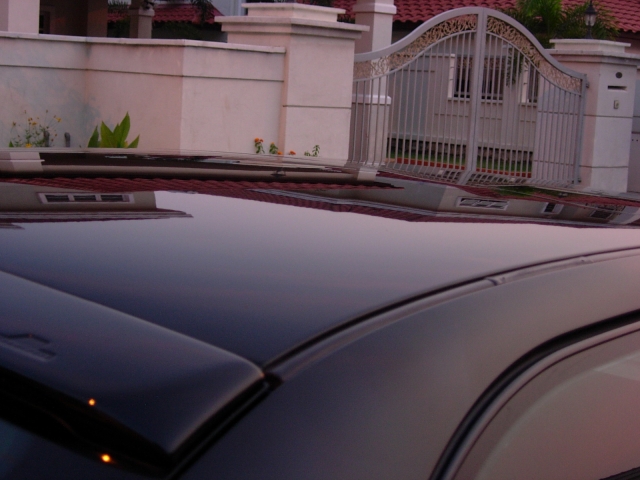
Vertical panels had a fair amount of swirling
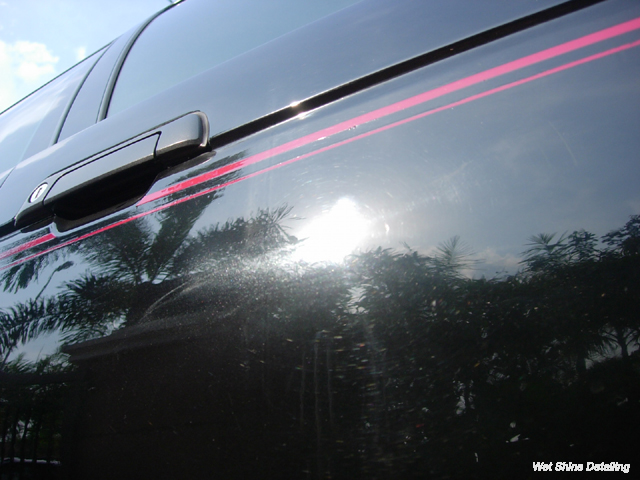
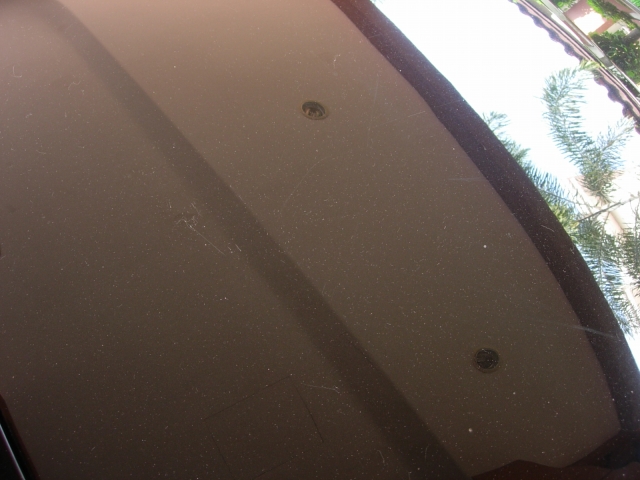
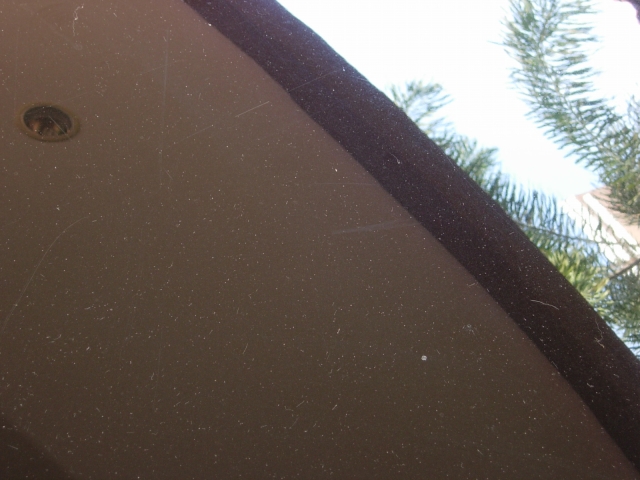
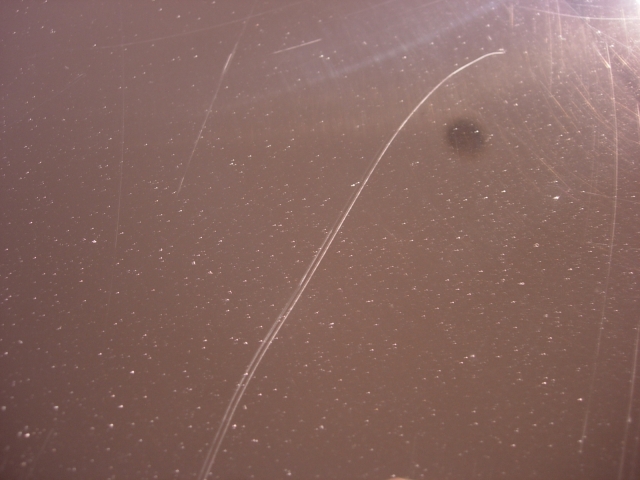
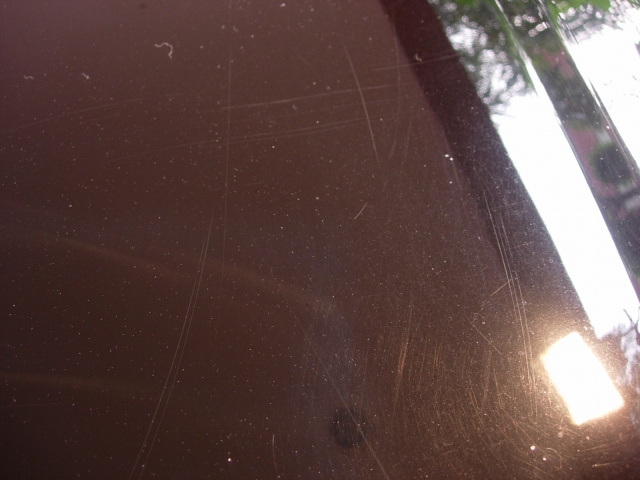
The hood was really bad as it had heavy waterspots etched into the paint with a lot of cat scratches!
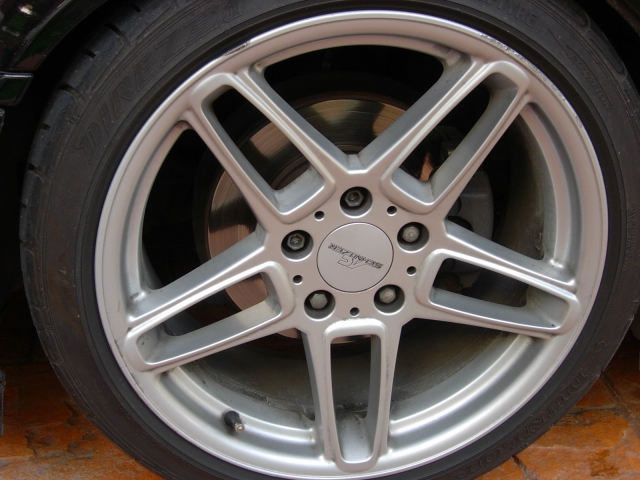
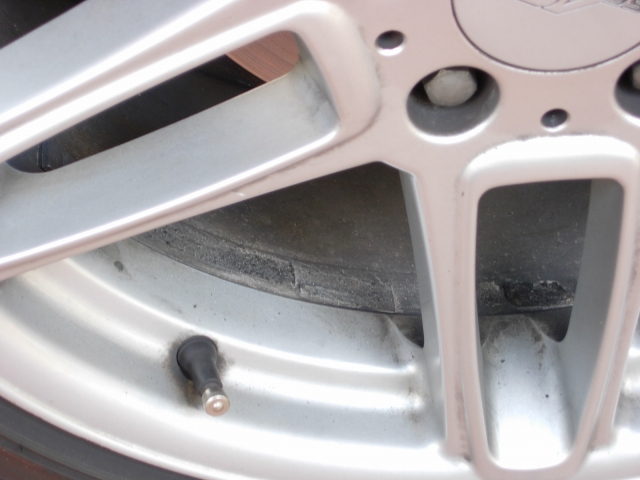
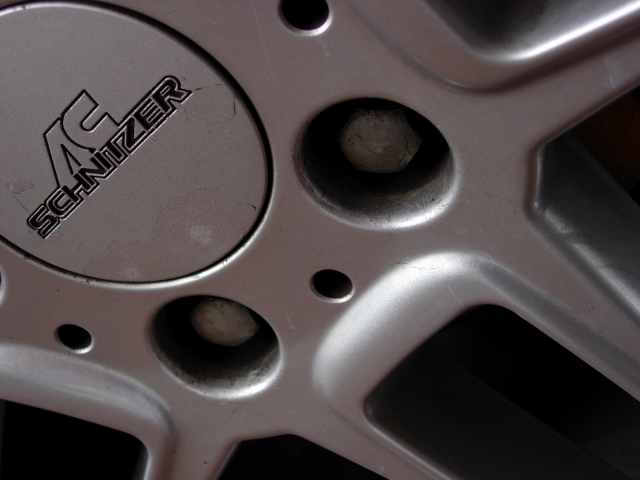
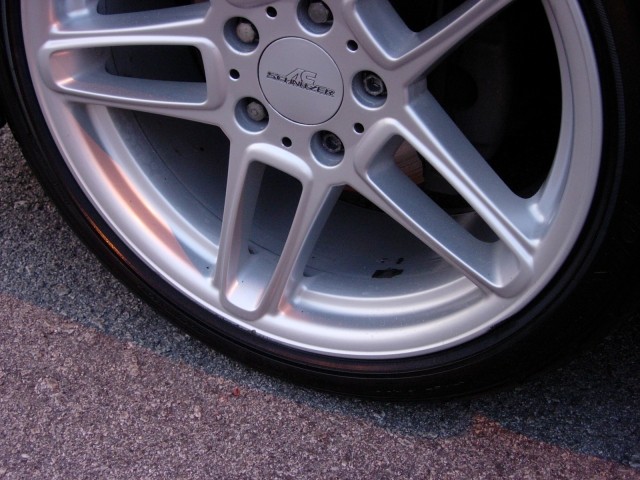
The wheels were okay on the spokes, the back of the wheels were caked with brake dust, the lug nuts area were also caked with brake dust.
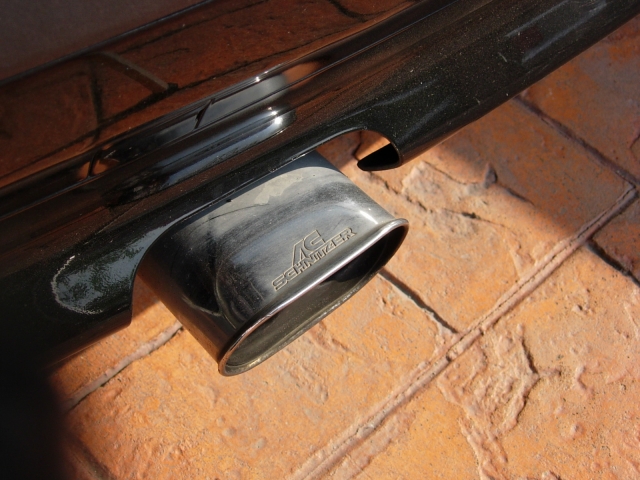
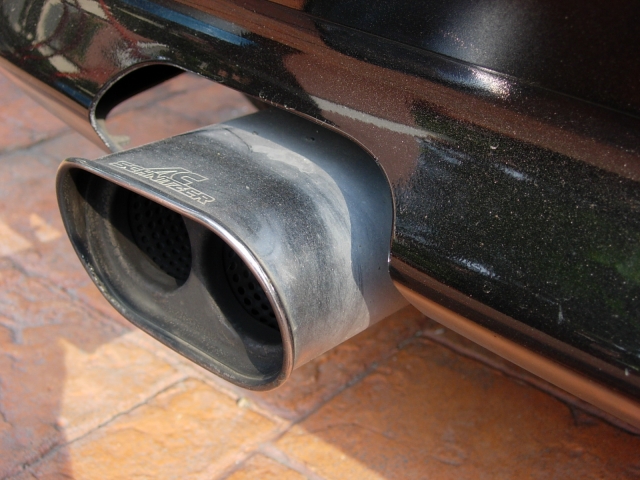
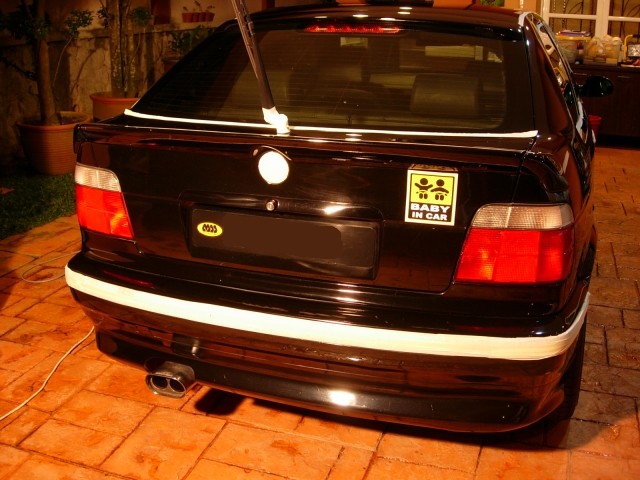
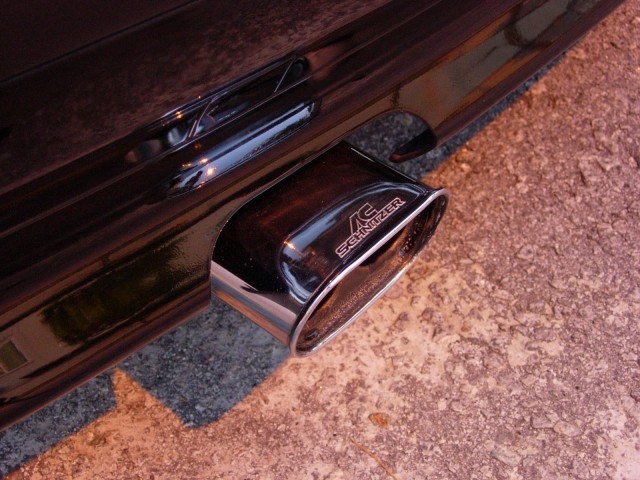
Dirty exhaust tips
Cleaning
I started by foaming down the whole car, wheel wells and wheel with All Purpose Cleaner,
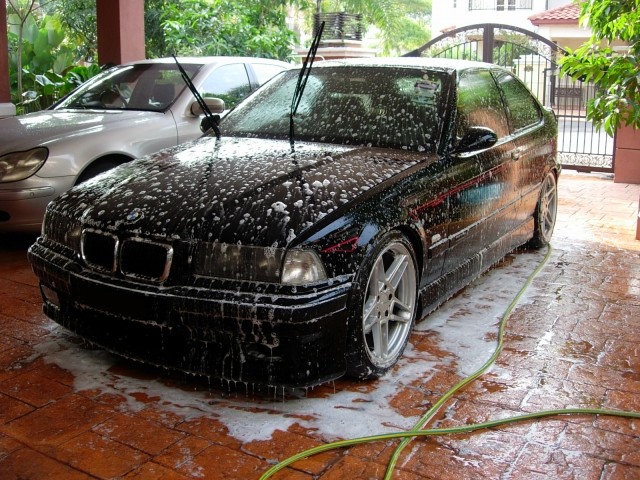
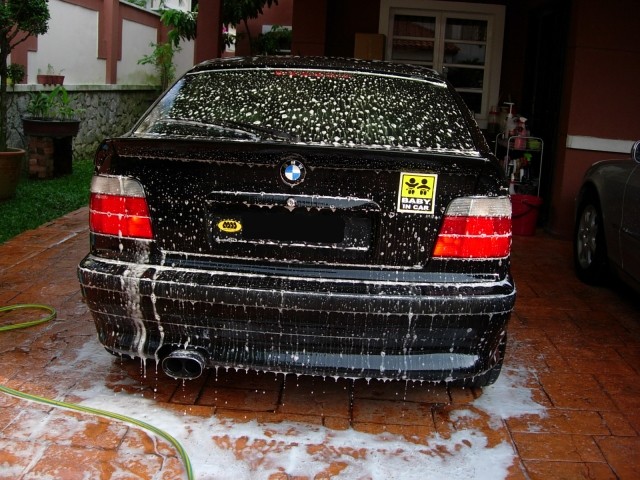
While the cleaner is dissolving the dirt, the wheel wells were sprayed with Super Degreaser. Then the whole car is thoroughly rinsed down.
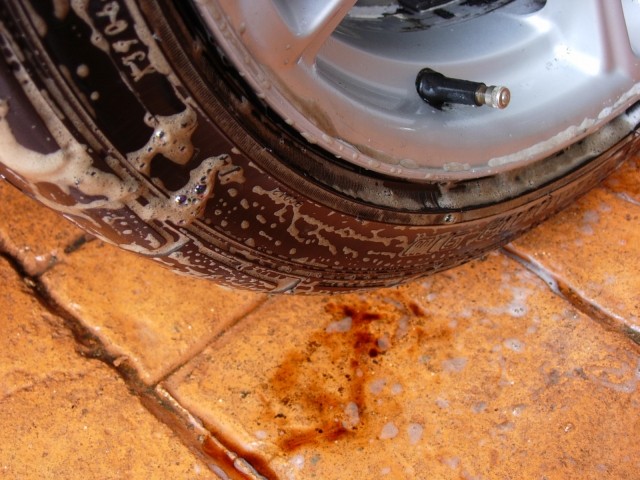
Then the tires were cleaned using Super Degreaser diluted at 4:1. Look at the brake dust dripping off the tires!
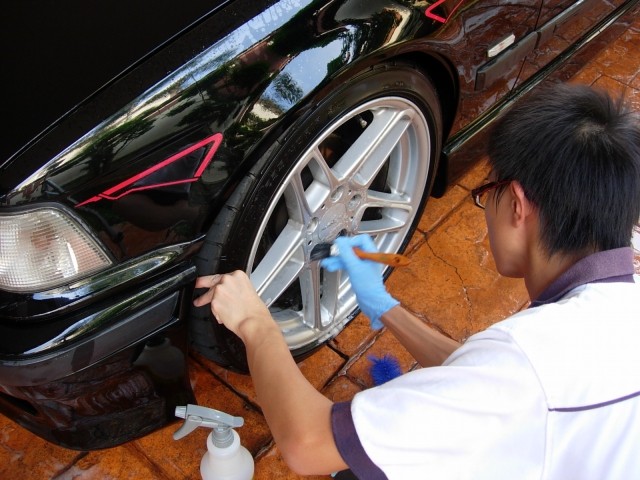
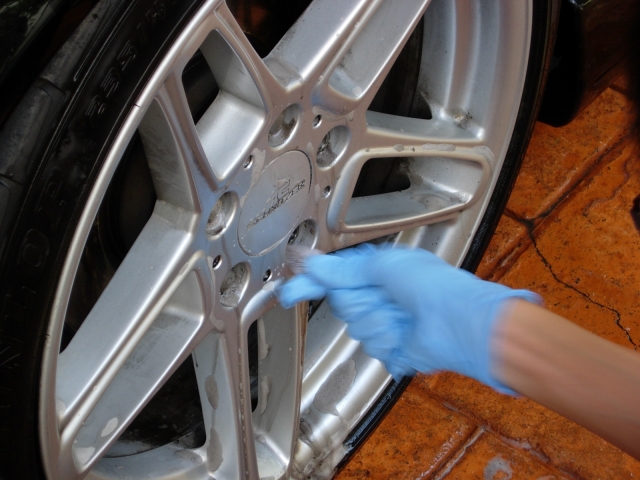
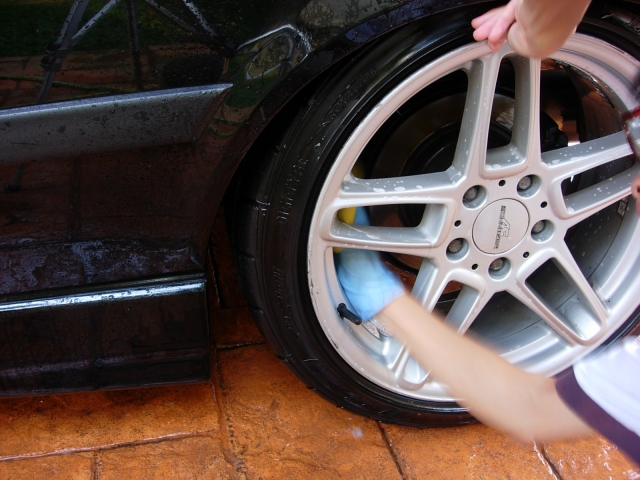
Wheels were also cleaned with Super Degreaser at 4:1. First using a paint brush, which was to gentle to release any dirt, then a small bottle brush was used to get in between the lug nuts and the wheel. A bigger brush for the back of the wheel, and a sponge for everywhere else and behind the spokes. Wheel Brightener would’ve made the job easier.
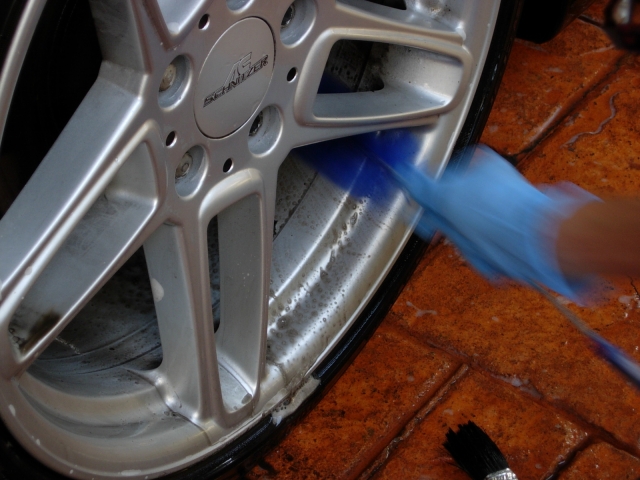
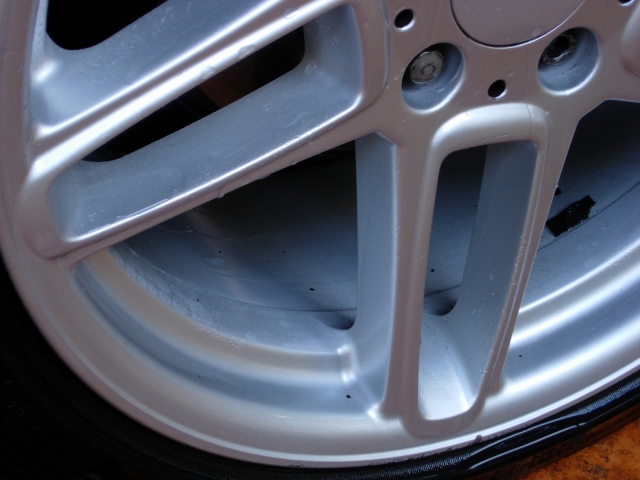
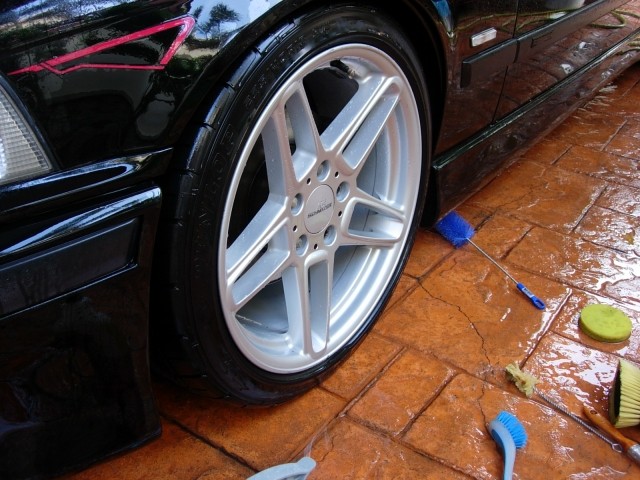
Clean wheel! A bit disappointed because it would’ve been better with an acid-based cleaner.
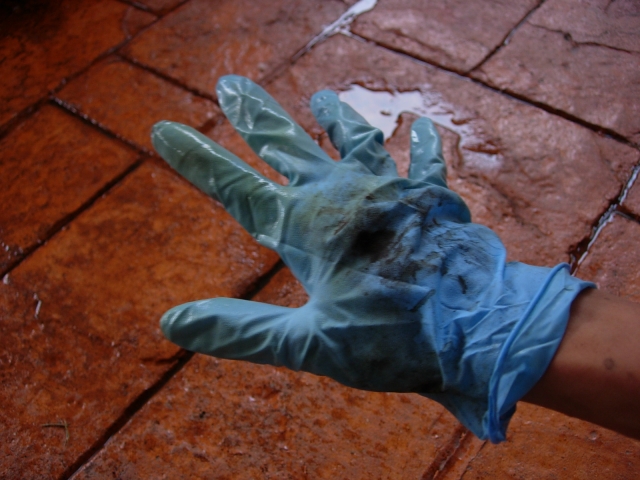
And a dirty glove… LoL
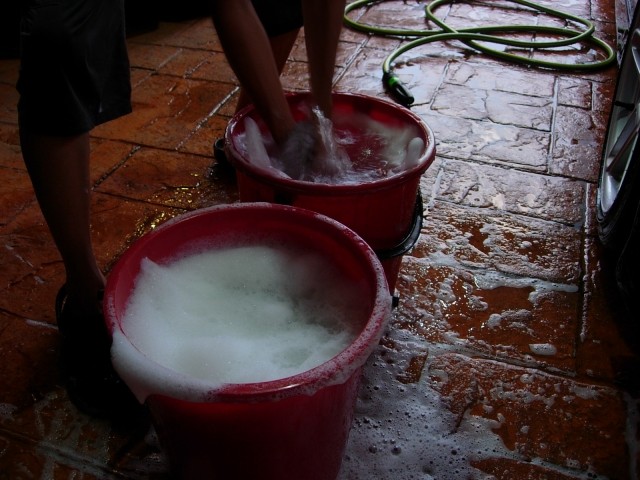
The car is then washed with the two-bucket method and
Paintwork
A test spot was carried out on the hood. Two passes of M83/W-8006 and one pass of M82/W-9006 gave this result.
So the combination that is decided to be used throughout the car is two passes of M83/W-8006, more if necessary and one pass of M82/W-9006 to finish.
Trim and certain unpainted surfaces were then taped off to prevent polish from discolouring the trim.
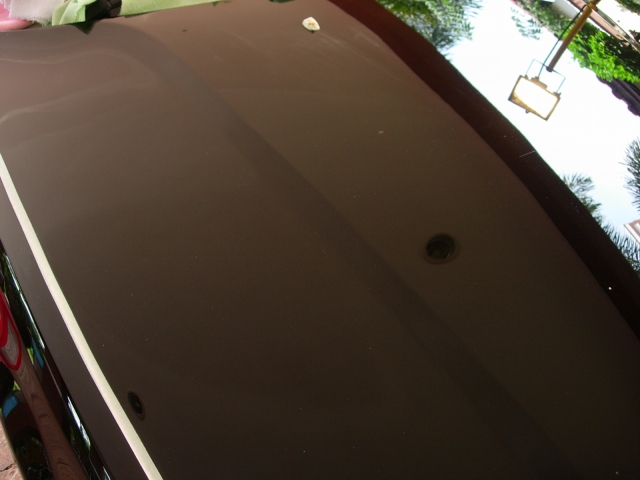
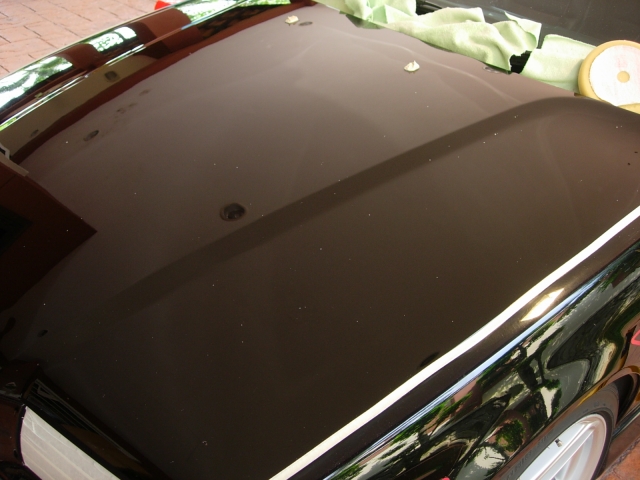
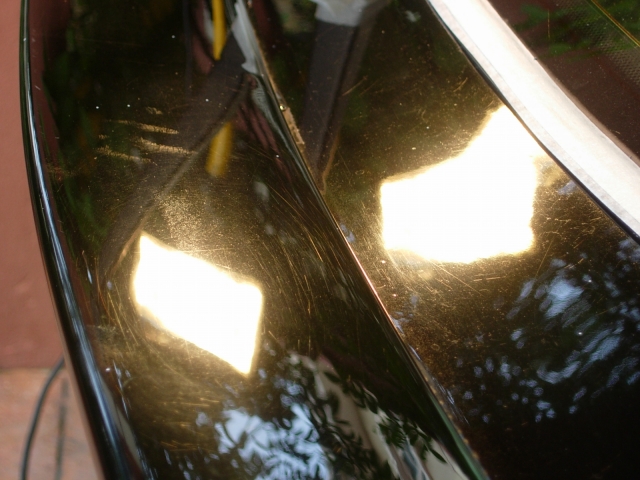
The hood of the car was in the worse condition, it has very heavy amount of waterspot etchings, the typical swirl and a lot of Random Isolated Deep Scratches (RIDS) caused by cat claws.
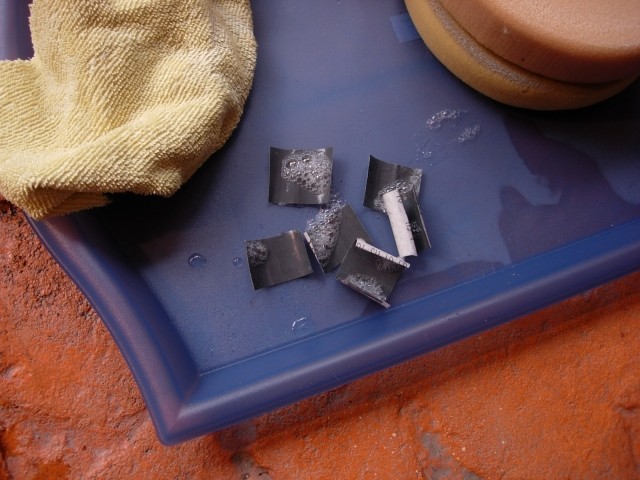
M83 did not remove any of them, so M85 and a wool pad was used, even then the scratches were only lessen very slightly. The RIDS were then wetsanded using very light strokes.
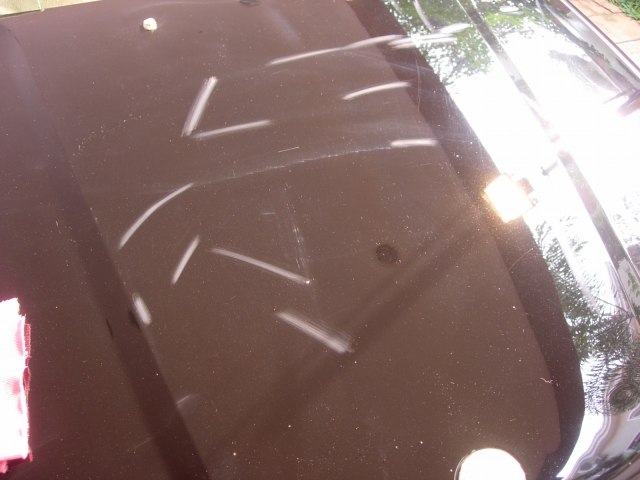
The whole hood was then compounded with M85 and the 6” Wooly pad, certain areas received several passes. Followed by a pass of M83/W-8006 and M82/W-9006 each.
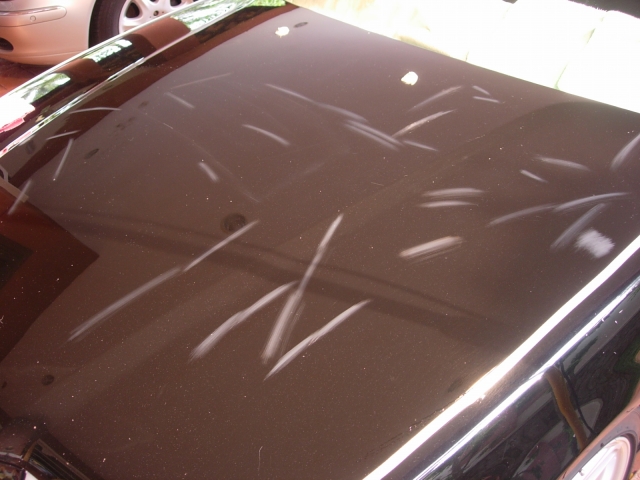
This removed most of the cat scratches and made the deeper ones less obvious. The white spots in the pictures below are stone chips (the owner brings this car to the track!)
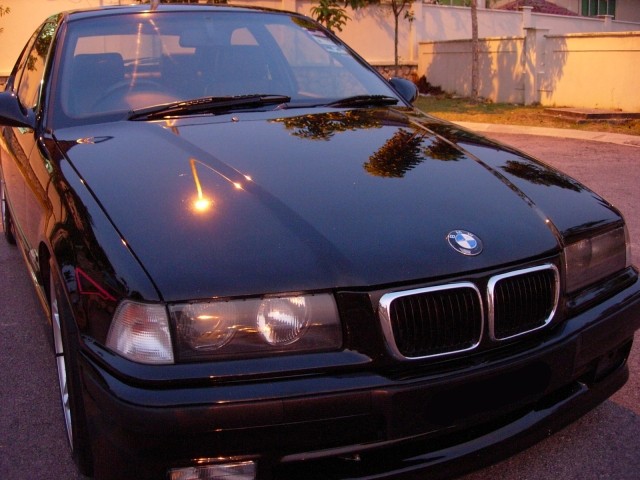
Hood After :

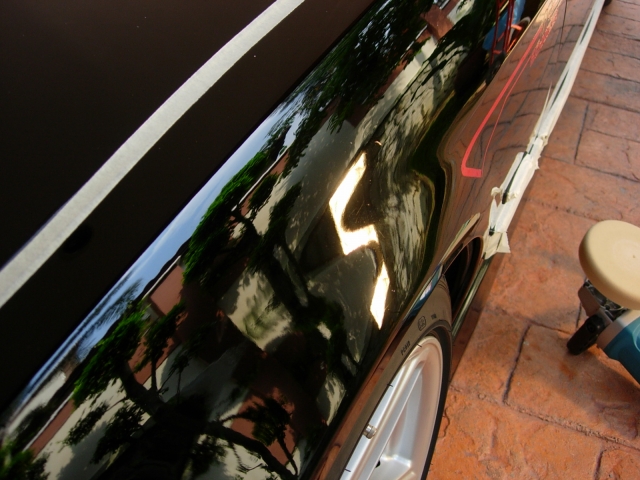
The rest of the paintwork received two or more passes of M83/W-8006 and one pass of M82/W-9006. The panels were not perfect, most still had some RIDS. Because there wasn’t enough time, the front and rear bumper, side lower panels(below the door) were polished with Autoglym Super Resin Polish.
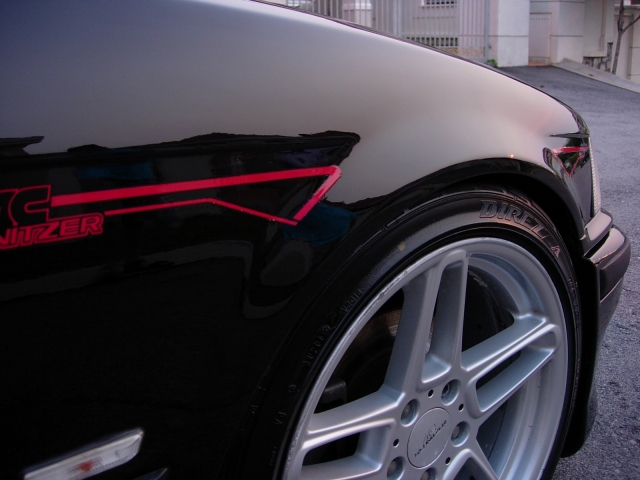
Driver front fender before :
Driver front fender after :
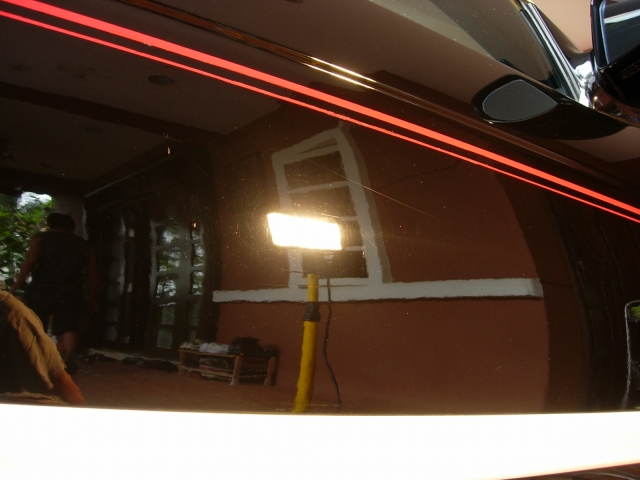
Driver door before :
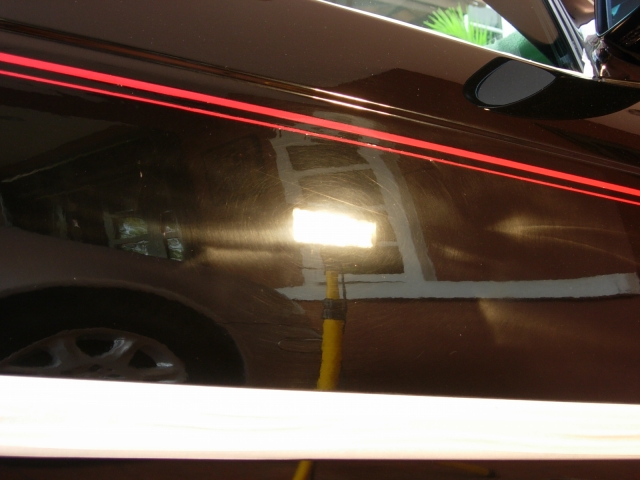
Driver door after :
Passenger front fender after (forgot to take before) :
Passenger door before :
Passenger door after :
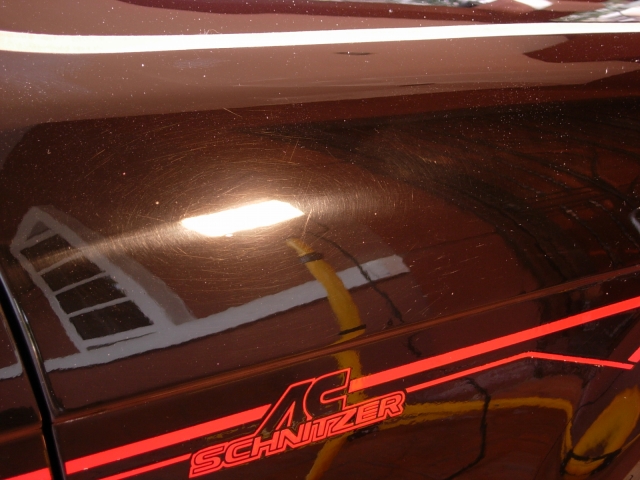
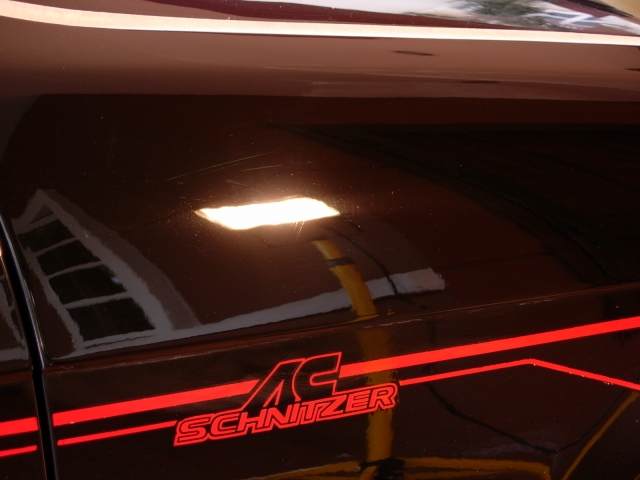
Passenger rear fender before :
Passenger rear fender after :
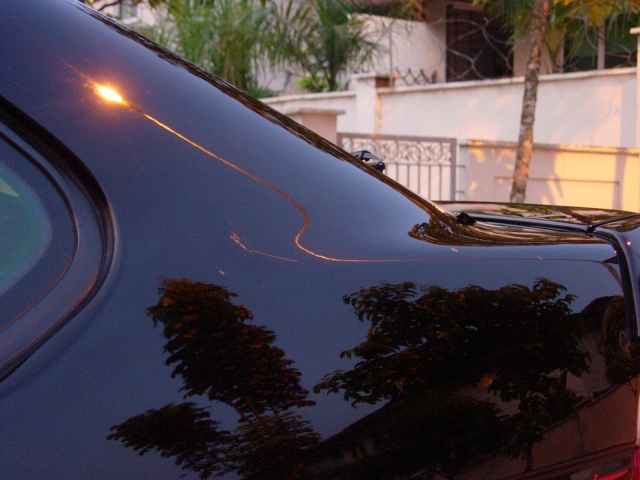
Boot before :
Boot after :
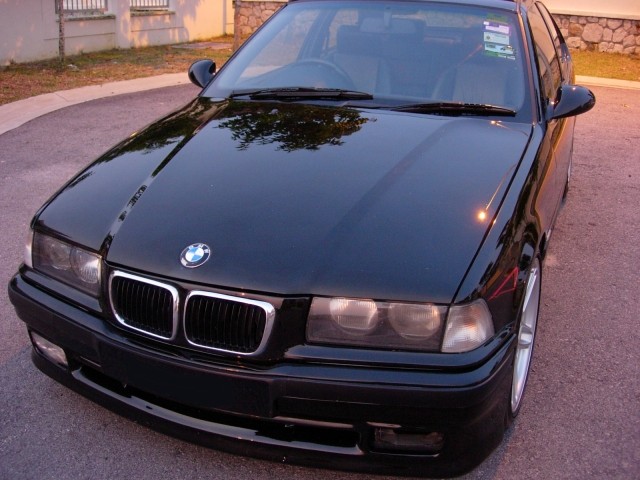
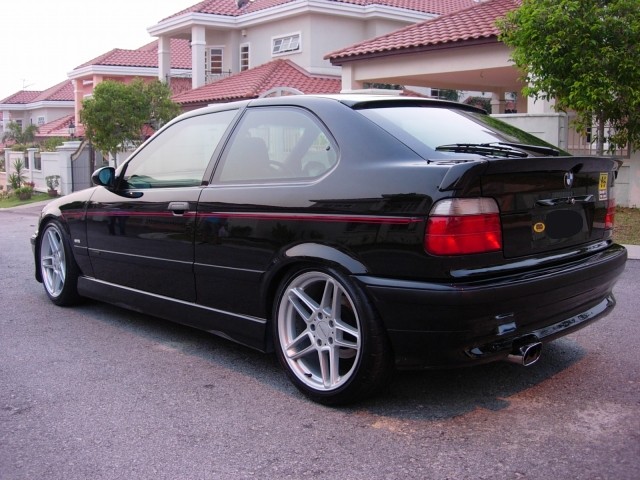
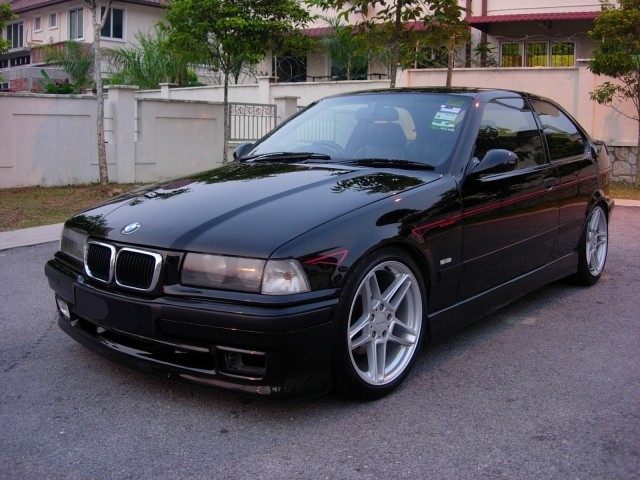
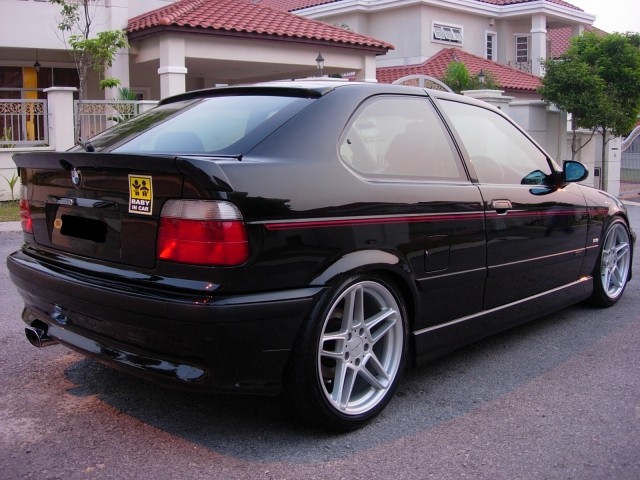
Didn’t have time to took pics, so after polishing, car is then sealed with M21. Exhaust tips polished with Turtle Wax chrome trim something something…Trim received Meguiar’s Trim Detailer.
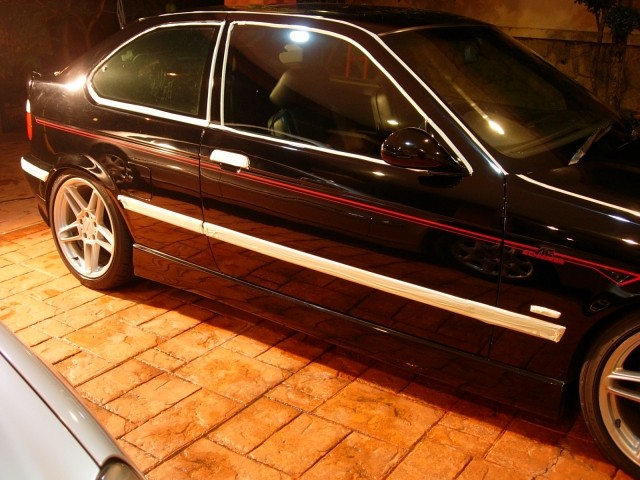
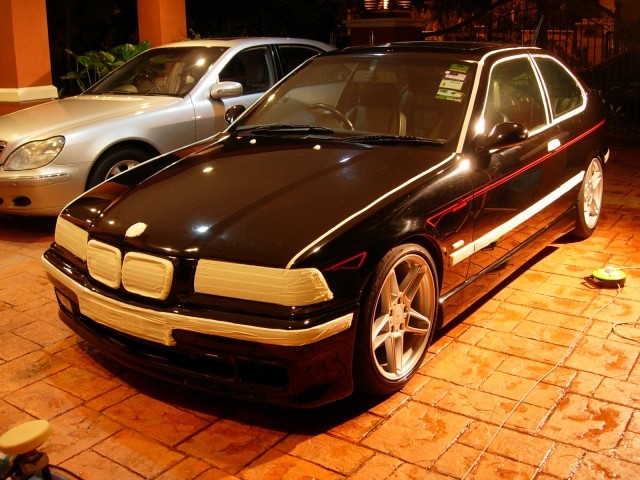
After pictures, sorry it was 7pm+, and there wasn’t much light left, hope these after shots are okay.


0 comments:
Post a Comment