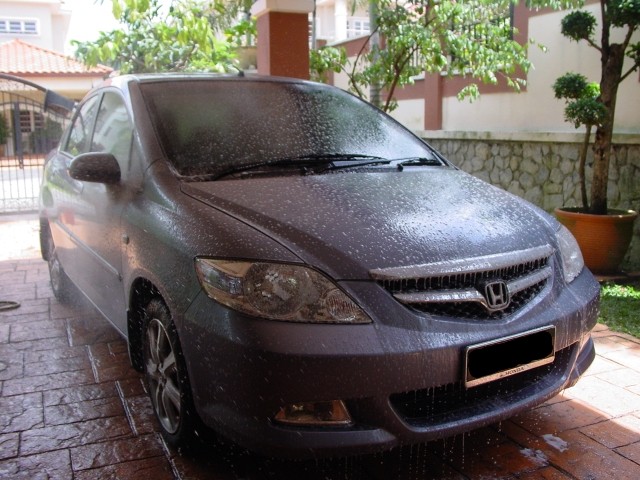
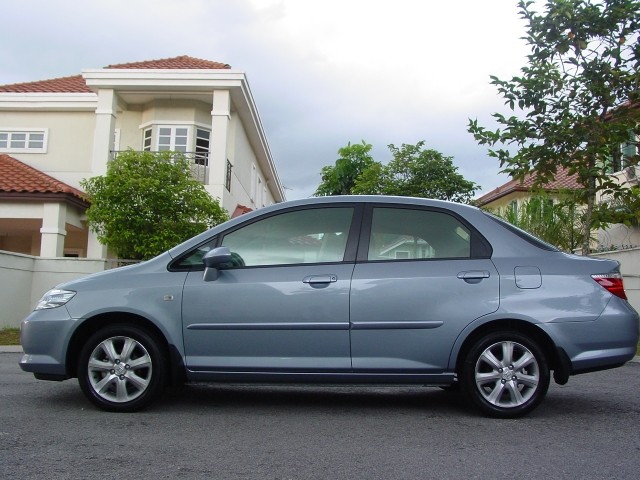
Honda City Metallic Blue
When the car came in, the owner pointed the main problem that needed to be resolved, tar. The newly tarred road splashed lots of tar, hitting mainly the front bumper and the whole of the driver’s side area, from front door to rear quarter.
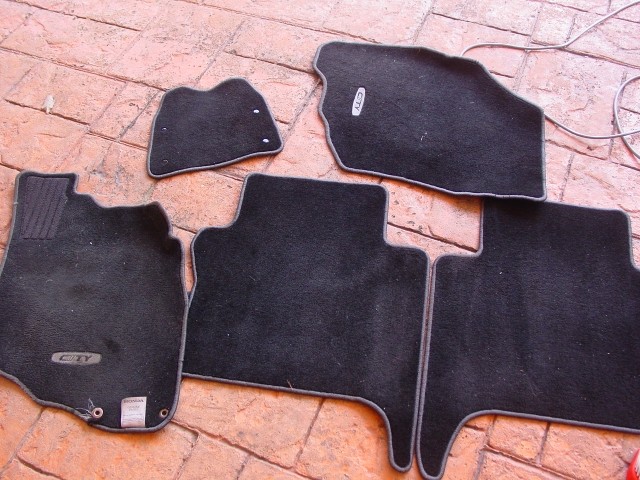
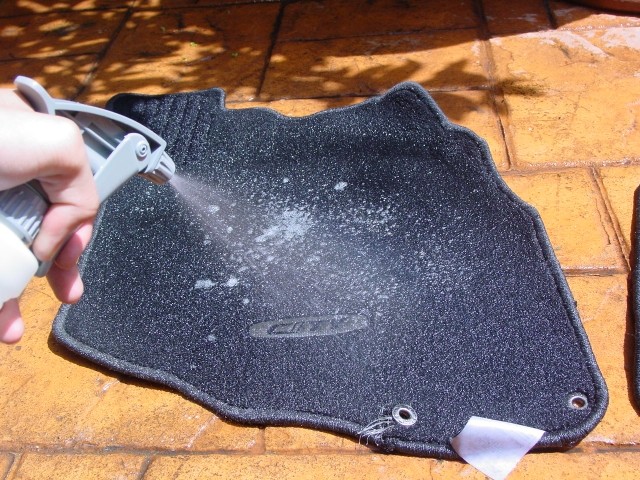
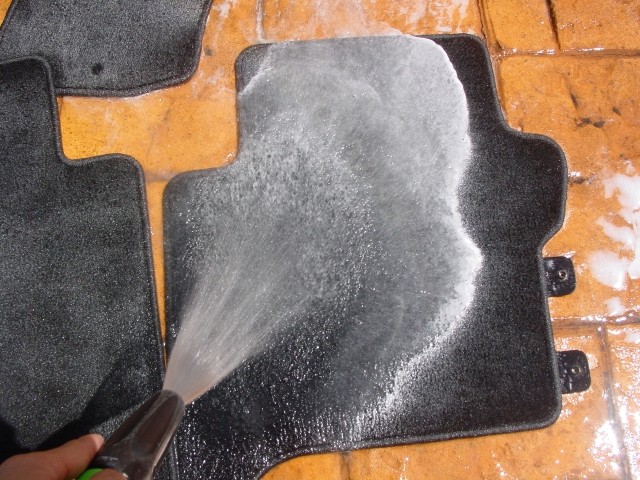
The interior had the usual dust and dirt. The carpets were never shampooed before, and were very dusty.
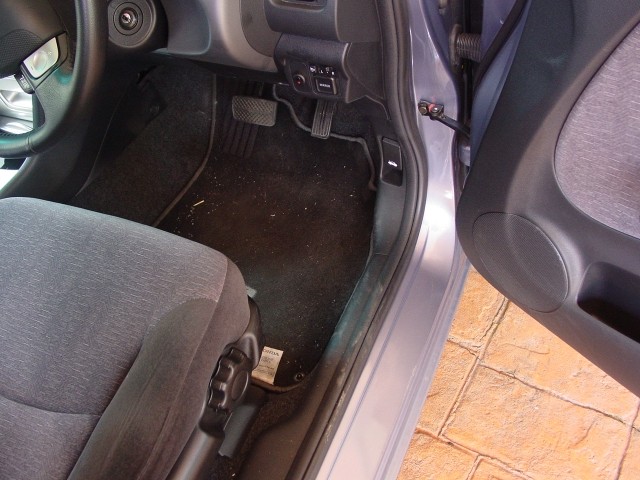
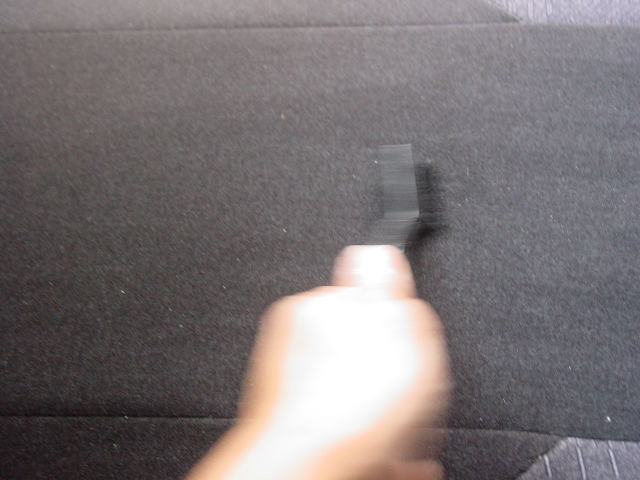
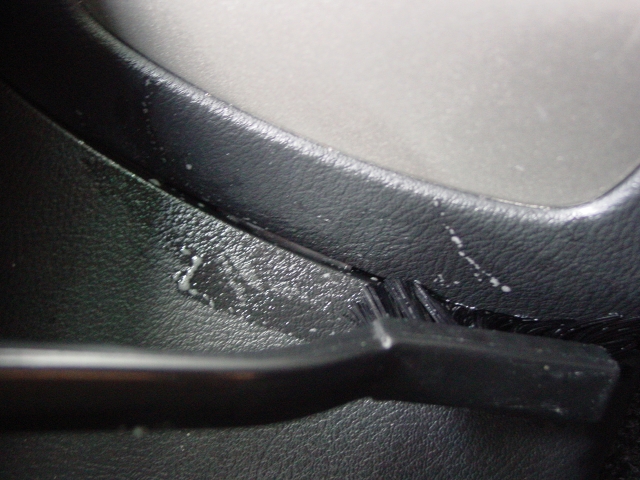
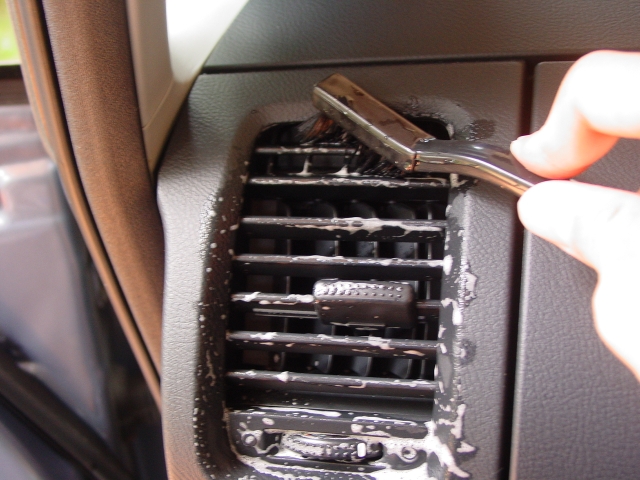
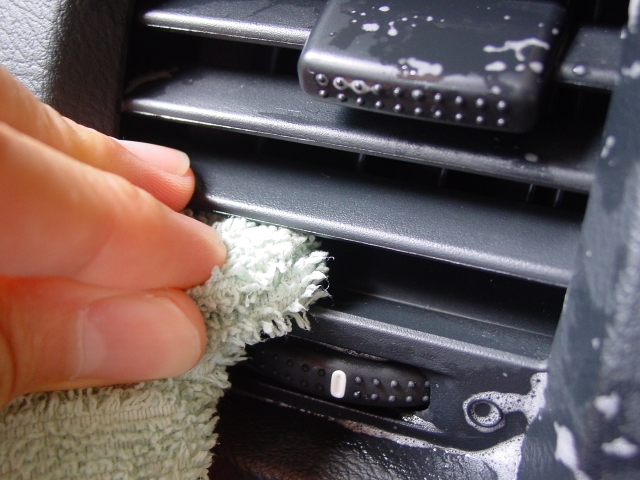
I started out by cleaning the interior first, and then move on to the exterior. The fabric mats were removed, vacuumed, scrubbed with Meguiar’s All Purpose Cleaner and an upholstery brush, rinsed, and hung dry. All interior plastic and vinyl was cleaned with APC as well. A nylon brush was used to get some unwanted particles out of small crevices and from the air vents, then wiped off with a damp towel. The seats got brushed with a dry nylon brush to bring up any debris within the fibers of the fabric and vacuumed out.
All plastics and vinyls then got dressed with a non-greasy protectant.
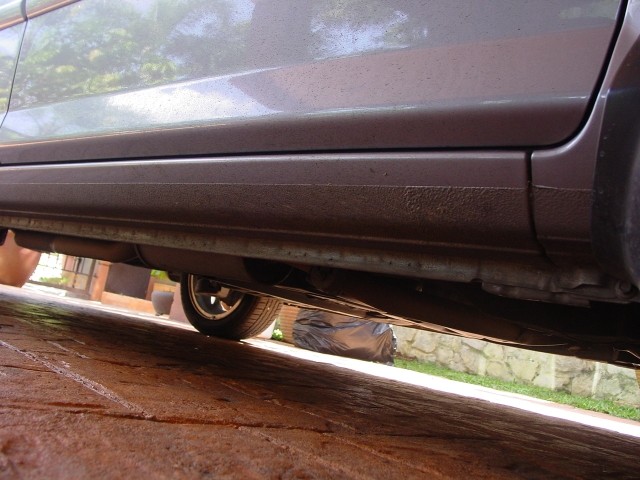
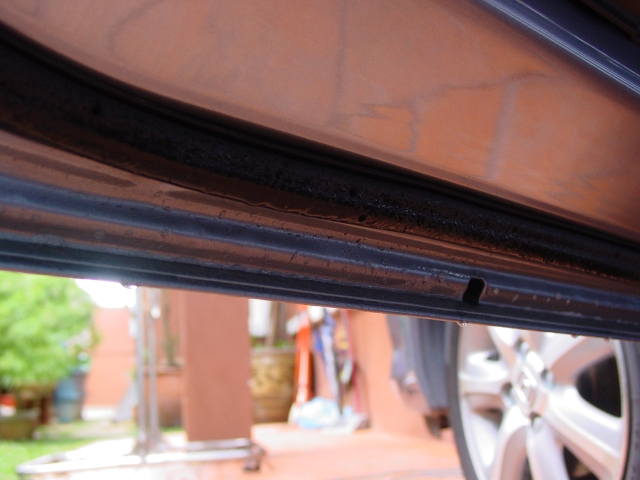
Door jambs got cleaned the same way using APC, under the doors were sprayed with APC directly because those areas were dirtier.
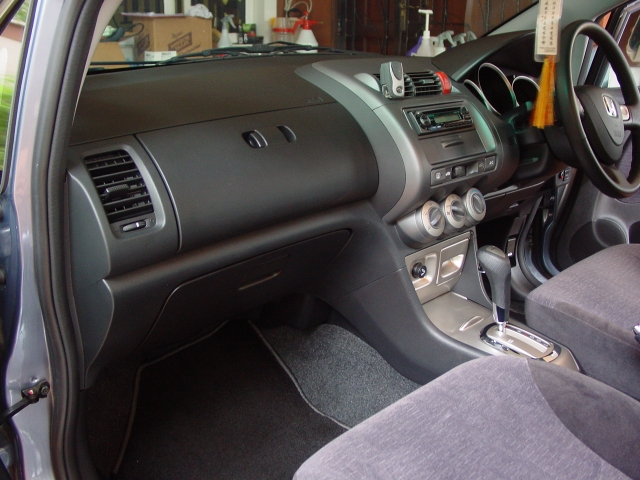
And the finished result of the interior.
Exterior
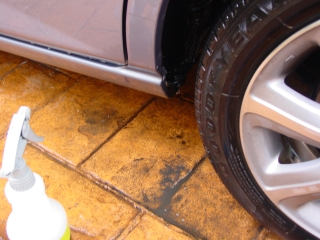
I started by pre-soaking the car with
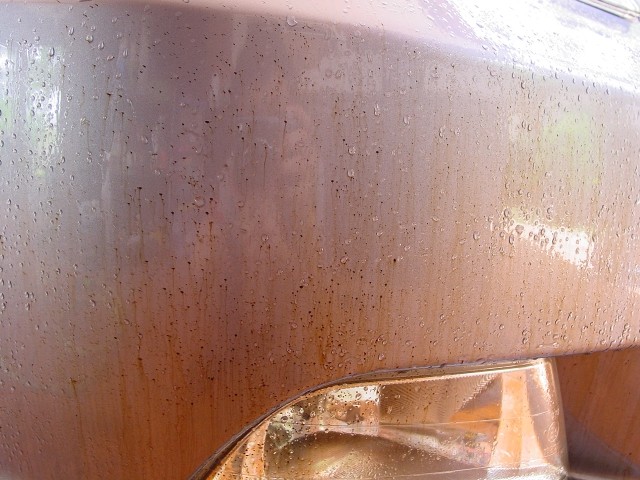
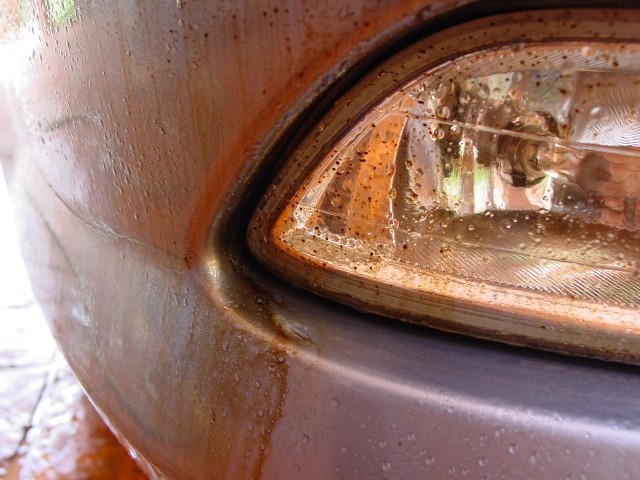
Waited a few minutes and rinsed off. Then sprayed the tar affected areas with a Tar Remover spray.
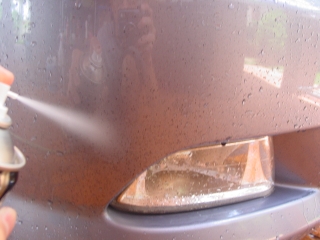
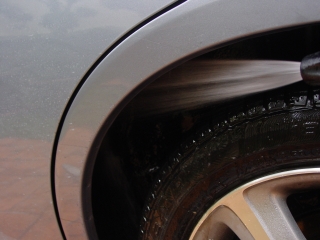
You can see in the pictures below of the Tar Remover dissolving the tar.
After giving it a few minutes to fully dissolve the tar, those areas got soaked with
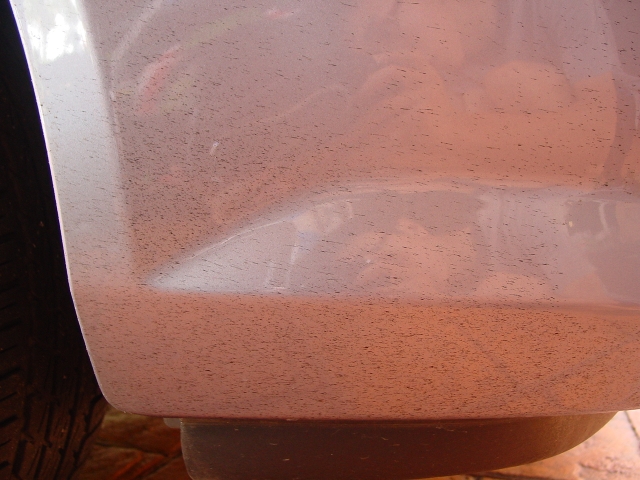
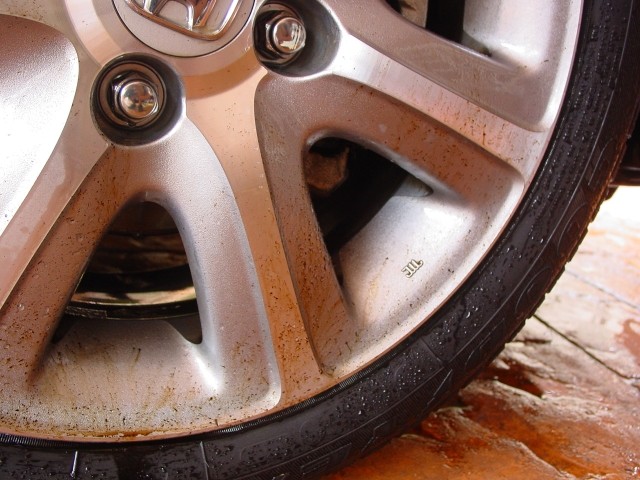
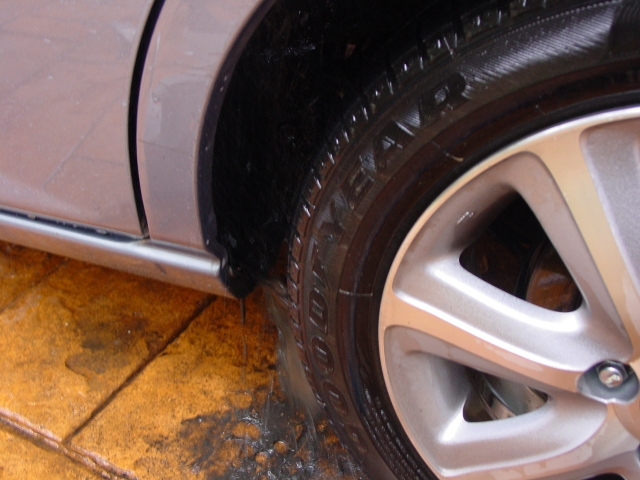
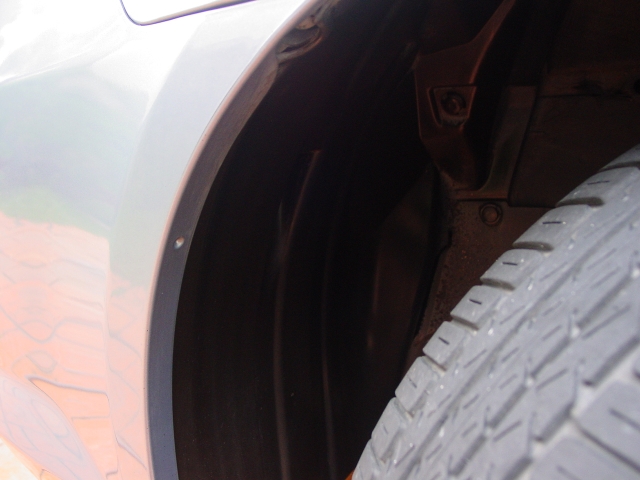
Getting at the back of the wheel with a wheel brush.
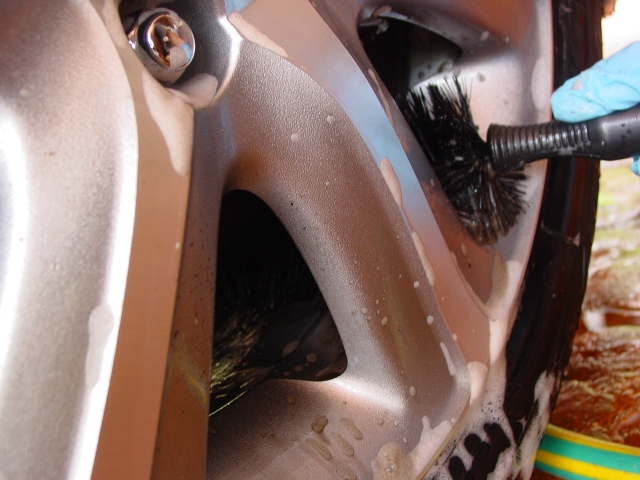
I was blessed that the brake dust came off with ease, unlike the 350z, even with Wheel Brightener, it wouldn’t shift. *Shrugs*
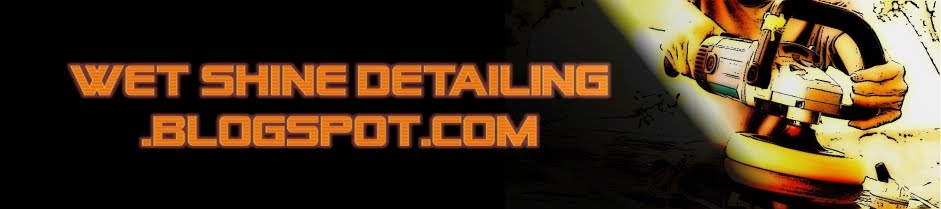
This is after spraying and agitating Super Degreaser, you can see that dirt is already dripping off the wheel well.
Rinsed off with a Claber nozzle attached to a garden hose, and watch all the dirt being flushed away.
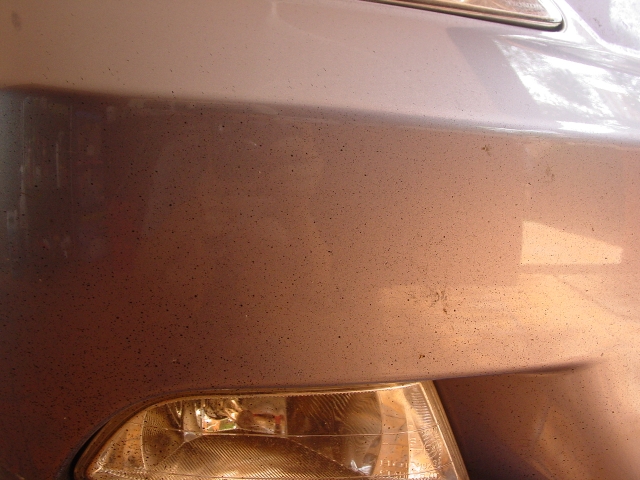
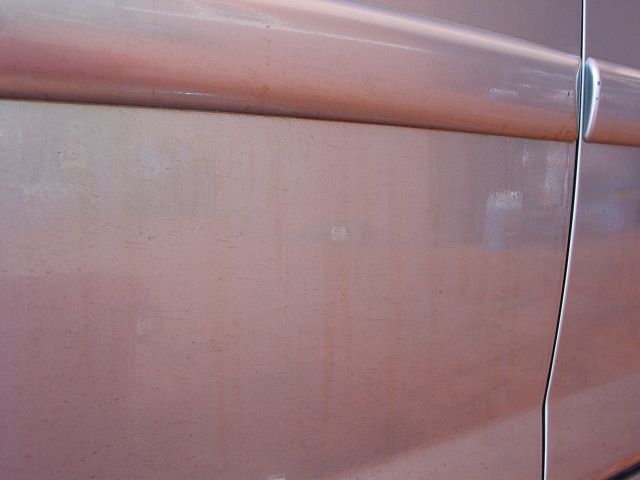
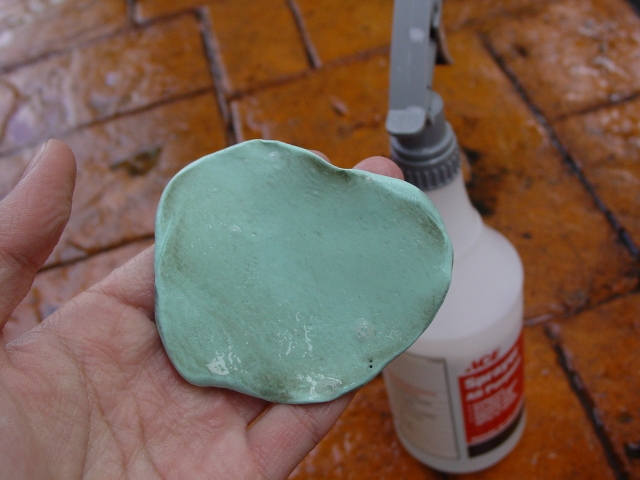
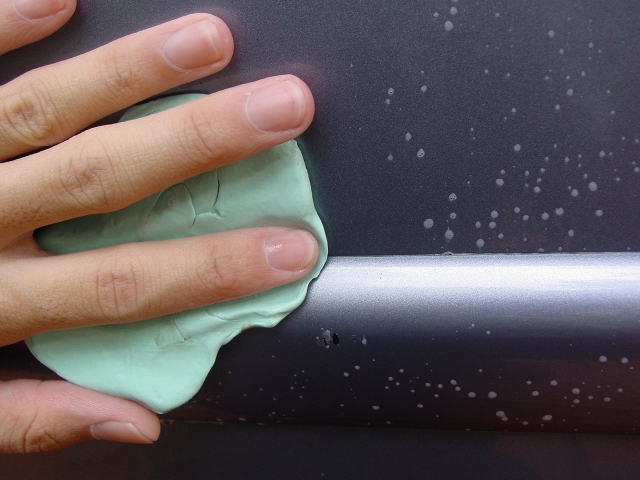
After the wheel wells, wheels and tires has been cleaned. The car is washed with Meguiar’s Shampoo Plus using the two bucket method. The left over shampoo solution is then poured into an empty spray bottle to be used as a clay lubricant. The whole car is clayed. Being the horizontal surfaces having the most contamination and the lower panel of the door.
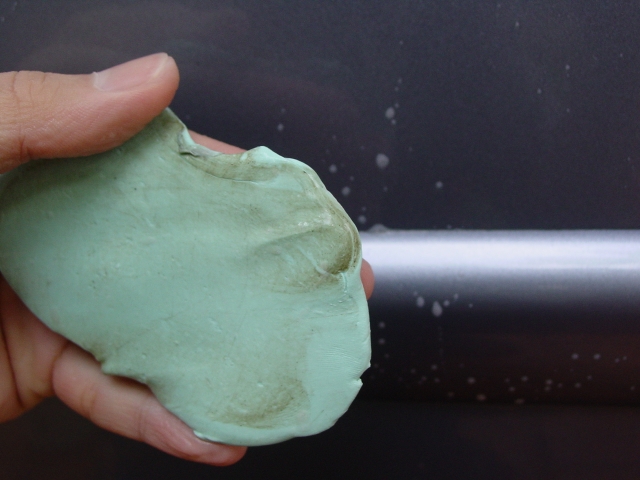
This is the clay after the whole roof, not too bad. J
The point between the door and door moldings were more contaminated than the door itself. Maybe it’s because there’s a space for contaminants to accumulate and bond to the surface. *shrugs again*
After claying, the whole car is rewashed, and removed any tar that was missed earlier.
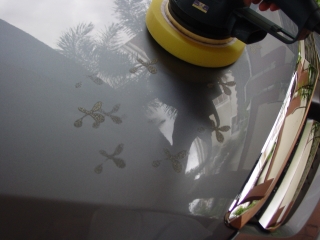
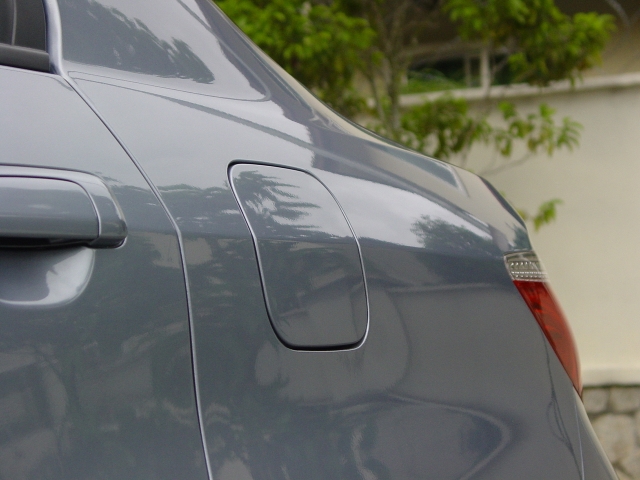
With the car washed, clayed and dried, it’s time to polish the paint. As this is only a simple detail, there will not be any paint correction. However there was one area on the hood which stuck out like a sore thumb.
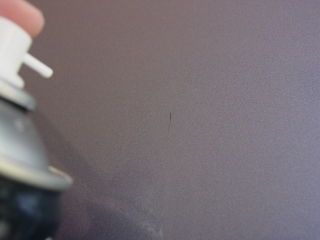
Here’s a picture of it, I’m not sure if you can see it, if you look closely near the left hand side of the picture within the box, you can see some long white lines.

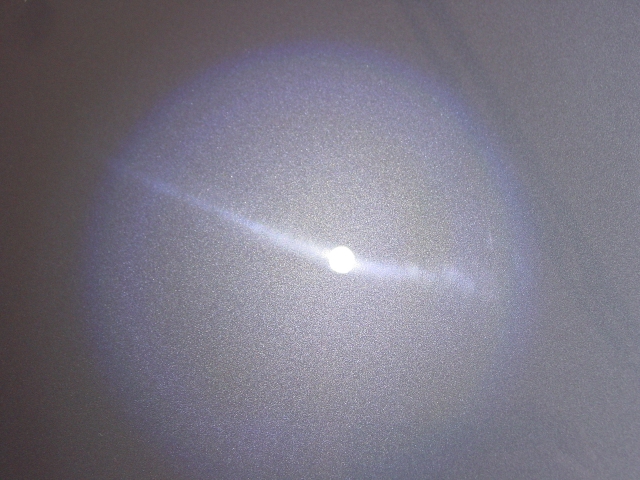
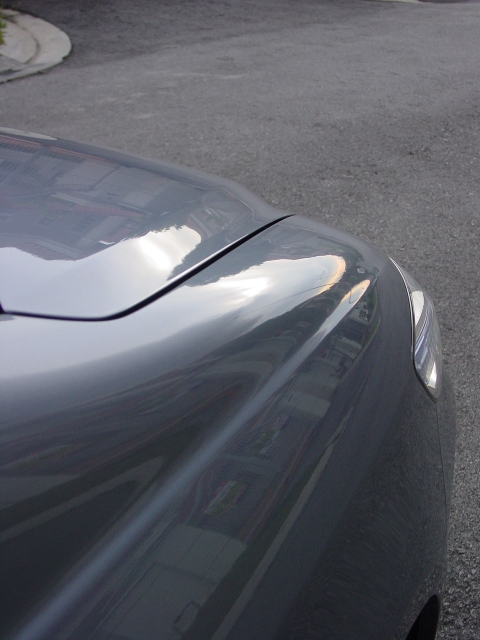
This is what it looks like under an LED torchlight.
This definitely had to be corrected. When I asked the owner if there was any hard scrubbing in that specific area, he pointed out that it was actually done by a guy who was trying to demonstrate to him a polish that he was selling! LOL! A polish that actually puts in more scratches than removing them? Gee….I dunno…”If it doesn’t say Meguiar’s, it doesn’t touch my car” haha!
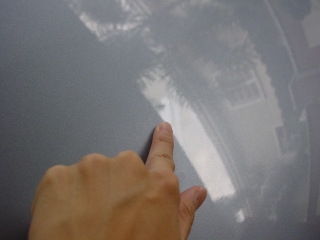
So I gave it a pass of M83/W-8006/600 rpms, and it produced this finish.

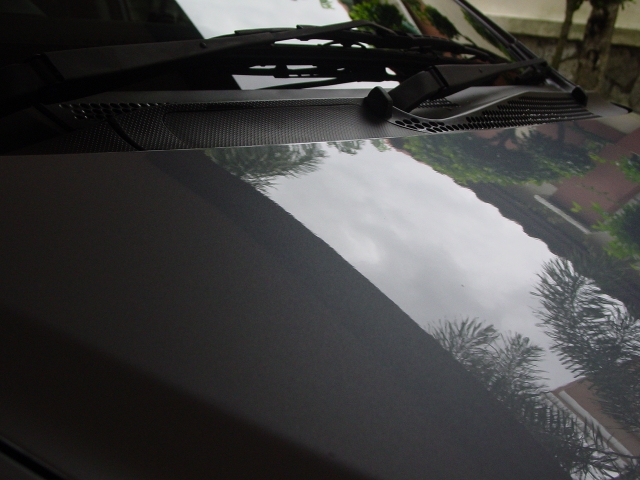
Under natural lighting conditions, you can’t see those lines anymore.
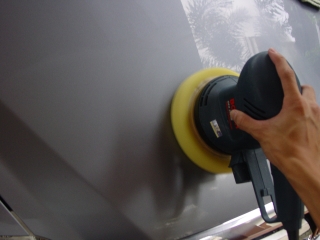
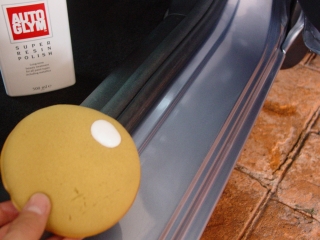
The rest of the paintwork is then treated to M80 Speed Glaze/W-8006 Polishing Pad and the Bosch Random Orbital.
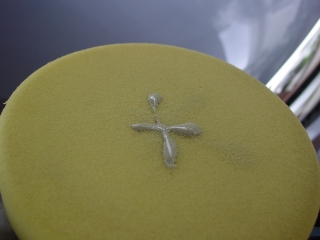
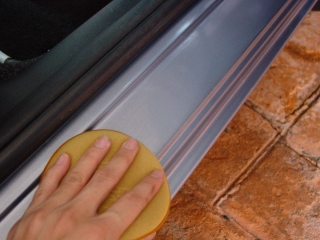
Putting a small amount of product, dabbing it across the surface and working it in, in a cross-hatch (#) pattern.
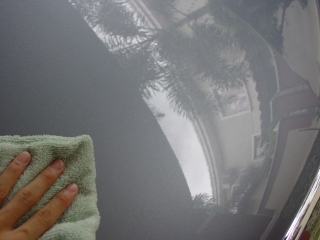
The abrasives in the polish broken down, leaving an almost clear wet film on the surface. Buffed off with a micro-fiber towel.
The polishing pad is cleaned using Meguiar’s Last Touch (diluted 1:1) after about 2-3 panels to remove dirt and excess polish on the pad.
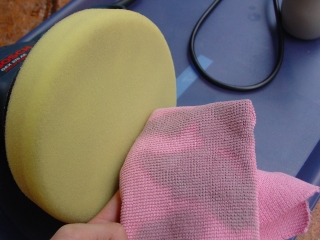
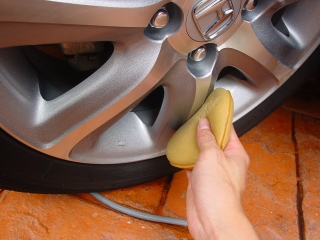
After polishing, the paint is then sealed with Meguiar’s #21 Synthetic Sealant via ROB and a W-9006 Finishing Pad. While waiting for the wax to pass the swipe test, the wheels were turned to one side, to make dressing the plastics in the wheel wells easier. Door jambs were treated with a polish by hand, the wheels received the same treatment.
The slightly dirty engine got sprayed with Last Touch (cut 1:1) and wiped dry.
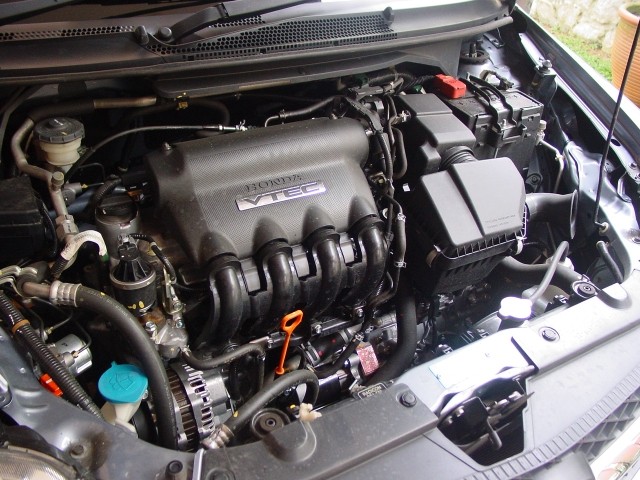
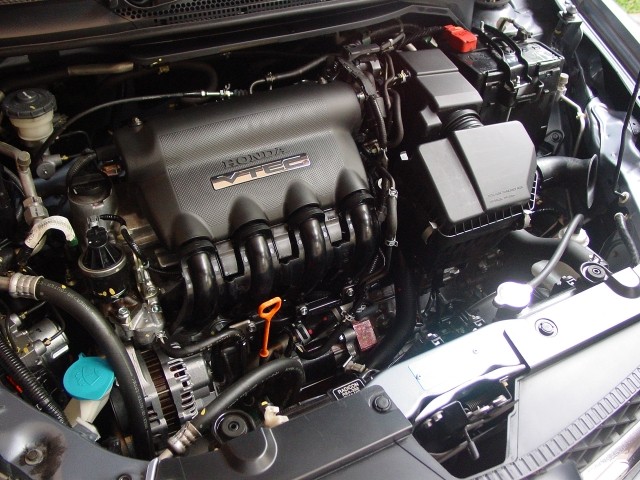
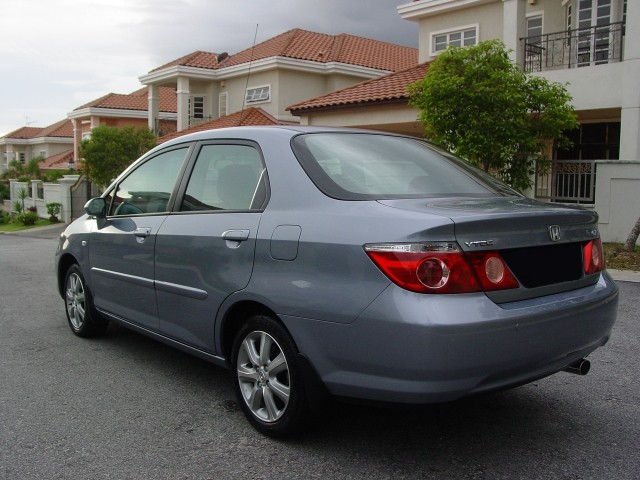
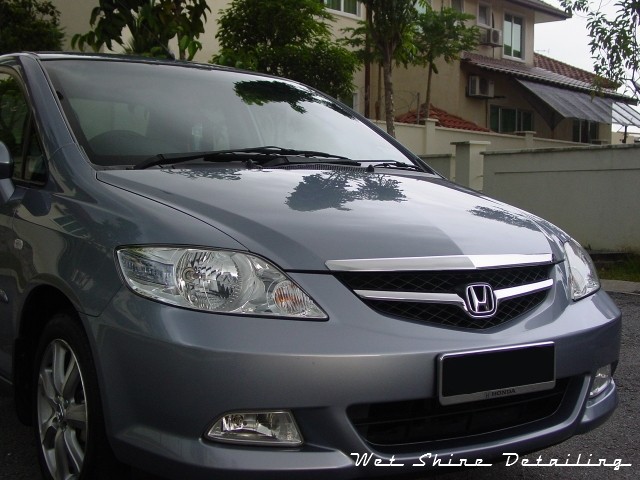
The result.
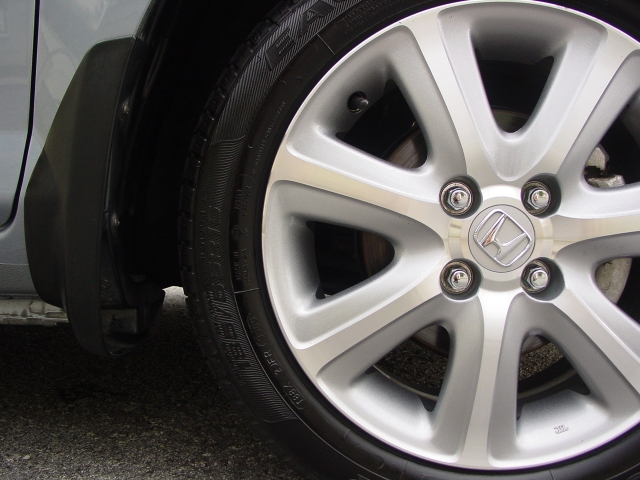
Wheels so clean you can eat off of it. Haha…

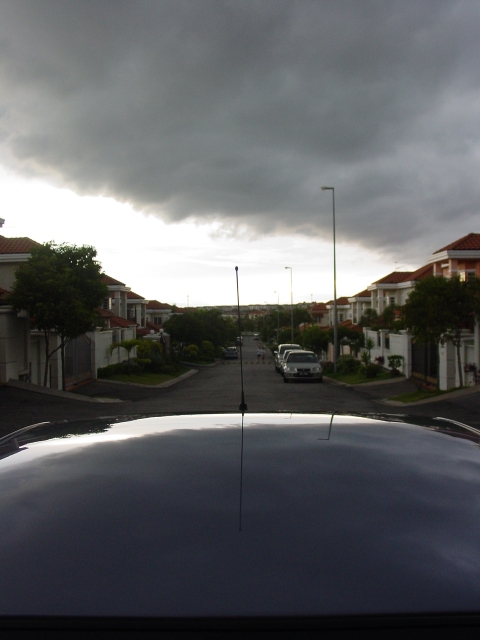
And then the dark clouds started rolling in, light was going away and had to do with two more shots.
Hope you enjoyed reading this and thanks for looking! Feel free to ask if there are any questions =)


0 comments:
Post a Comment