My blog has moved!

Please visit
http://wetshine.net
for new content and update your bookmarks.

Welcome to Wet Shine Detailing!

To navigate this blog, you can use the Post Digger or Label Cloud located at the bottom of the page. Use Google Custom Search to search for a specific content such as 'Honda Civic' or 'Collinite 476s'.

Search This Blog

Monday, October 15, 2007

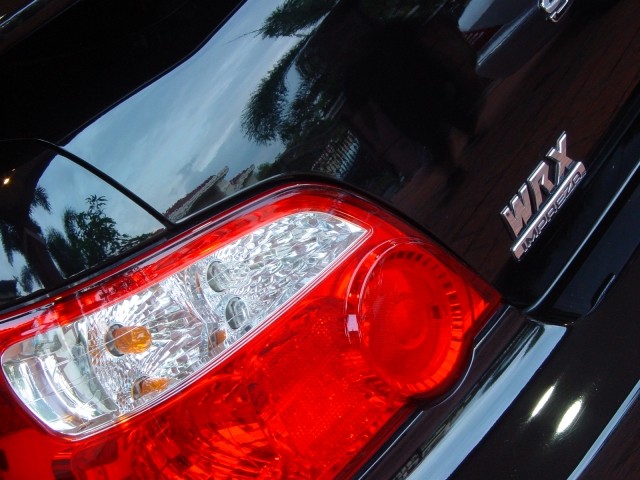
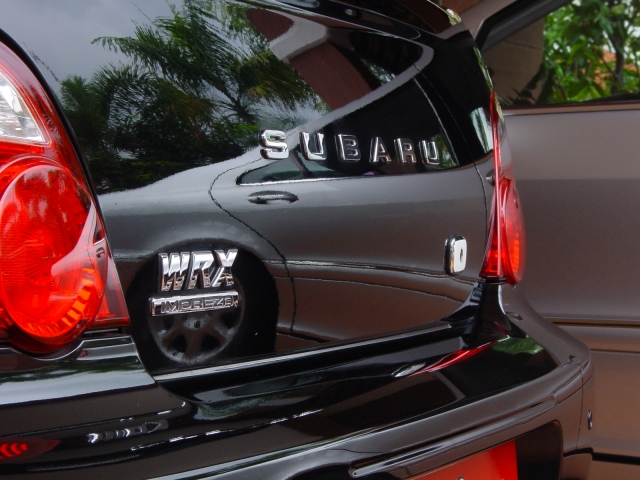
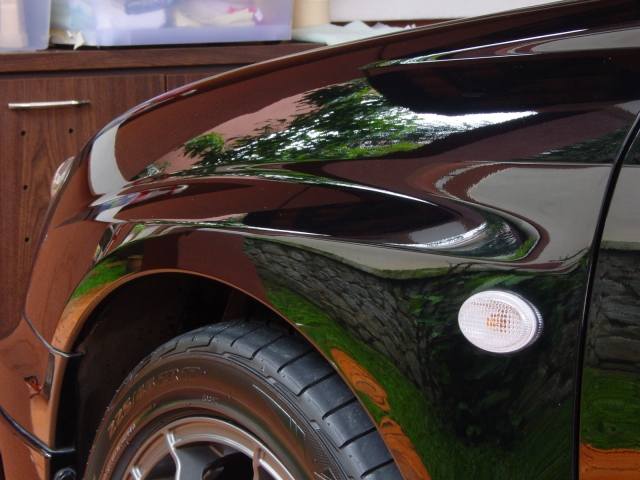
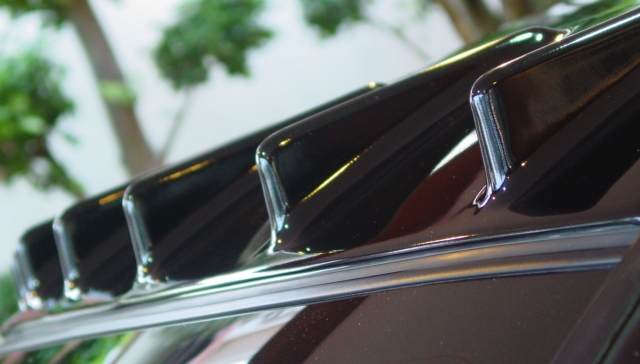
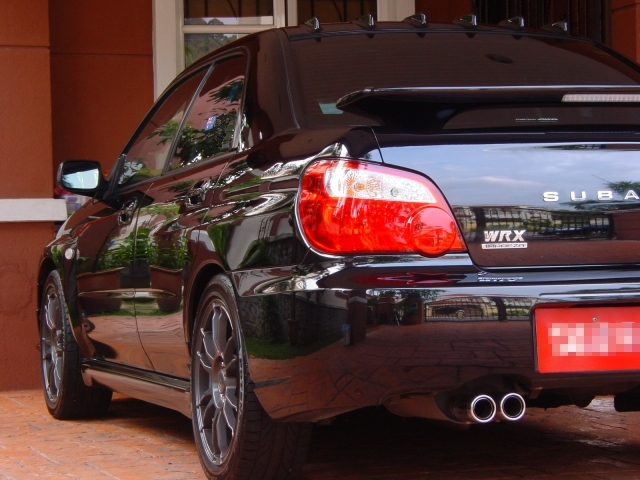
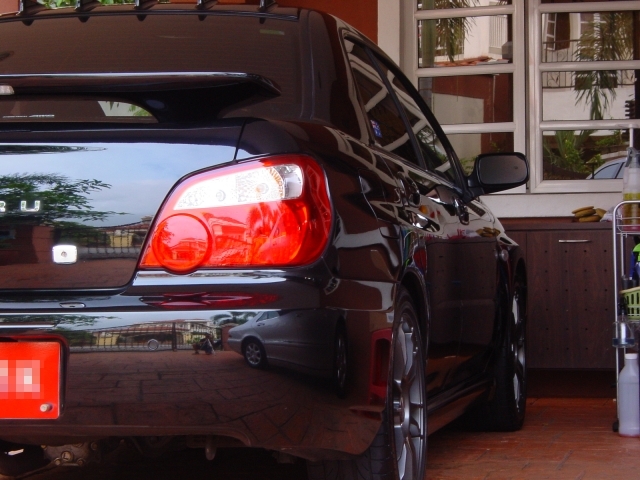
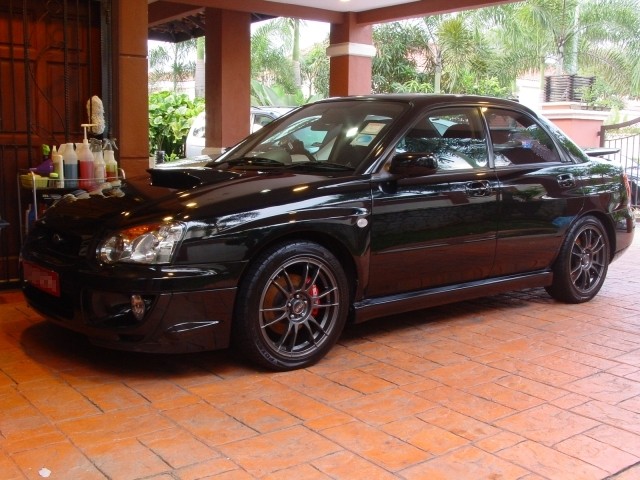
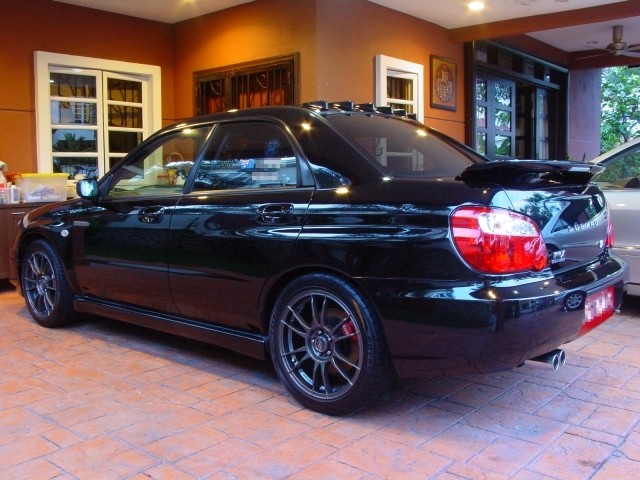
Black Subaru Impreza WRX

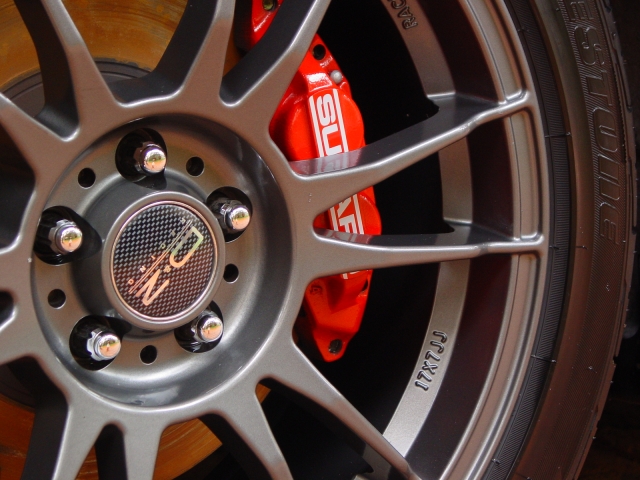
Hello, today’s car is a black WRX, which was very dirty to start with, this includes the wheel which I initially thought had a matte finish. It turned out that it was brake dust, thankfully they came off easily with Wheel Brightener. The front end of the car had a few splattered dead bugs.
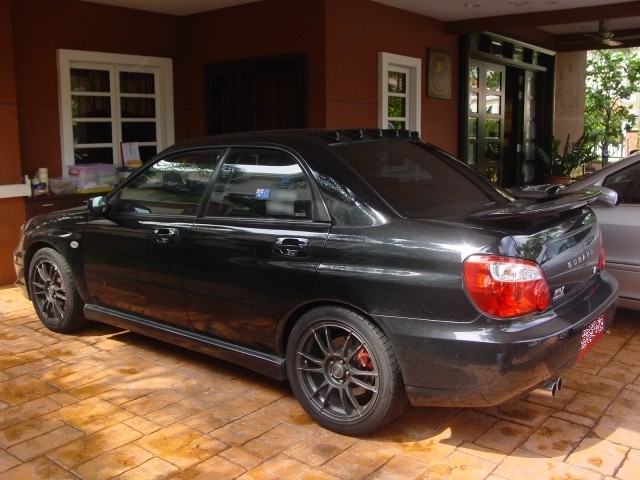
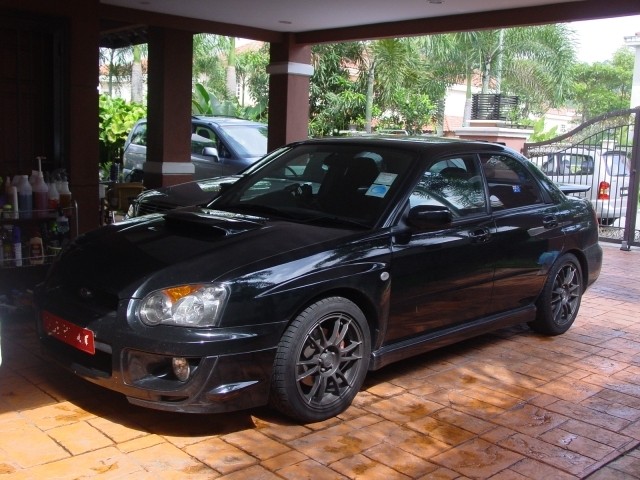
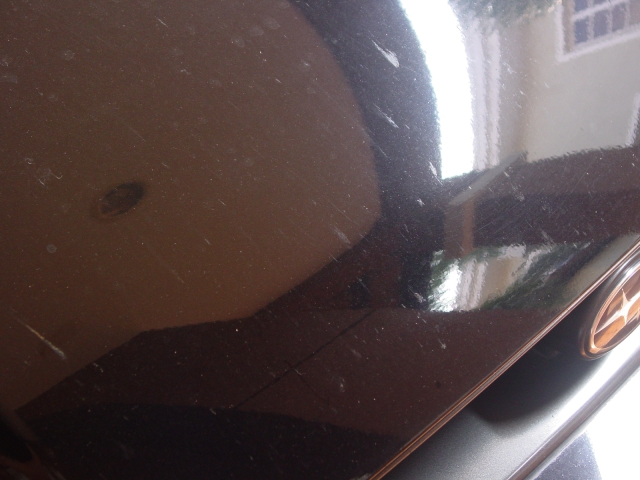
Image hosted by servimg.com

Image hosted by servimg.com

Image hosted by servimg.com

Image hosted by servimg.com

So firstly, cleaning the wheels, wheel wells and tires.

Wheel wells received Meguiar’s Super Degreaser (4:1), followed by Meguiar’s All Purpose Cleaner (4:1), this however couldn’t removed everything, the dirt was generally stuck to the plastic, I tried dressing it afterwards, but didn’t help.
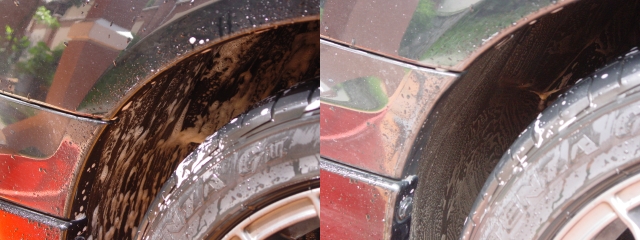
Image hosted by servimg.com

Tires cleaned with Super Degreaser, wheels were firstly sprayed with Ambersil’s Tar Spot Remover on the outside of the rim to dissolve the tar. The really large chucks couldn’t be fully removed. Then wheels were cleaned with Meguiar’s Wheel Brightener.
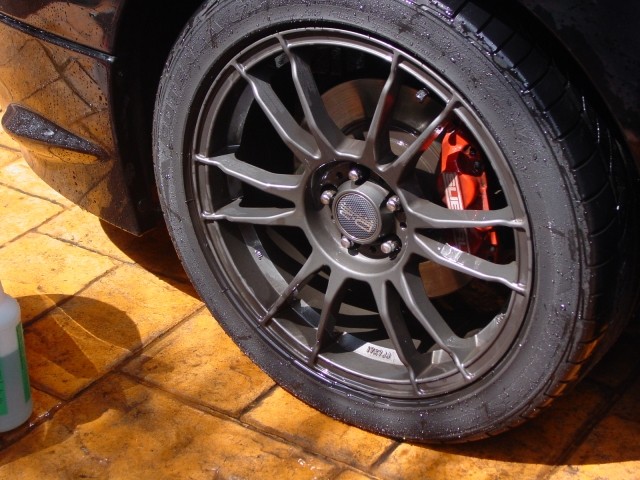
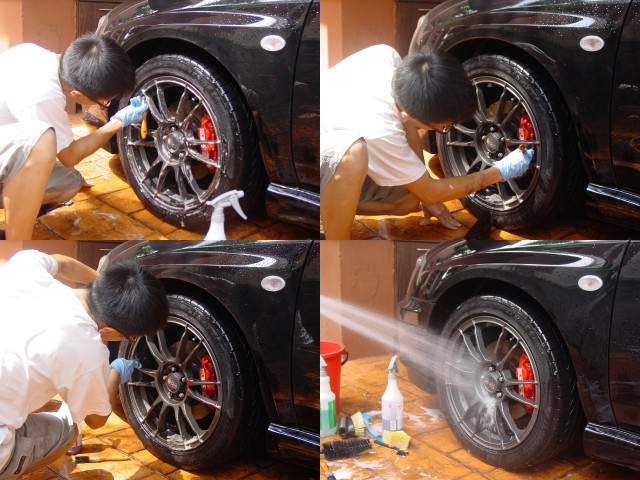
Image hosted by servimg.com

Image hosted by servimg.com

Then the whole car is foamed with a mixture of APC and Meguiar’s Hyper Wash. This dissolved the loose bug splatter and were rinsed away with ease later on.
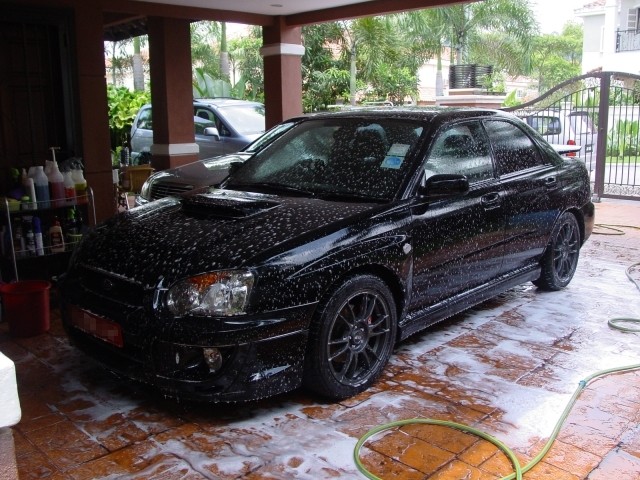
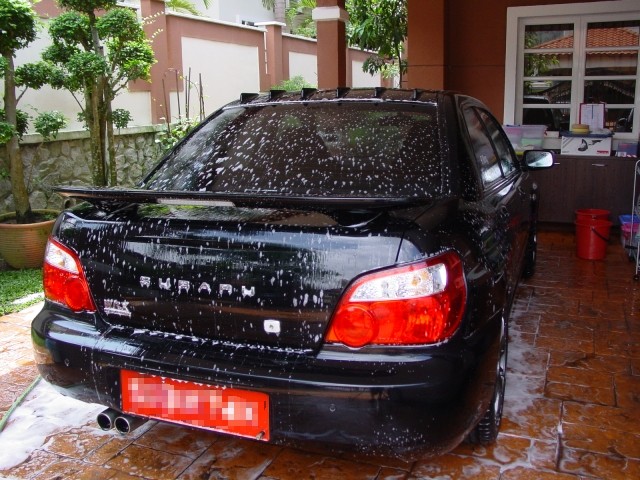
Image hosted by servimg.com

Image hosted by servimg.com


While the car is soaking, I prepare a bucket of fresh water and shampoo solution using Meguiar’s Shampoo Plus.
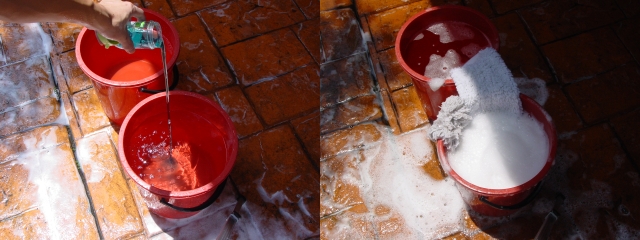
Image hosted by servimg.com

While washing, I saw tar on the fog lights and removed them as well.
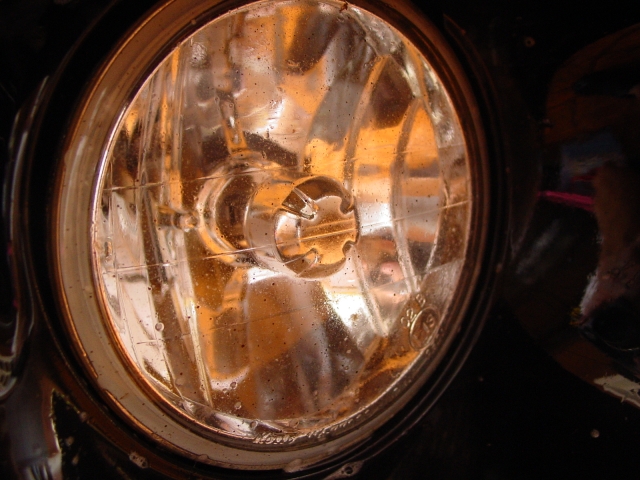
Image hosted by servimg.com

Image hosted by servimg.com

But made a mistake and forgot to spray the whole bumper with the tar remover as where the tar hits is not selective. The claying process soon to follow removed them.

After washing the car, leftover washing solution was poured into a spray bottle and a new block of Perma Glass No.2 Clay was used. As usual, most of the contaminants were on the lower panels of the car.

Image hosted by servimg.com

Image hosted by servimg.com

After claying, the car is rewashed and dried. When the car is completely dry, it rained, VERY heavily, the wind was strong and it blew in rain drops all over the car.

Image hosted by servimg.com

Image hosted by servimg.com

When the rain finally stopped, the car is dried with Meguiar’s Last Touch QD.

The owner opted for a simple polishing package, this meant no swirl removal, just a basic polish to get it clean and shiny again. So I opted for M80 Speed Glaze used with a W-8006 polishing pad via ROB.

The condition of the paint after washing and claying. Swirls contributed by petrol station car washes.

Image hosted by servimg.com

And a 50/50, surprisingly, it got rid of quite a number of swirls! I was quite happy that it did.
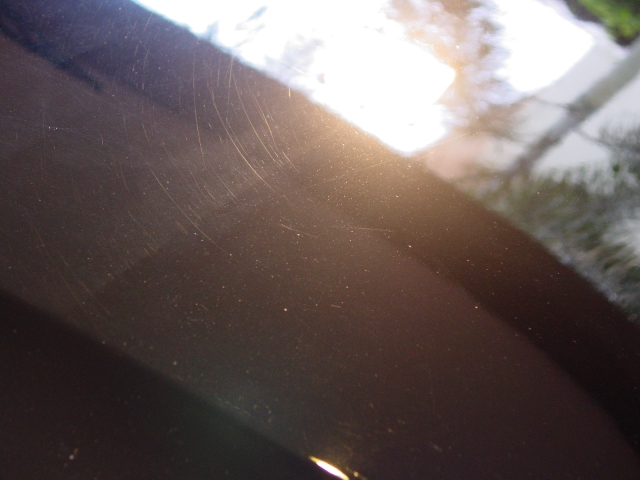
Image hosted by servimg.com

Straight line scratches in the C-Pillar courtesy of a sponge were also removed fairly quickly with M80 via ROB.
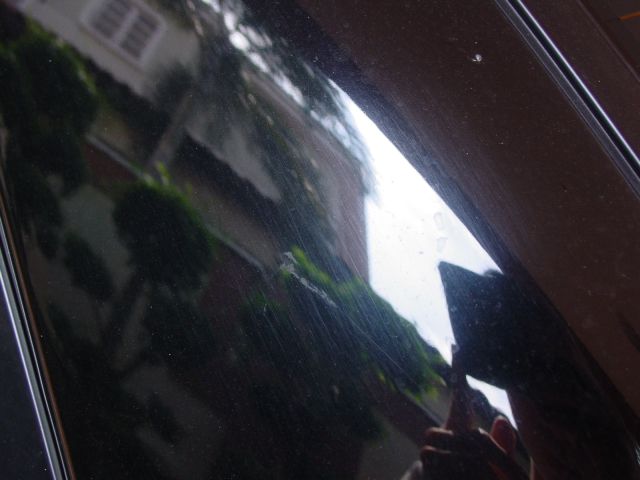
Image hosted by servimg.com

Image hosted by servimg.com

A-pillar received Optimum Polish by hand

Image hosted by servimg.com

After polishing, M21 Synthetic Sealant was applied via ROB, M21 also applied to the rim, except for the backs of the rim and plastic and rubber trim dressed with M40 Vinyl & Rubber Cleaner/Conditioner.

Image hosted by servimg.com

The next day, M21 was buffed off, polishing dust removed from cracks and crevices and tight area that wasn’t cleaned during the wash was wiped cleaned with some Last Touch. Headlamps and tail lamps received Meguiar’s PlastX
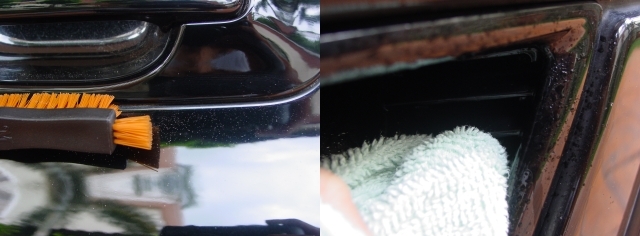
Image hosted by servimg.com

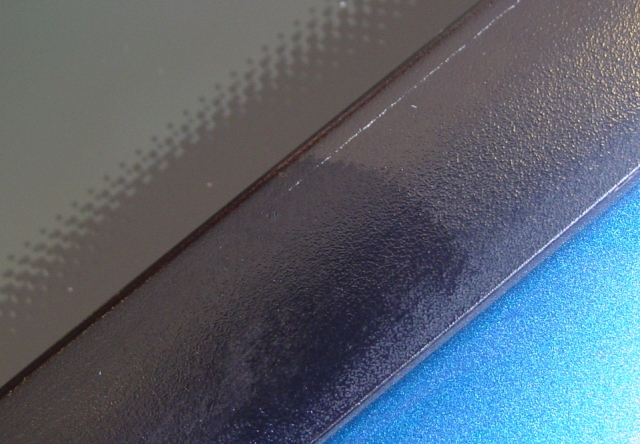
M40 leaves a dark, semi-matte finish.

Image hosted by servimg.com

Exhaust tips polished with Autosol Metal Polish followed by NXT All Metal Polish.
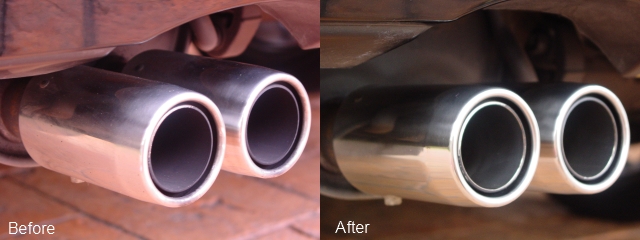
Image hosted by servimg.com

Interior just got wiped down with Meguiar’s Quick Interior Detailer and glass cleaned with the Detailer Line glass cleaner
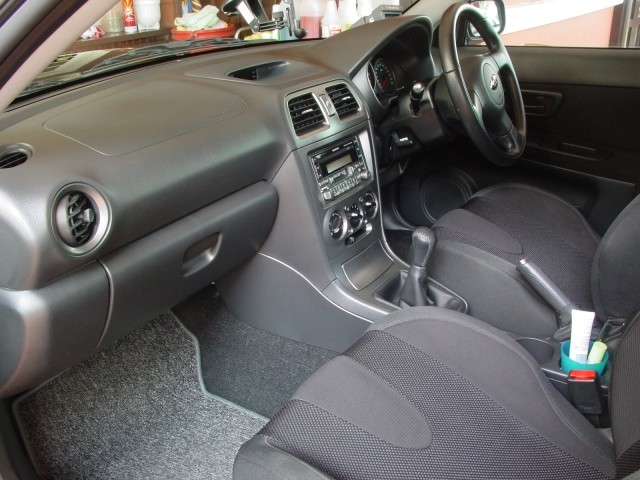
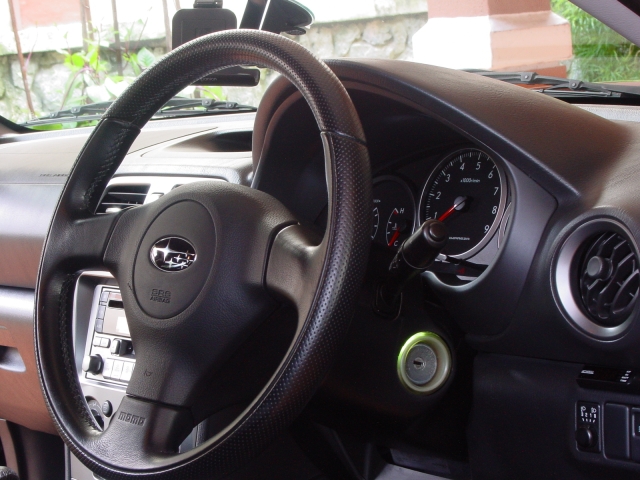
Image hosted by servimg.com

Image hosted by servimg.com

Afters :

Image hosted by servimg.com

Image hosted by servimg.com

Image hosted by servimg.com

Image hosted by servimg.com

Image hosted by servimg.com

Image hosted by servimg.com

Image hosted by servimg.com

Image hosted by servimg.com

Image hosted by servimg.com

Image hosted by servimg.com

Before :


Image hosted by servimg.com

After :

Image hosted by servimg.com

Before :

Image hosted by servimg.com

After :

Image hosted by servimg.com

That is all thanks for looking, feel free to ask if there are any questions, doubts, leave a comment if you’d wish to criticize my work (MOST welcomed, please…) and now Wet Shine Detailing is officially on a break because it’s operator, me, is having his exams soon =). Have a great day.
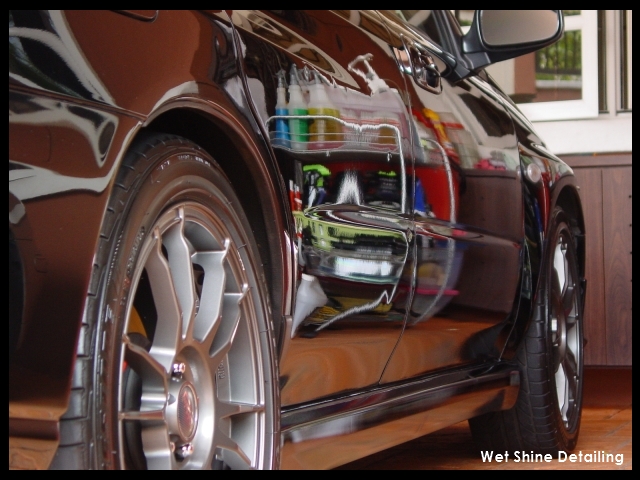
Image hosted by servimg.com Read more!

Wednesday, October 10, 2007

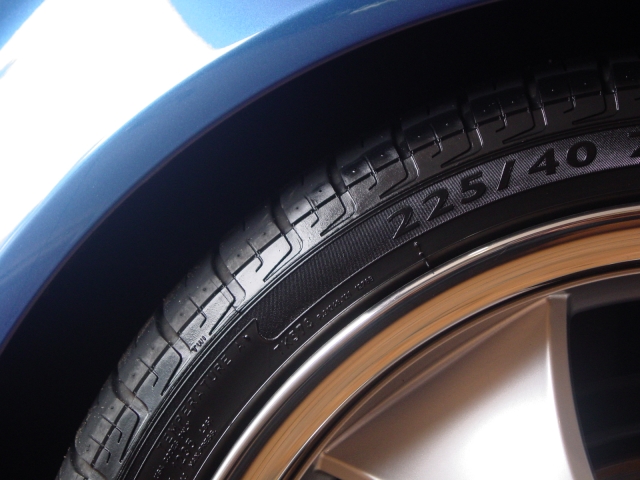
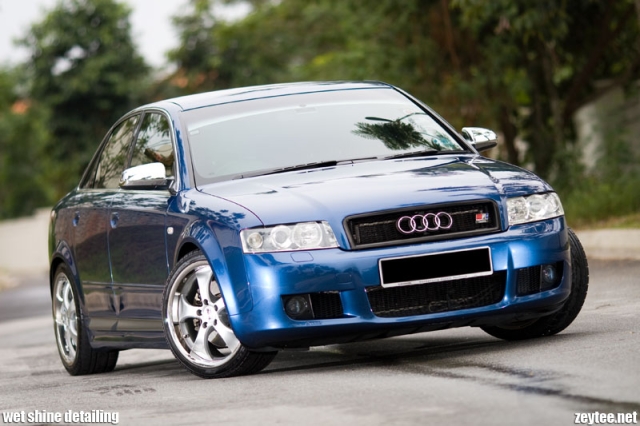
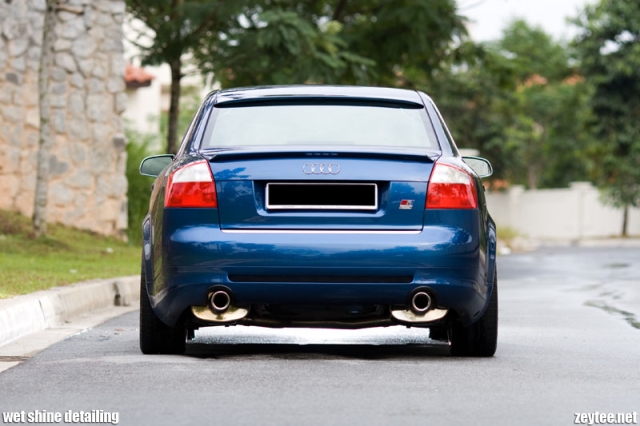
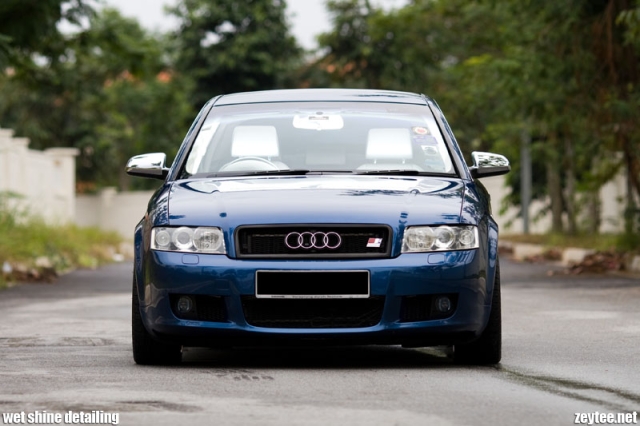
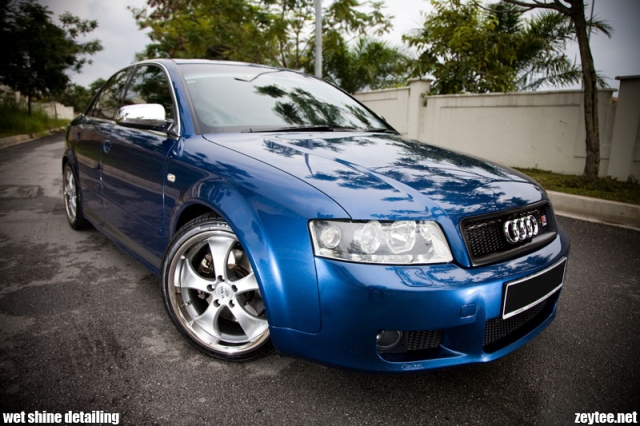
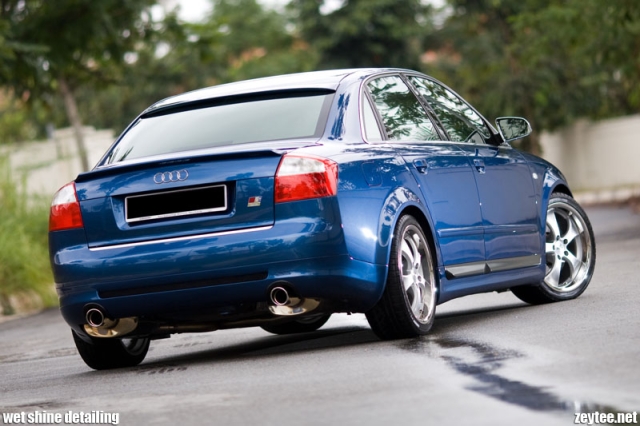
Audi A4 Mauritius Blue

Recently, I had the greatest privilege and honour to detail one of Darren’s (Autodetailer) client’s car. The car is a Mauritius Blue Audi A4, when the car came in at night, it was IMMACULATE, the back of the wheels were clean, the paintwork, SPOT ON!

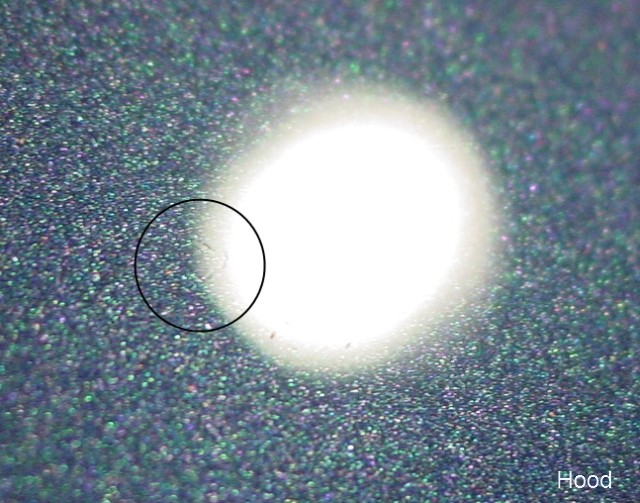
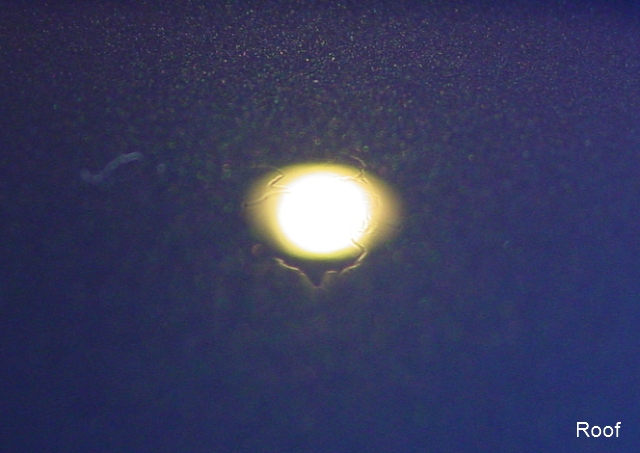
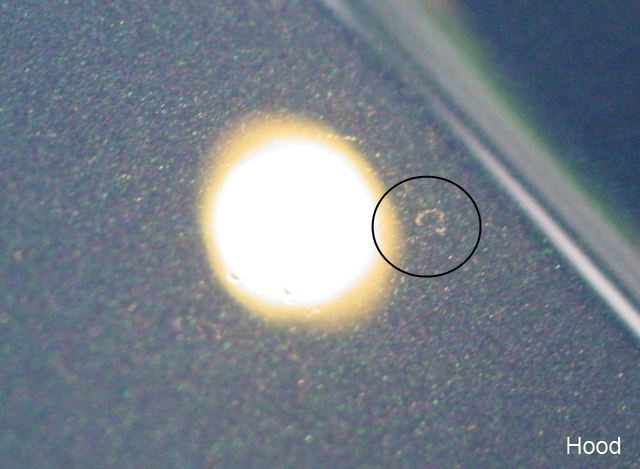
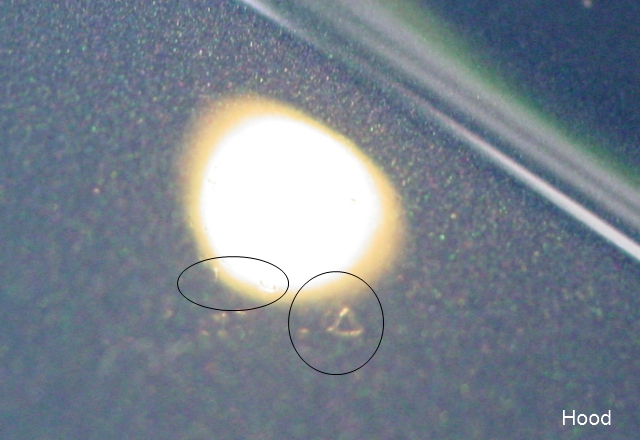
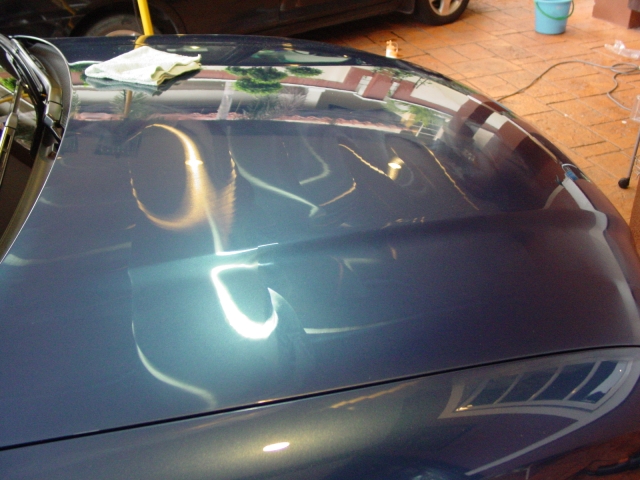
No swirls, the paintwork has been sanded by Darren, orange peel is at it’s absolute minimal, nothing but perfection in the reflection. Which put the pressure on me to try and improve what can be improved, upon closer inspection there were watermark etchings on the roof and the owner pointed out to me smaller watermark etchings on the upper part of the door.

Some pictures to praise Darren’s exceptional work. This is before the car has been washed, it is also worth mentioning that the owner takes great care of his car and hand washes it himself, and I think he did an amazing job keeping the swirls away.

Absolutely swirl free
Image hosted by servimg.com

Absolutely minimal orange peel, check out the perfect reflection.
Image hosted by servimg.com

And on to the detail, sorry didn’t have as many process pictures this time.

Interior

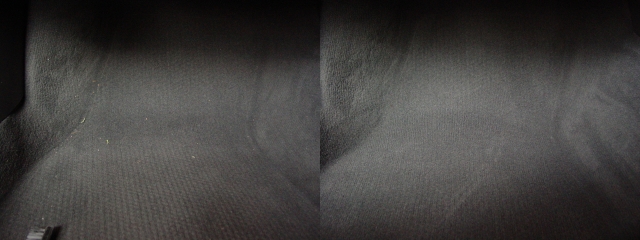
Mats were removed, and carpets were vacuumed, the driver’s mat were cleaned with Meguiar’s All Purpose Cleaner (4:1)

Image hosted by servimg.com

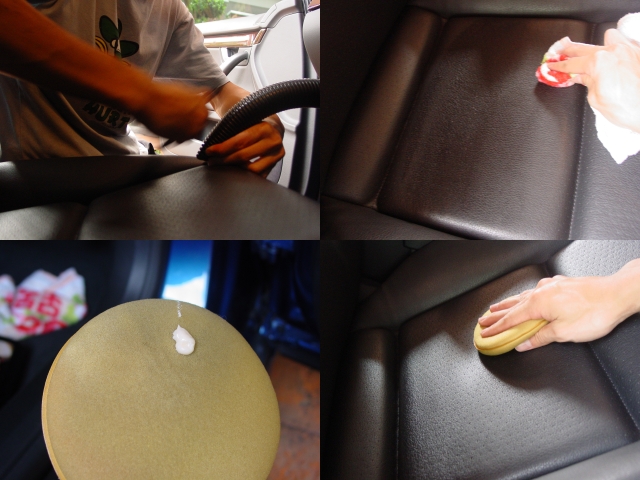
Leather seats were firstly vacuumed in between the seams, using a nylon brush to whisk out the dirt particles. Front seats were cleaned with Meguiar’s Rich Leather Aloe Cleaner using a terry towel, followed by an application of Meguiar’s Rich Leather Cleaner/Conditioner, you can see the foam is a bit dirty afterwards, this helped to remove any residue that was missed by the Aloe Cleaner step.

Image hosted by servimg.com

All vinyl and plastics in the interior was wiped with Meguiar’s Quick Interior Detailer. I first purchased Meguiar’s #40 Vinyl and Rubber Cleaner/Conditioner for the interior, but found it to be a bit too oily, and the owner wanted a matte finish on his interior, so the QID was used instead. The pleasant neutral smell of this product was great.

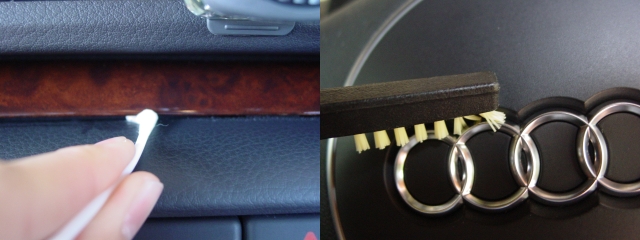
A cotton bed soaked with QID was used to clean gaps and Meguiar’s triple duty brush was used to help remove some particles embedded deep between crevices, not all particles was removed as some were just too stubbornly trapped inside.

Image hosted by servimg.com

Exterior

Wheels and Tires


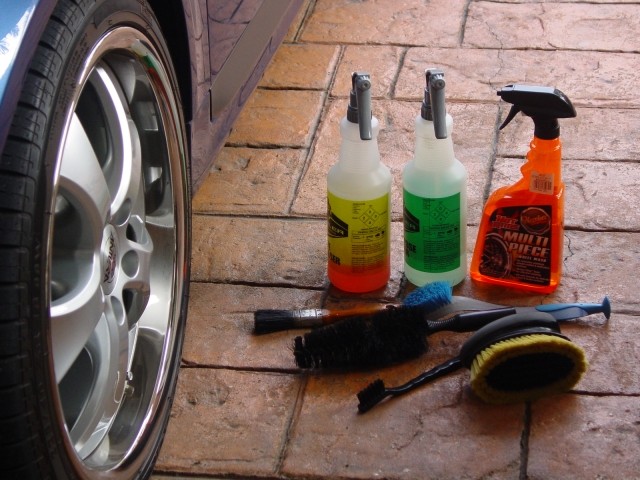
Tools and chemicals for the job

Image hosted by servimg.com

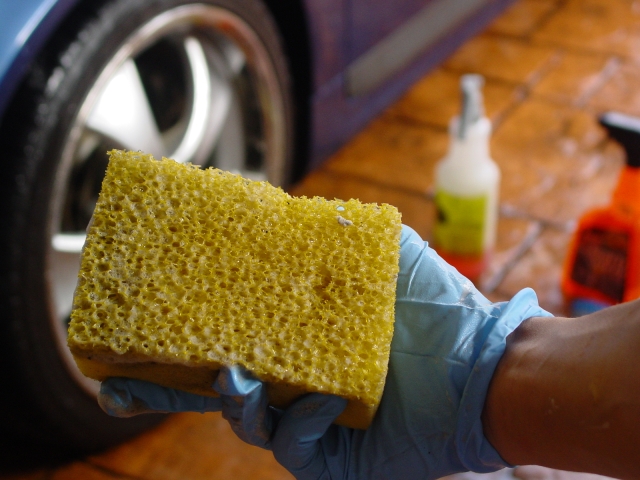
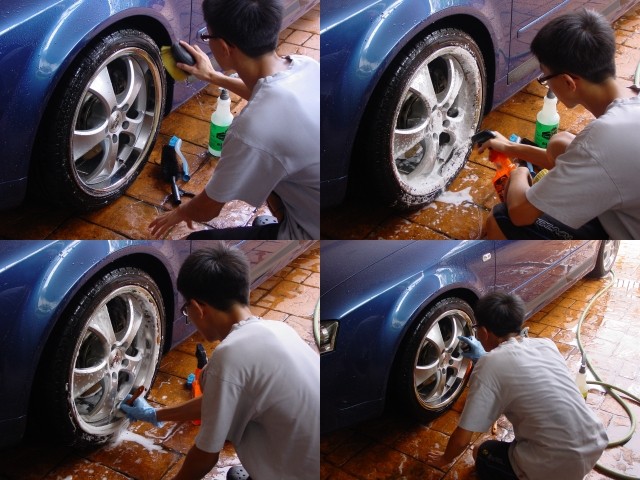
Meguiar’s Super Degreaser(4:1) for tires, Meguiar’s All Purpose Cleaner(4:1) for wheel wells, Meguiar’s Hot Rims Multi-Piece Wheel Wash for the wheels, and a variety of brushes. Specks of tar on the face of the wheel were removed with Ambersil’s Tar Spot Remover spray. A sponge with a nylon mesh was used to clean the wheel wells.

Image hosted by servimg.com

Image hosted by servimg.com

Image hosted by servimg.com

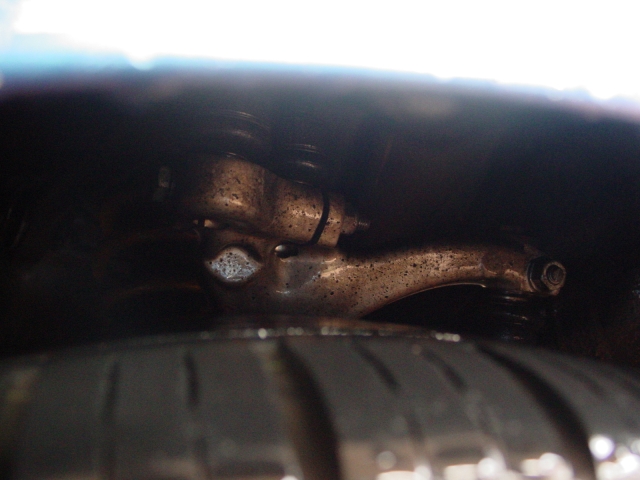
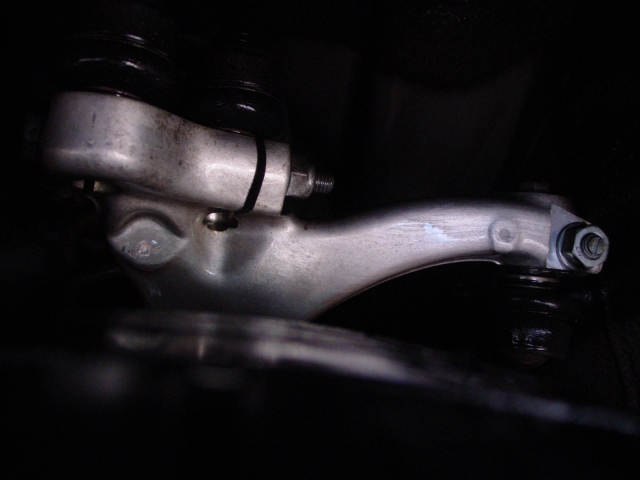
Tar on the multi-link arm( not sure what it is actually called…) removed with the same tar remover.

Image hosted by servimg.com

Image hosted by servimg.com

Paintwork

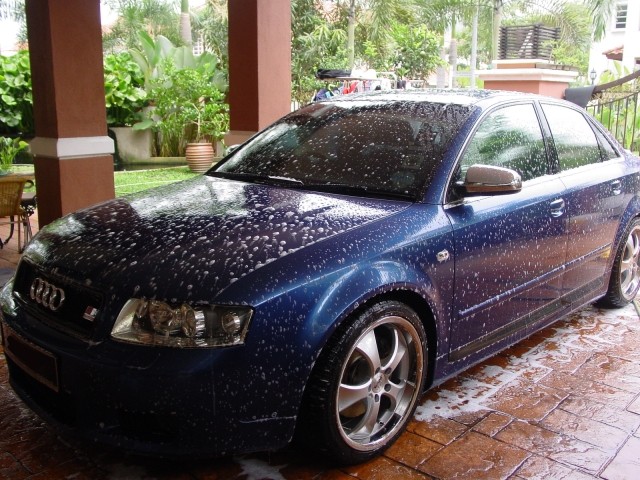
Firstly the car is soaked with Meguiar’s Hyper Wash to dissolve heavy dirt (if any =)). Then rinsed off, followed by a wash with the two bucket method using Meguiar’s Shampoo Plus.

Image hosted by servimg.com

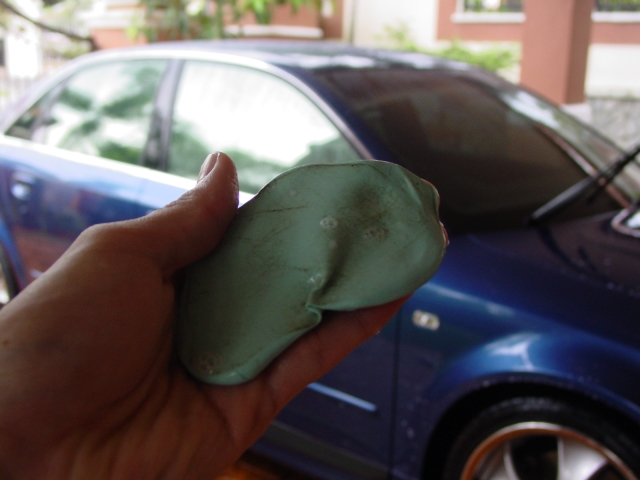
After washing, the car is clayed with Perma Glass No.2 Clay, most of the contaminants were on the lower panels of the car. Diluted Shampoo Plus was used as clay lubricant.

Image hosted by servimg.com

Whole car is then rewashed again and rinsed off. The car is then blotted dry with a Meguiar’s Water Magnet towel to prevent scratching the surface.

Image hosted by servimg.com

Here is a picture to show the near perfect condition of the paint.

Image hosted by servimg.com

The owner’s main concern was actually the watermark etchings. I tried to capture them, the watermarks are circled in black in the pictures below.

Image hosted by servimg.com

Image hosted by servimg.com

Image hosted by servimg.com

Image hosted by servimg.com

Firstly the mildest combo was tested ( Optimum Polish on a finishing pad with a rotary buffer), this did not removed the watermark etchings. The next step up the aggressiveness scale was Meguiar’s #83 Dual-Action Cleaner/Polish used with a polishing pad. The test spot was hit with this combination twice, no difference. The final and most aggressive step that I could do was Meguiar’s #85 Diamond Cut Compound used with a wool pad. A first hit gave no difference, a second hit only reduced the appearance of the etching very very slightly.

So I contacted the owner about the problem and told him that I do not have the safety net of a paint thickness gauge and wasn’t too sure if the clearcoat is extremely hard or the watermark has etched really deep, so we both agreed to just give the car a finishing polish to cleanse the paint and provide a light polishing to remove any light defects and marring that could be caused by the claying process.

After the whole car was detailed I PMed Darren(username macdude) on Meguiar’s Malaysia forum for advice and showed him the pictures, his reply to me was


“I've seen the watermarks before and frankly they can't be removed as they've etched extremely deep into the paintwork. To remove them would mean cutting very deep into the clearcoat. Suggest to just remove the light paintwork flaws as it has been about 11 months since I've worked on the car and leave out the watermarks. Hope that helps.”


What a guy huh? You can’t beat the experience and expertise of a longtime professional detailer.

Zey from zeytee.blogspot.com also told me that the paint is extremely hard, extremely hard paint and deep etchings possibly meant that the defects would have to stay, fortunately they are quite hard to find, unless viewed at night under dim light.

Optimum polish being worked in.

Image hosted by servimg.com

After polishing the car is glazed with Meguiar’s #7 Show Car Glaze by hand, followed by Meguiar’s #21 Synthetic Sealant via Random Orbital Buffer, and finally topped off with Finish Kare 1 Pink Wax by hand.

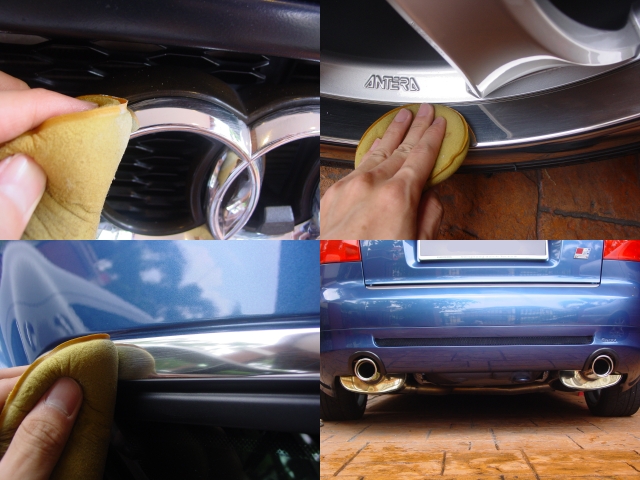
All chrome pieces were polished with Meguiar’s NXT All Metal Polish. Wheel face received Autogym's Super Resin Polish

Image hosted by servimg.com

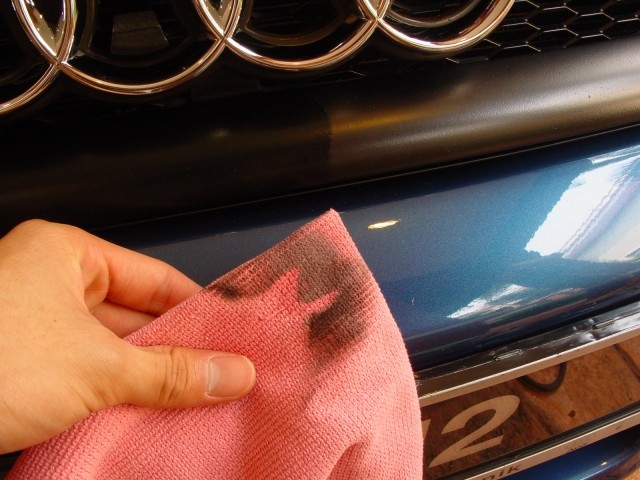
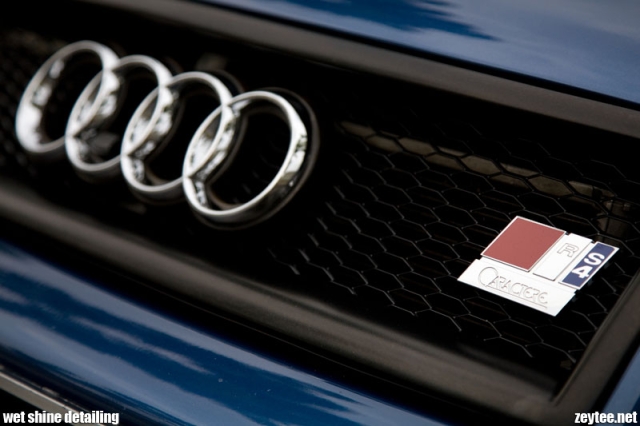
Front grille cleaned and dressed with Meguiar’s #40 Vinyl & Rubber Cleaner and Conditioner. Vinyl moldings at the front windscreen also received Meguiar’s #40 Vinyl & Rubber Cleaner and Conditioner to remove tape residue.

Image hosted by servimg.com

Image hosted by servimg.com

Tires dressed with Meguiar’s Hot Shine Tire Spray

Image hosted by servimg.com
*photographed taken by Zey using my camera.

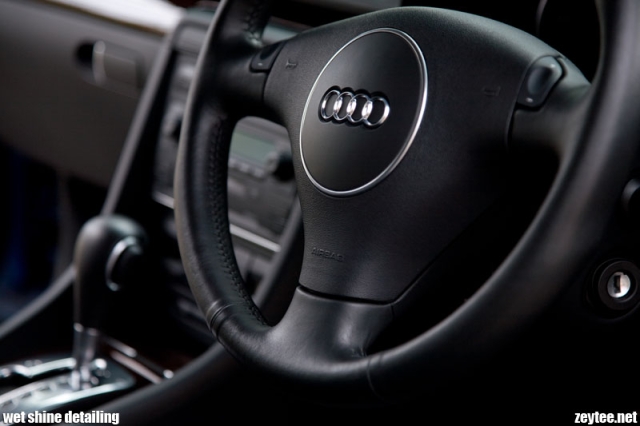
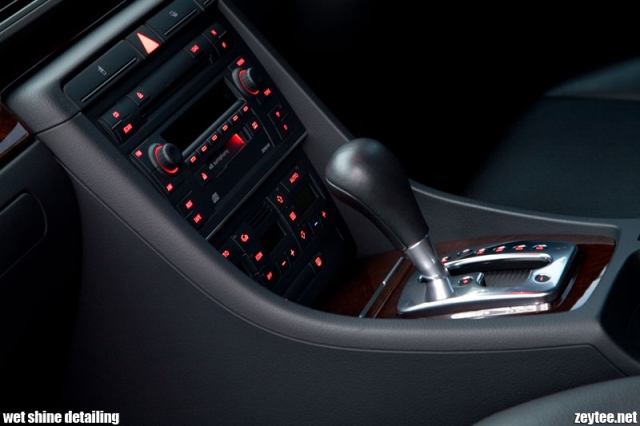
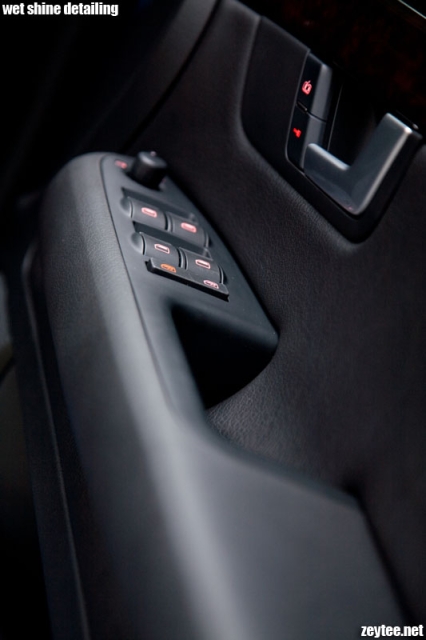
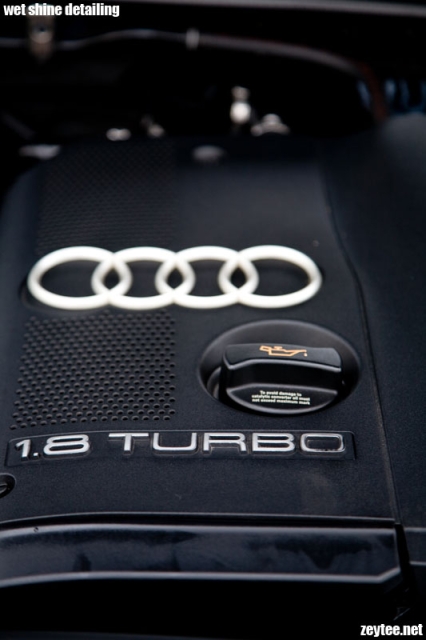
After pictures were all taken by Zey and will be uploaded shortly, please check back to view his awesome photos (I can’t wait either).
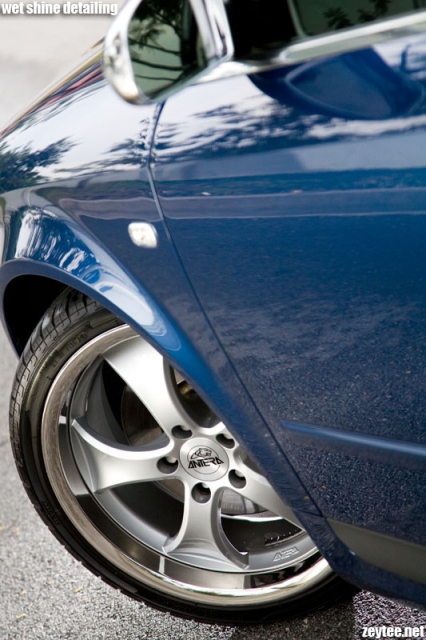
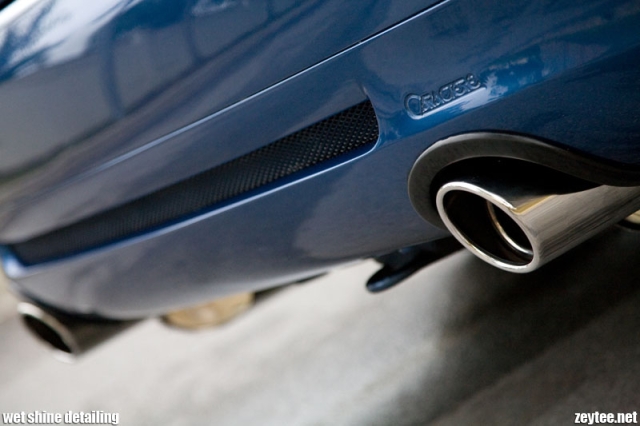
Many thanks to Zey for busting some sweat to photograph this car, and to Darren for being selfless and giving me advice, greatly appreciate them, and to the owner for providing me a pleasurable detail! *two thumbs up*

All after pictures photographed by Zey, I've resized them from 800 to 640 pixels here, you can view them in their full 800 x 533 size HERE

Image hosted by servimg.com

Image hosted by servimg.com

Image hosted by servimg.com

Image hosted by servimg.com

Image hosted by servimg.com

Image hosted by servimg.com

Image hosted by servimg.com

Image hosted by servimg.com

Image hosted by servimg.com

Image hosted by servimg.com

Image hosted by servimg.com

Image hosted by servimg.com

To those who are looking to get their cars professionally photographed can contact Zey at www.zeytee.blogspot.com

Thanks for looking! Read more!
Label Cloud

  © Free Blogger Templates 'Photoblog II' by Ourblogtemplates.com 2008

Back to TOP