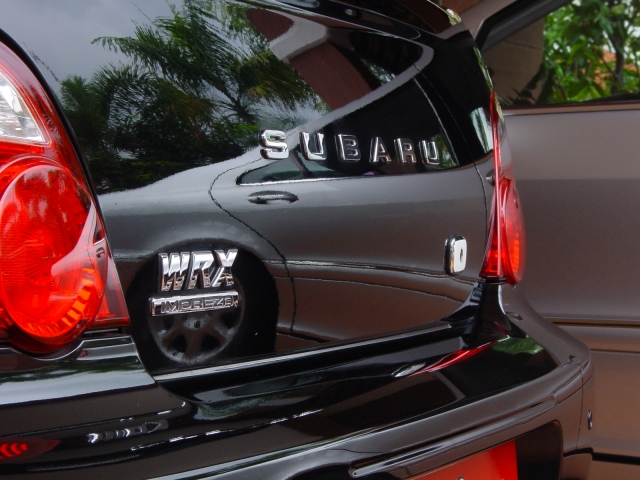
Black Subaru Impreza WRX
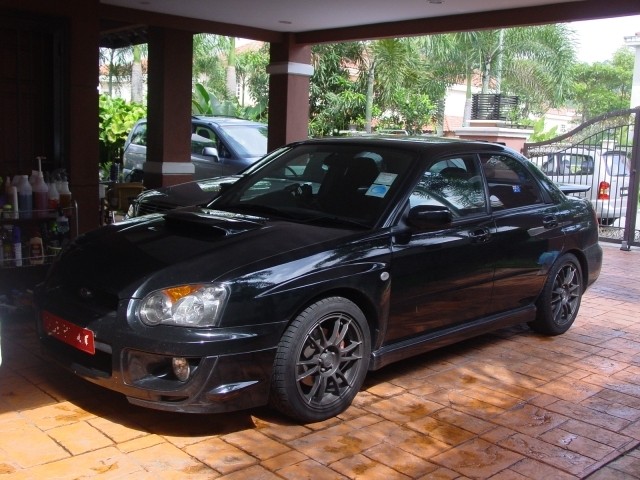
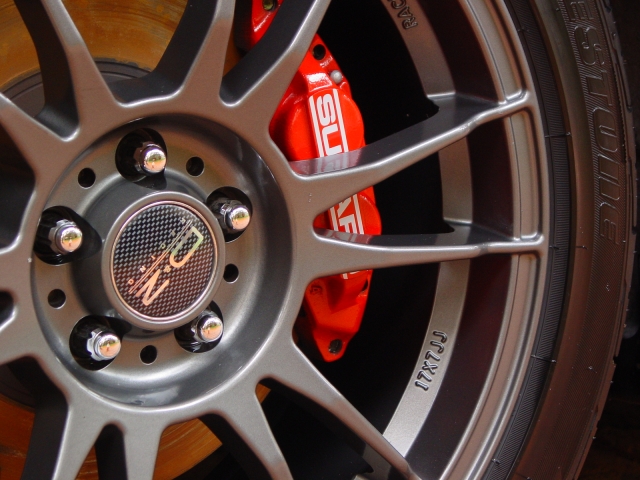
Hello, today’s car is a black WRX, which was very dirty to start with, this includes the wheel which I initially thought had a matte finish. It turned out that it was brake dust, thankfully they came off easily with Wheel Brightener. The front end of the car had a few splattered dead bugs.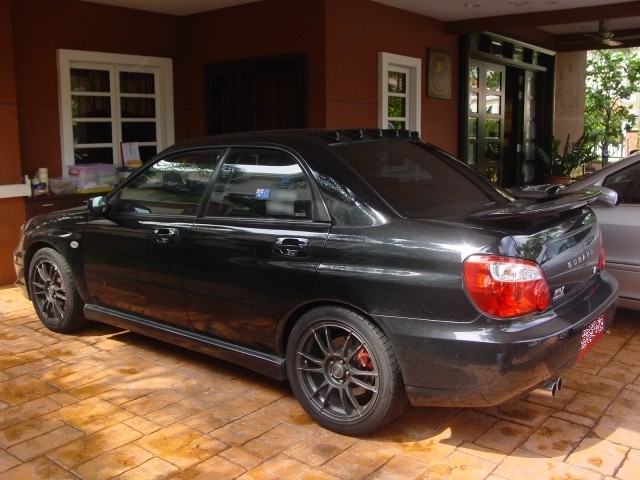

So firstly, cleaning the wheels, wheel wells and tires.
Wheel wells received Meguiar’s Super Degreaser (4:1), followed by Meguiar’s All Purpose Cleaner (4:1), this however couldn’t removed everything, the dirt was generally stuck to the plastic, I tried dressing it afterwards, but didn’t help.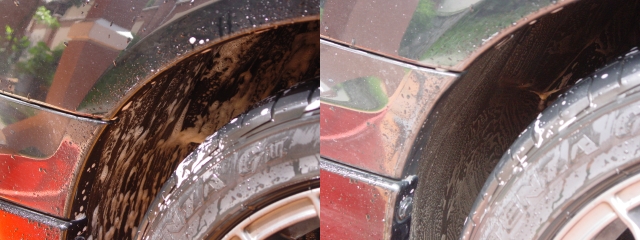
Tires cleaned with Super Degreaser, wheels were firstly sprayed with Ambersil’s Tar Spot Remover on the outside of the rim to dissolve the tar. The really large chucks couldn’t be fully removed. Then wheels were cleaned with Meguiar’s Wheel Brightener.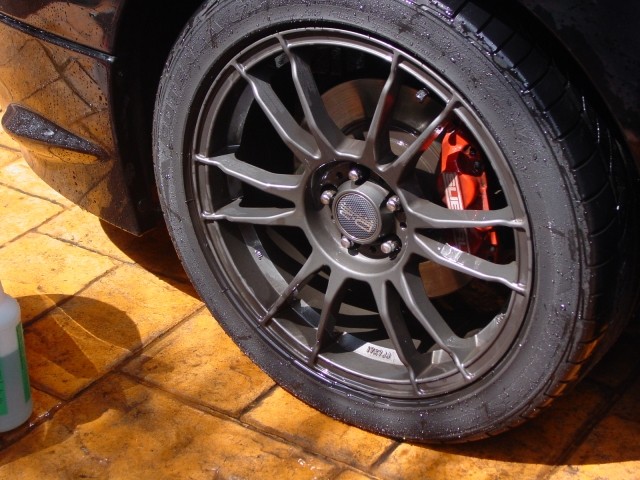
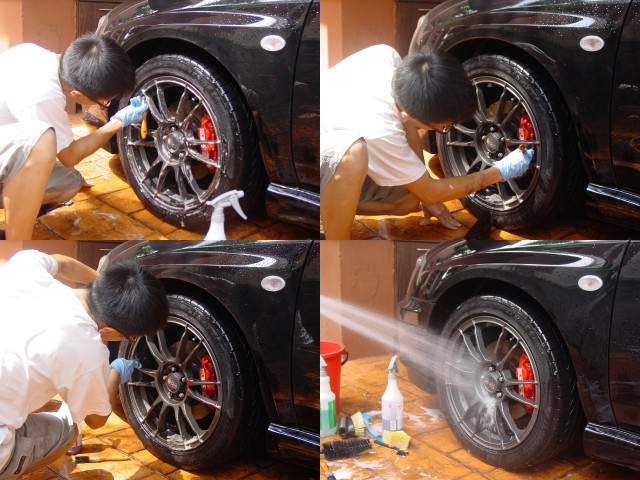
Then the whole car is foamed with a mixture of APC and Meguiar’s Hyper Wash. This dissolved the loose bug splatter and were rinsed away with ease later on.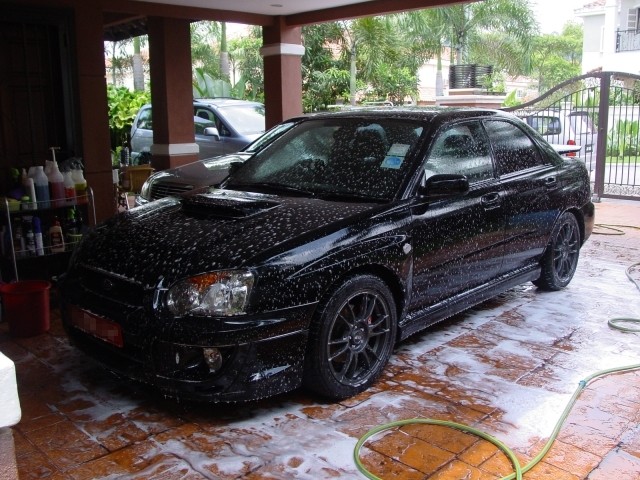

While the car is soaking, I prepare a bucket of fresh water and shampoo solution using Meguiar’s Shampoo Plus.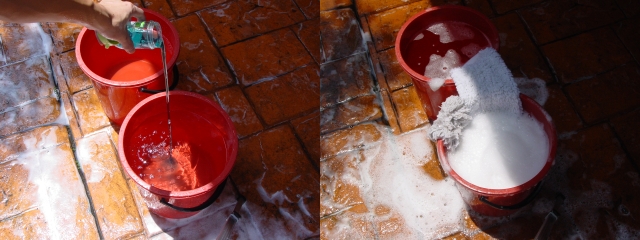
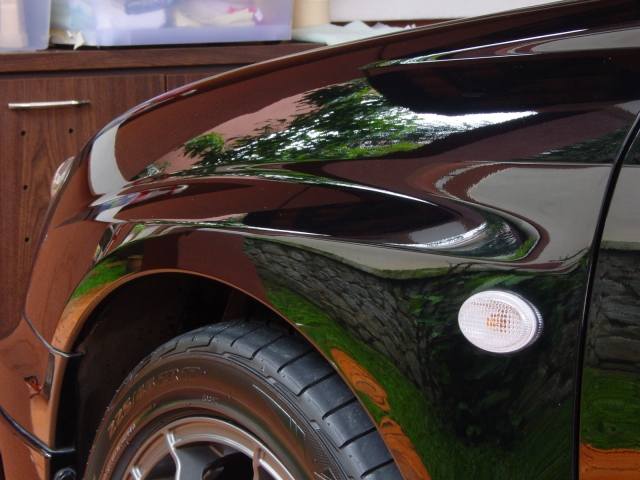
While washing, I saw tar on the fog lights and removed them as well.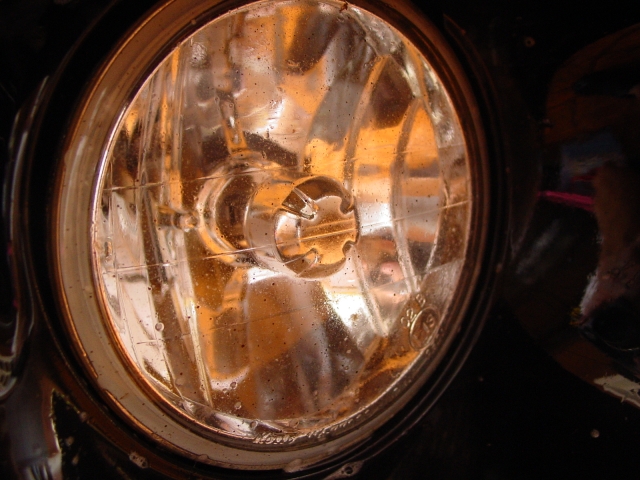

But made a mistake and forgot to spray the whole bumper with the tar remover as where the tar hits is not selective. The claying process soon to follow removed them.
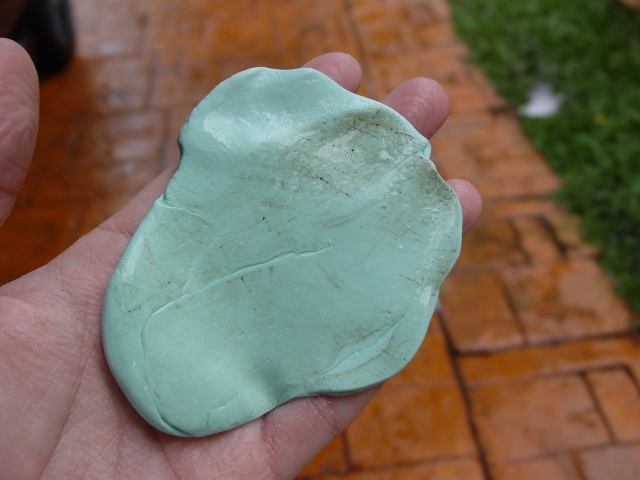
After washing the car, leftover washing solution was poured into a spray bottle and a new block of Perma Glass No.2 Clay was used. As usual, most of the contaminants were on the lower panels of the car.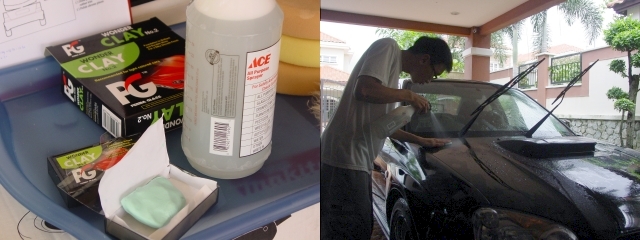
After claying, the car is rewashed and dried. When the car is completely dry, it rained, VERY heavily, the wind was strong and it blew in rain drops all over the car.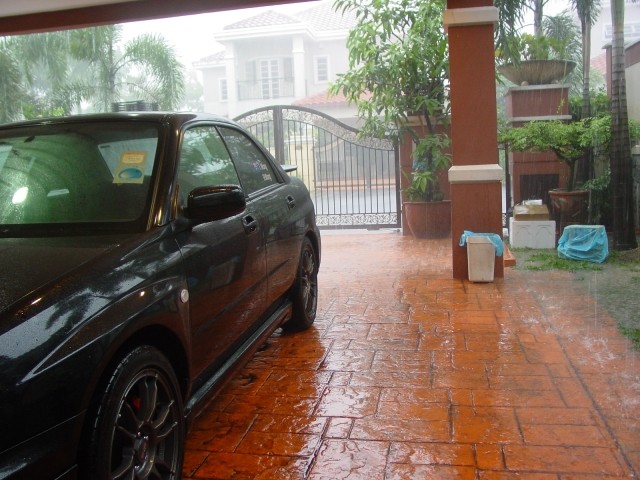
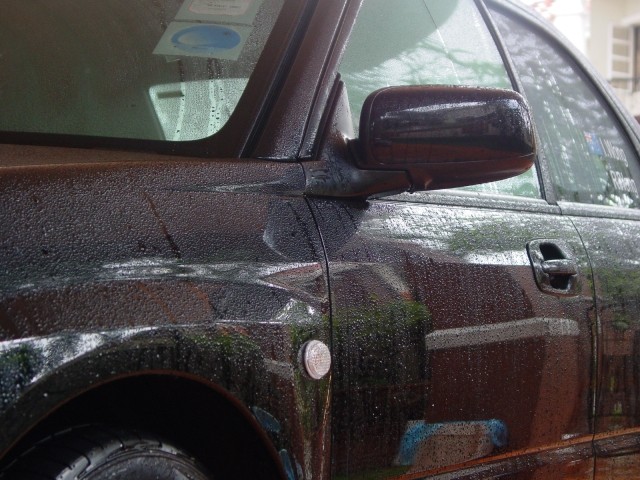
When the rain finally stopped, the car is dried with Meguiar’s Last Touch QD.
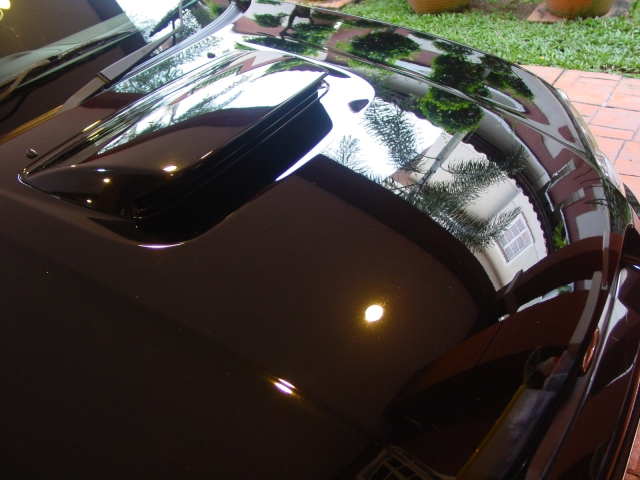
The owner opted for a simple polishing package, this meant no swirl removal, just a basic polish to get it clean and shiny again. So I opted for M80 Speed Glaze used with a W-8006 polishing pad via ROB.
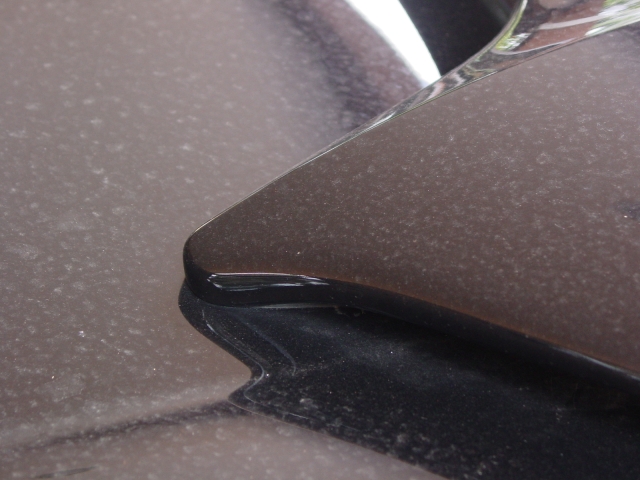
The condition of the paint after washing and claying. Swirls contributed by petrol station car washes.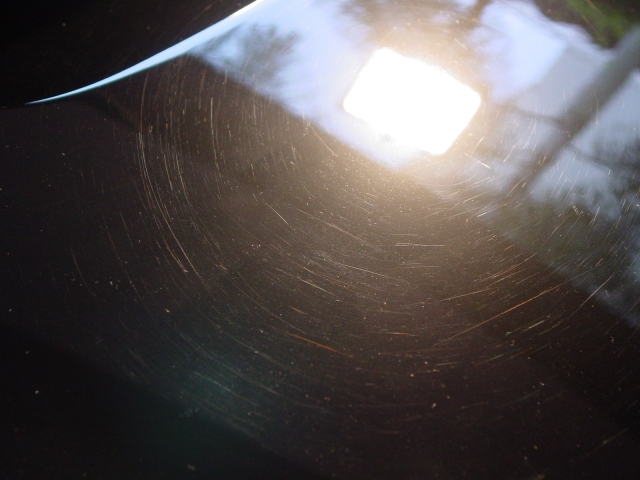
And a 50/50, surprisingly, it got rid of quite a number of swirls! I was quite happy that it did.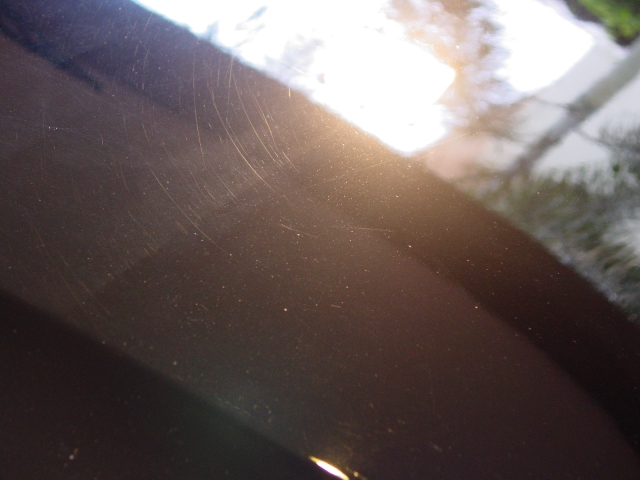
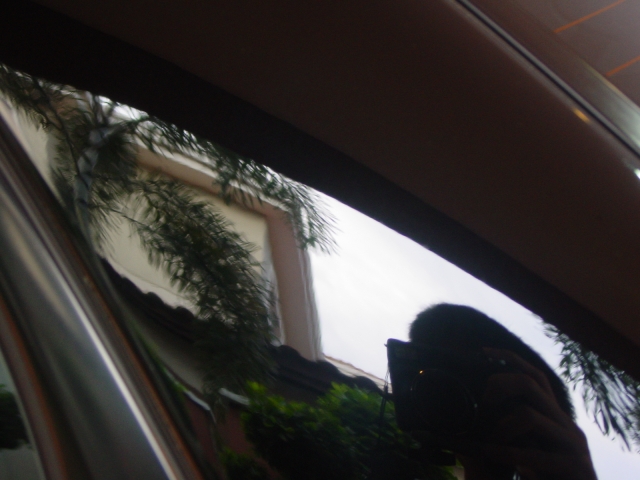
Straight line scratches in the C-Pillar courtesy of a sponge were also removed fairly quickly with M80 via ROB.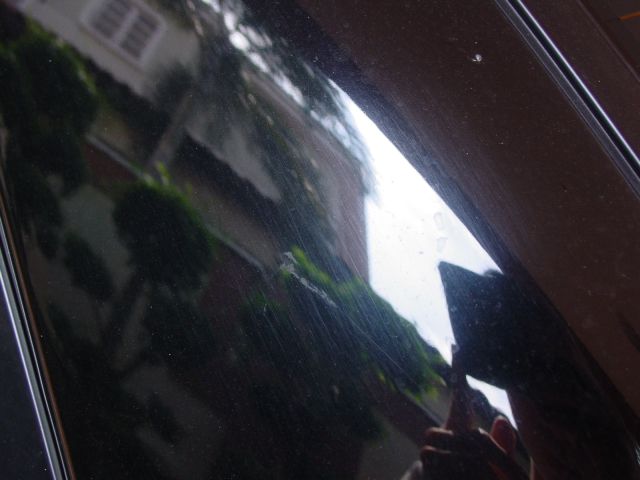
A-pillar received Optimum Polish by hand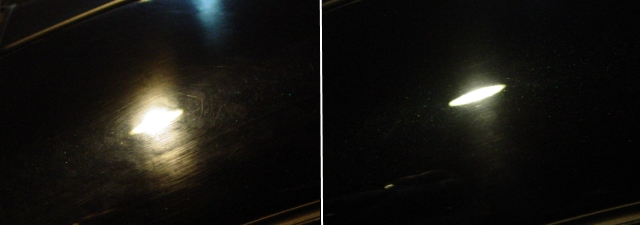
After polishing, M21 Synthetic Sealant was applied via ROB, M21 also applied to the rim, except for the backs of the rim and plastic and rubber trim dressed with M40 Vinyl & Rubber Cleaner/Conditioner.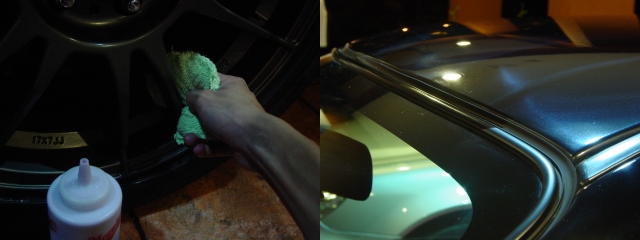
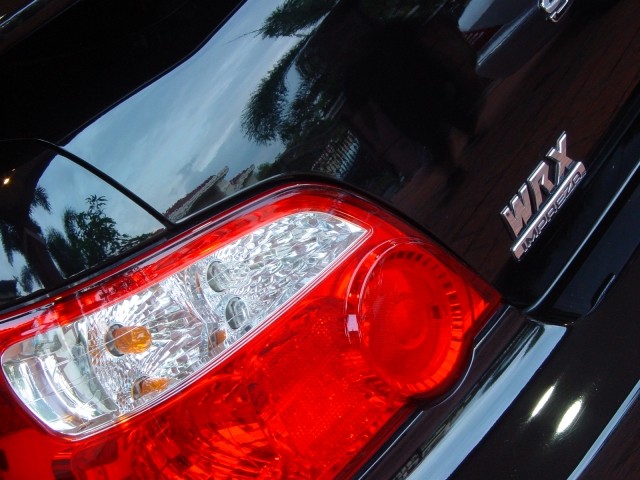
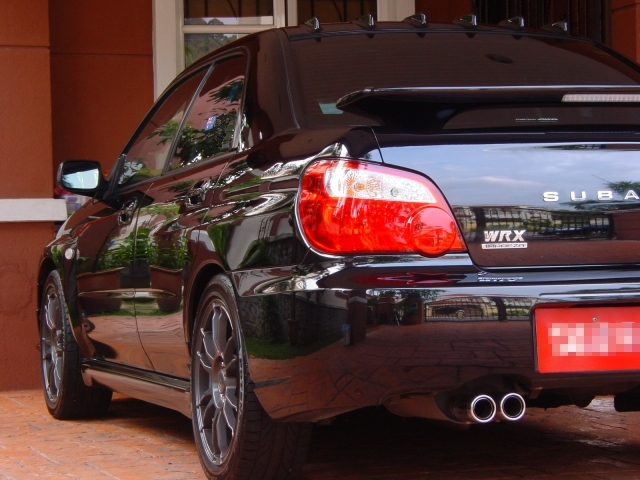
The next day, M21 was buffed off, polishing dust removed from cracks and crevices and tight area that wasn’t cleaned during the wash was wiped cleaned with some Last Touch. Headlamps and tail lamps received Meguiar’s PlastX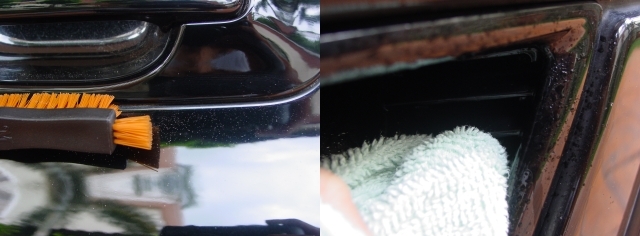
M40 leaves a dark, semi-matte finish.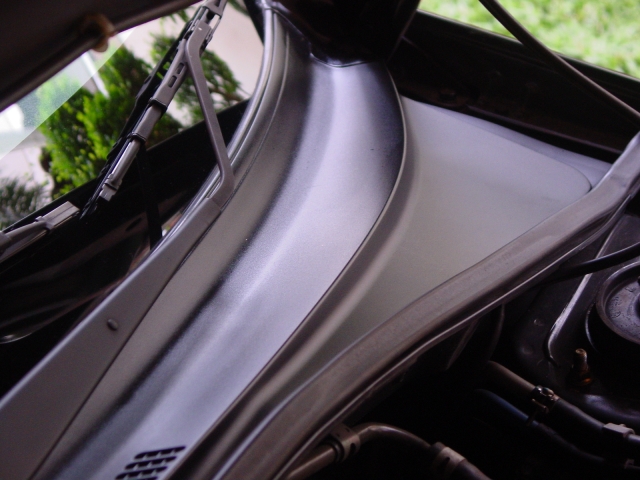
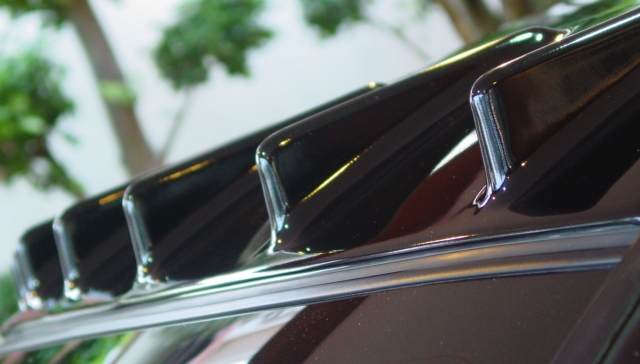
Exhaust tips polished with Autosol Metal Polish followed by NXT All Metal Polish.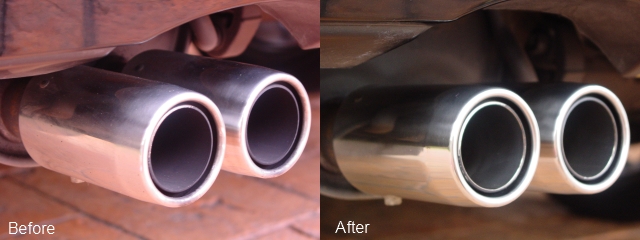
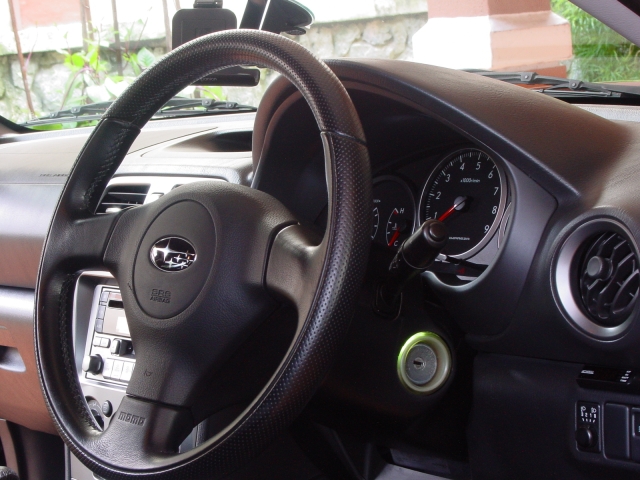
Interior just got wiped down with Meguiar’s Quick Interior Detailer and glass cleaned with the Detailer Line glass cleaner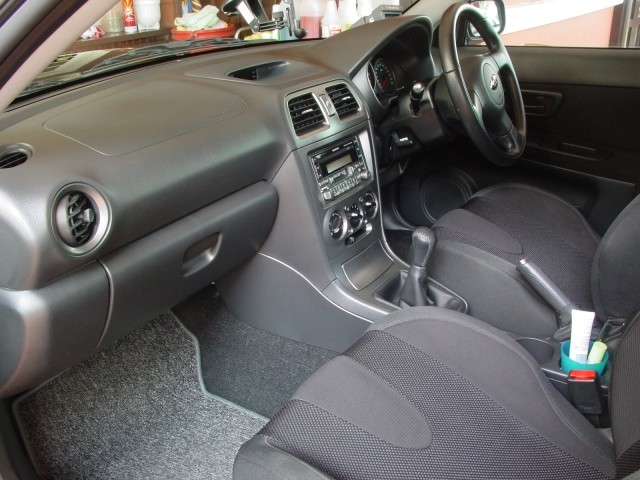
Afters :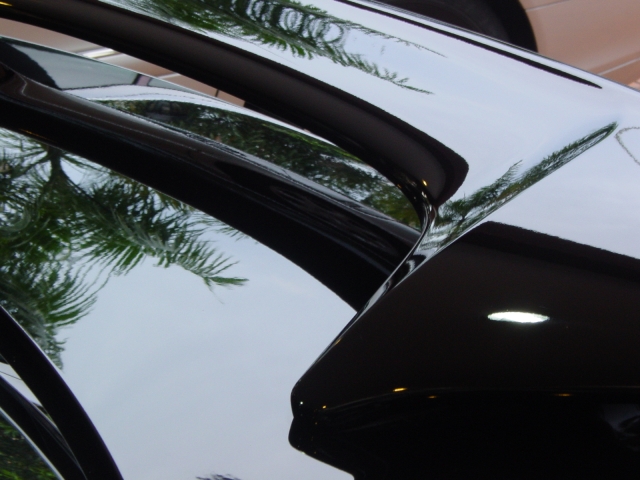

Before :
After :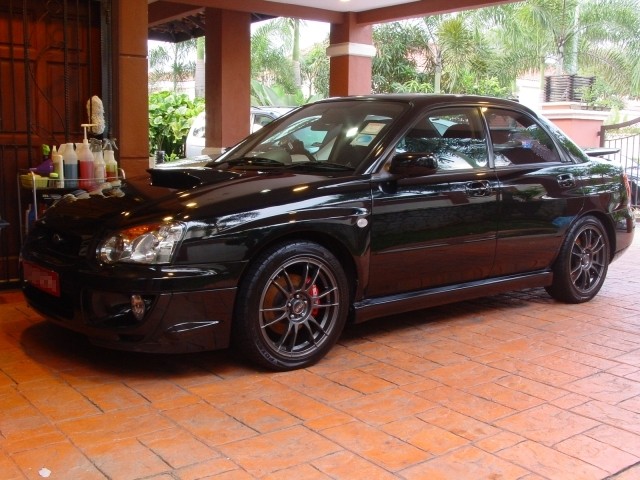
Before :
After :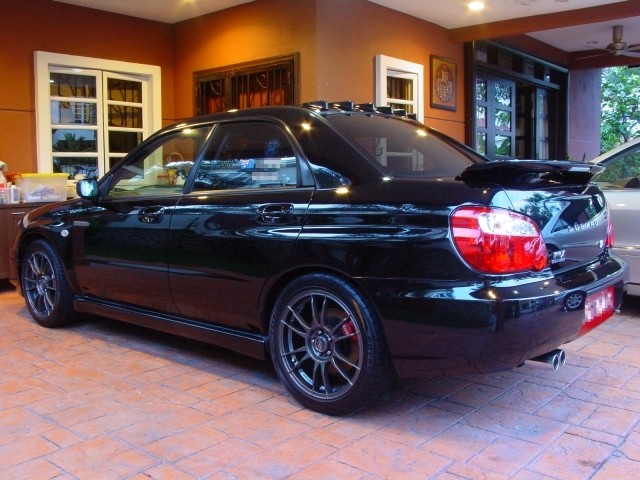
That is all thanks for looking, feel free to ask if there are any questions, doubts, leave a comment if you’d wish to criticize my work (MOST welcomed, please…) and now Wet Shine Detailing is officially on a break because it’s operator, me, is having his exams soon =). Have a great day.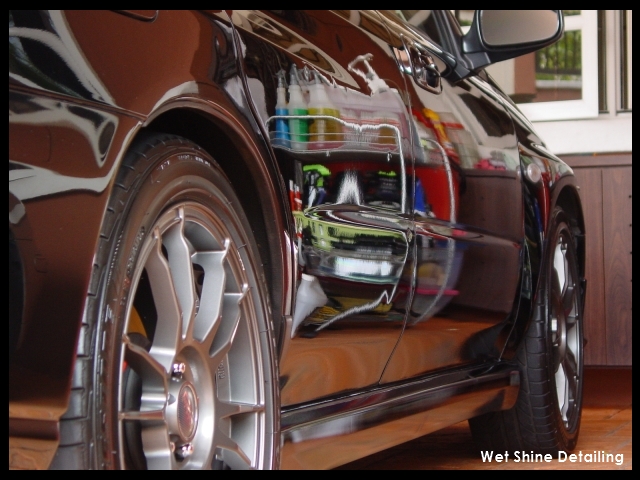


2 comments:
Hey I was just wondering if you could post up a comprehensive list of all of the stuff that you used and its purpose. That would help a lot! Great job on the car, shining like new!
Hey I was wondering what the stuff you used on your car was. I really want to get it. Thanks!!! Awesome car
Post a Comment